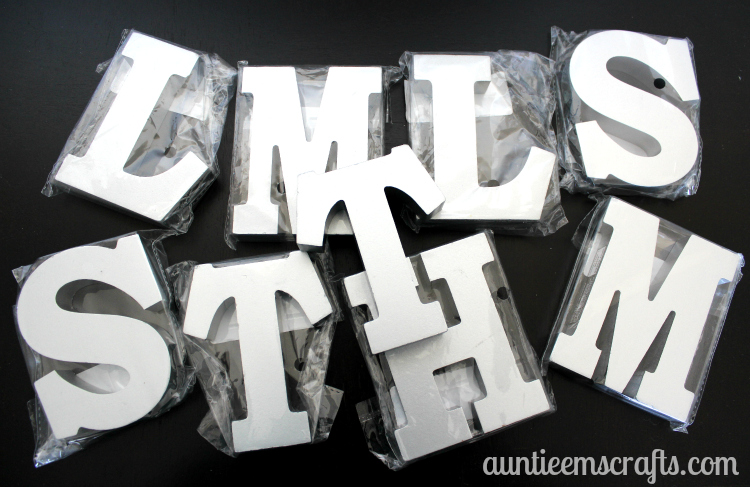
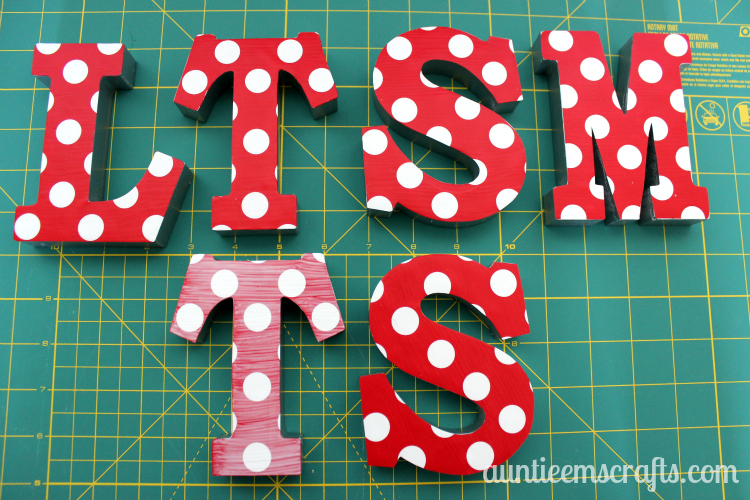
If you are a regular Michael’s shopper, you already know about the impulse buy section right by the checkout. I don’t frequently go to Michael’s but was pleased to find some cute 4″ wooden letters in that area. I went a little bit overboard buying the letters, but at $1.50 each I knew they would become great neighbor gifts.
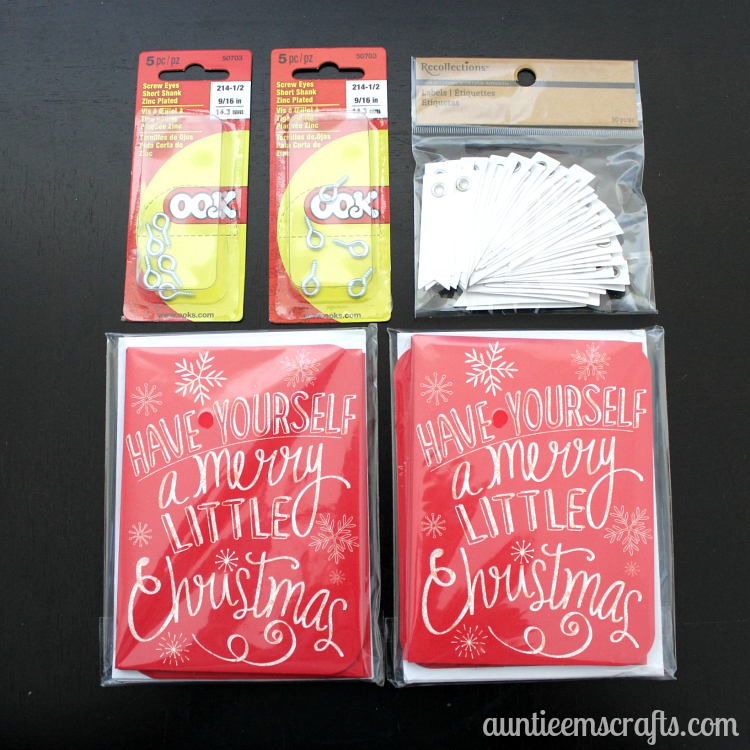
In addition to the wood letters, I bought some screw eyes over by the picture frame section, pennant labels from the scrapbook section, and two packs of Christmas cards from the impulse buy section.
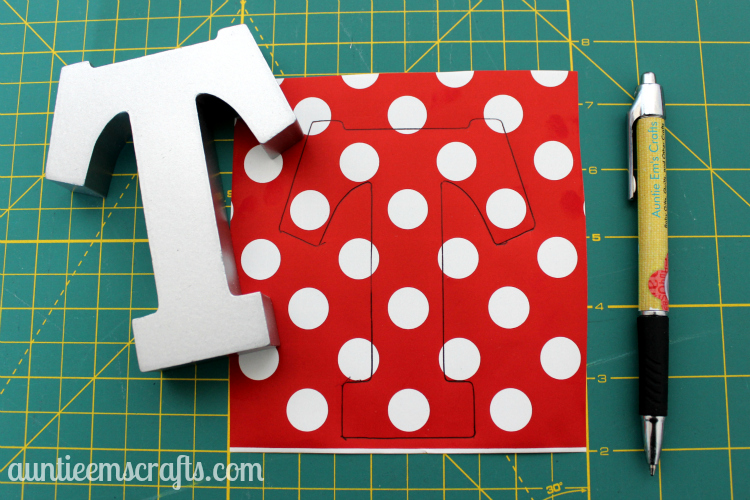
To fancy up the letter, I traced it onto StoneWrap gift wrap. It is thicker than traditional gift wrap made of paper so a little easier to work with. You can also use scrapbook paper for this step.
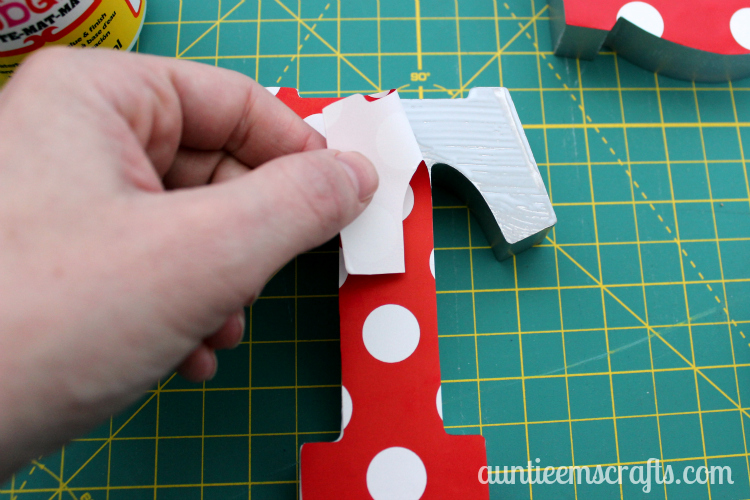
Carefully cut out the paper letter. Place a thin coat of mod podge onto the letter, then set the paper down. Once you have the paper in place, put another thin coat of mod podge on top of it. Set it aside to dry for approx. 30-45 minutes.
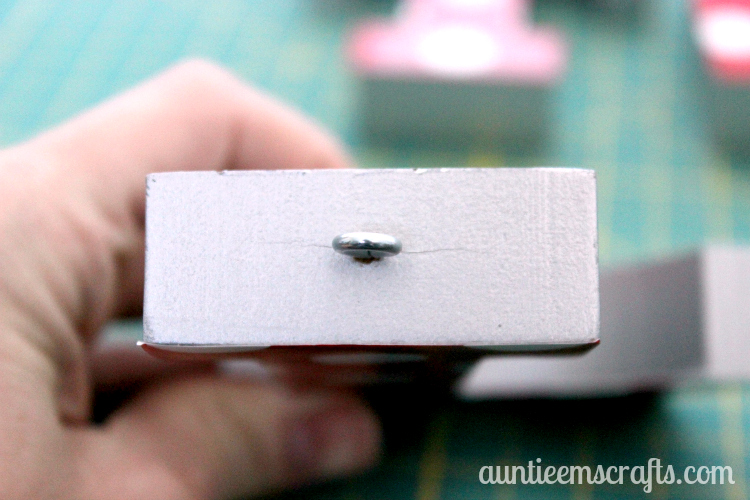
To install the screw eyes, you have a few options:
1) Screw it in by hand.
2) Use a small drill bit to drill a hole in the wood, then hand screw the screw eye in.
3) Place the screw eye into the drill like it is the drill bit. Use the drill to screw it into the wood.
Be careful not to put the screw eye in too far, or it may split the wood, like my first one did.
Add a hanger of some sort, such as coordinating ribbon, baker’s twine, or an ornament hook. You may also choose to add an embellishment on the front, such as the pennant labels.

I was able to use a 25% off total purchase coupon for everything. For just over $15 I was able to make an ornament for myself and eight neighbors . Not too shabby!
![]()
I was wondering what you used the Christmas cards for on the woode3n initials.
I just gave them with the ornament as a neighbor gift.
These are soooo neat ! Thanks for the idea and instructions on how to make them ! Very clever, affordable, and
unique.