My best friend (Mary) in Oklahoma recently requested a quilt similar to one I made for my sister in law last year. Carli’s consisted of stacked coins in a larger than standard throw size. In fact, it was nearly a twin size quilt, so when Mary requested a repeat, I knew I needed to be shrunk down to a more appropriate size.
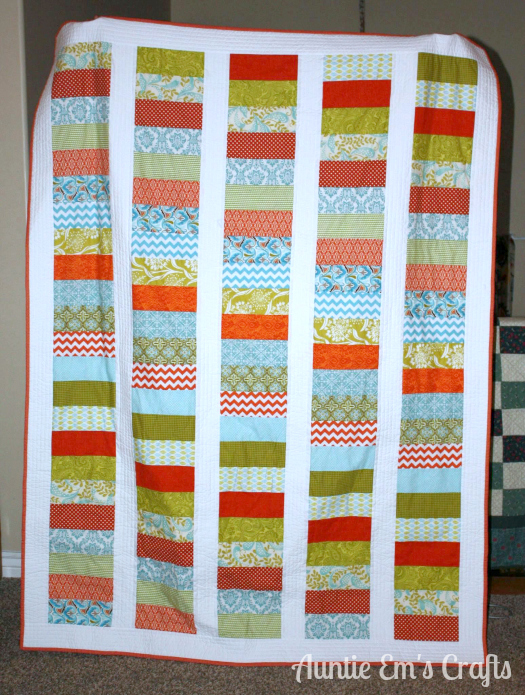
Carli’s Coin Quilt. Copyright Auntie Em’s Crafts, 2013.
Referring to my comfort quilt size chart, I drew up a diagram to fit the new coin quilt within the minimum and maximum size. This size will measure approx. 58″x 72″ when complete.
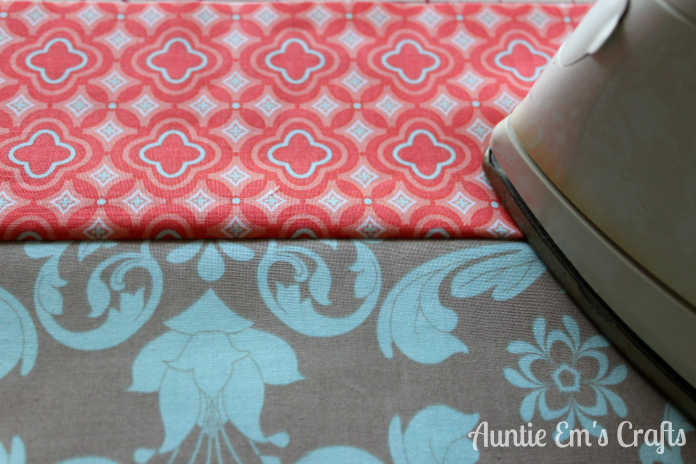
This quilt was completely constructed prior to any washing. I used Retayne with my first wash to control any dye bleeding.
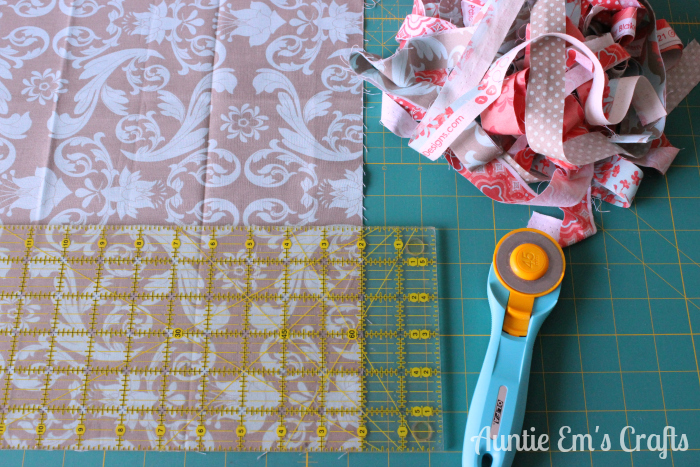
For this coin quilt tutorial you will need the following fabrics and supplies:
Fabric requirements:
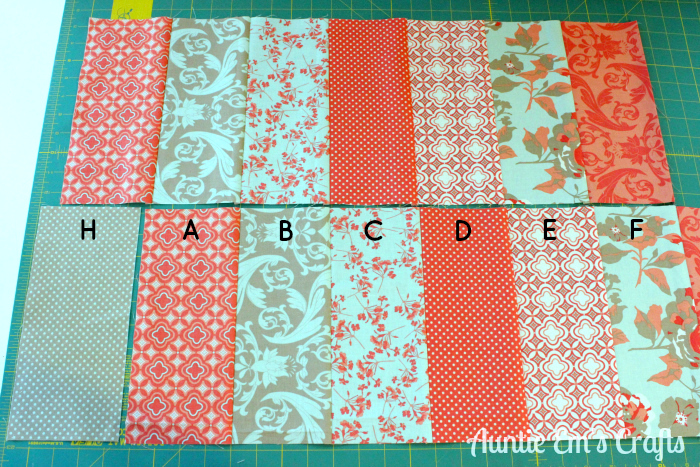
Coins- 1/3 yard of 8 coordinating fabrics
Sashing- 1 7/8 yards
Backing- 3 2/3 yards
Binding- 5/8 yard
Batting- 72″x 90″ prepackaged batting -or- 1 7/8 yards of 90″ wide batting by the roll
Supplies:
6×24″ ruler, Shape Cut ruler (recommended), rotary cutter, cutting mat, coordinating thread, straight pins, seam ripper, water soluble pen, tape measure, iron, ironing board, 1/4″ piecing foot (recommended), and of course, sewing machine. If you will be finishing the quilt yourself, I also recommend masking tape, basting spray, and a walking foot.
All seam allowances are 1/4″.
![]()
Create the Coins:
Making the coins in strips will save you a lot of time and will help you have more even seam allowances. This will result in your columns being more even in length than if you would have sewn the coins together individually.
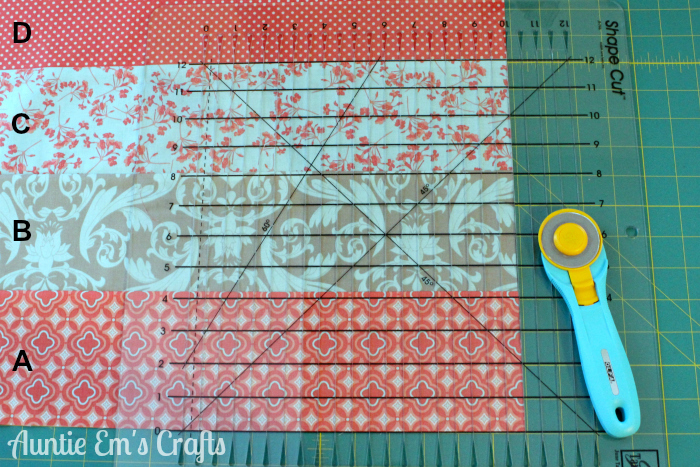
1. Square up your coin fabric using your 6×24″ ruler. Trim the selvage edges off the bottom by approx .75″. Set them aside for a fun project later.
2. Cut two strips, 4.5″ wide by WOF (width of fabric) for each of the 8 coin fabrics.
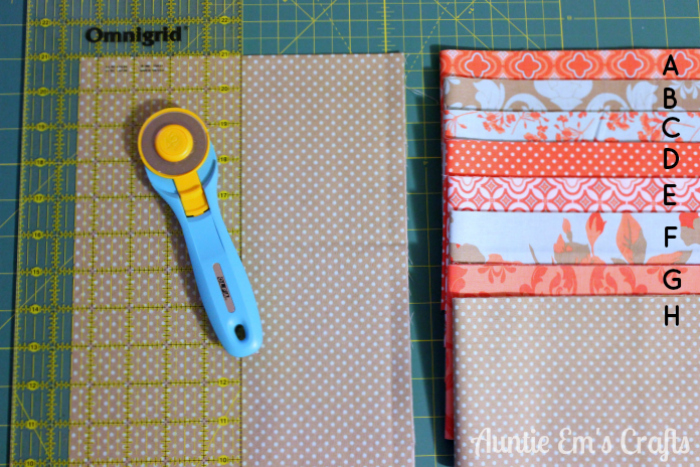
3. With the 1/4″ piecing foot, sew the long side of strip A to strip B, right sides together. Repeat with the second A and B set. Continue with sets C and D, E and F, and G and H.
4. Iron all strip sets open so that the seam faces towards fabrics A, C, E, and G.
5. Sew strip set AB to CD. Sew EF to GH. Iron the seams open towards B and F.
6. Using the Shape Cut, cut 10″ sections from ABCD and EFGH. You will have eight sections from each strip set.
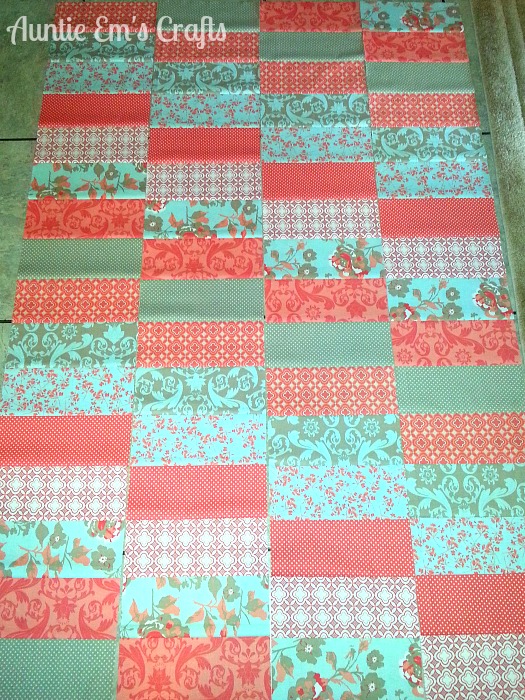
7. Pin and sew section ABCD to EFGH. Iron the seam open towards D. Create 8 ABCDEFGH sets.
8. To complete Column 1, sew ABCDEFGH to ABCDEFGH. Iron the seam towards H.
9. To complete Column 2, use a seam ripper to carefully remove coin H from one ABCDEFGH set.
10. Sew H to the top of a new ABCDEFGH set. This will become the top of Column 2. Then sew the ABCDEFG set to the bottom of HABCDEFGH. Iron the seams towards the two H coins.
11. To complete Column 3, remove coin set GH from a new strip set. Assemble the column in the same manner as step 10.
12. To complete Column 4, remove coin set FGH from a new strip set. Assemble the column in the same manner as step 10. Your columns should now look like this.
Create the Sashing:
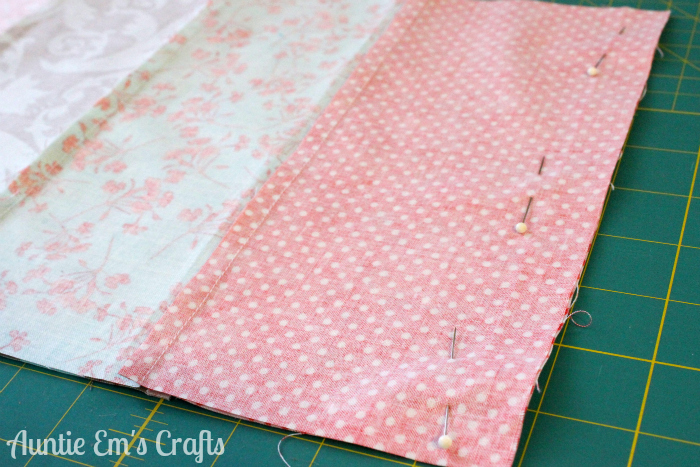
1. Square up your sashing fabric using your 6×24″ ruler.
2. Cut fourteen strips 4.5″ x WOF.
3. Set two strips on top of each other. Using your Shape Cut, trim the selvage edges off the bottom by approx .75″.
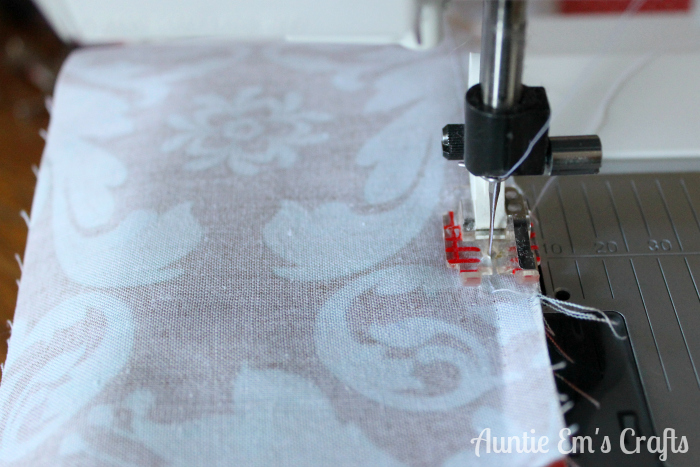
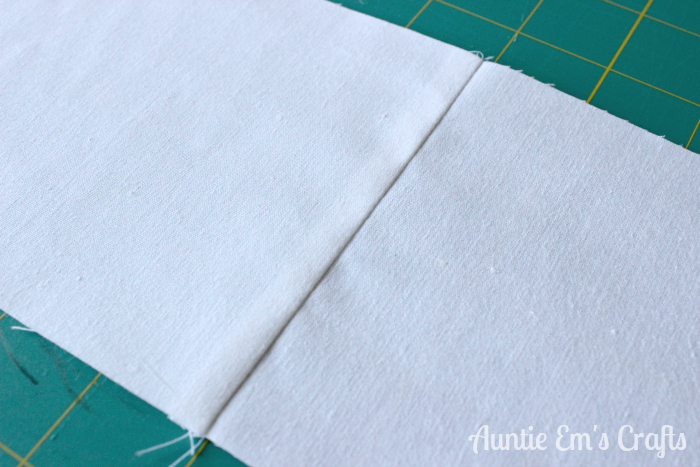
4. Sew two strips together along the short side. Iron the seam. Continue to sew the strips in sets of two and iron the seams.
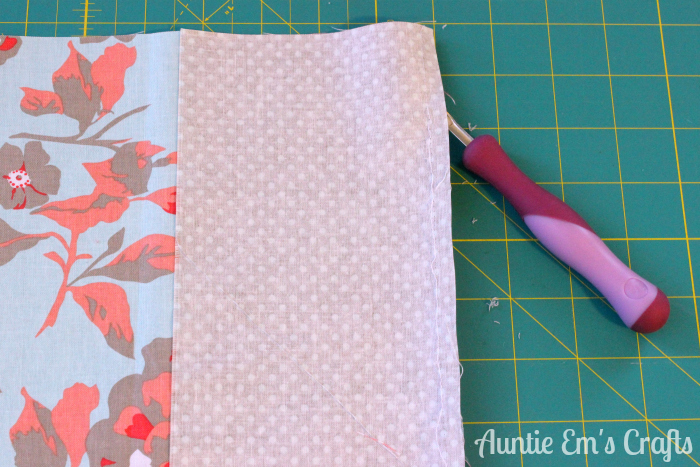
You will now have seven sets that measure 4.5″ tall by about 80″ wide, with a seam ironed to one side.
![]()
The remaining instructions for this quilt are published here: http://www.auntieemscrafts.com/weekend-coin-quilt-tutorial-part-2/.
![]()
This is a beautiful Quilt !!
Thank you Kaye!
Thanks for sharing its very beautiful