I dreamt of having a DreamBox of my own for YEARS. If you never heard of a DreamBox, it’s the cream-of-the-crop armoire for craft storage. Create Room (formerly ScrapBox) had a great sale for Mother’s Day so I decided to take the plunge. Here are my thoughts on it so far.
For what it’s worth, my craft room wasn’t terrible to start with. My biggest issue was that I had too much furniture in here. My craft room is in the master bedroom of the main part of my house (we have a built-on extension, so we sleep in the master bedroom on that side). My son has claimed the attached bathroom as his, so he sometimes had a hard time getting to it from all the boxes and totes on the floor. My main cutting tables were in the center of the room, so I’d have to walk around to get fabric or to iron. Not a deal breaker, but it wasn’t ideal. Long story short, this room has been a mess since we moved in last summer. Here’s a super embarrassing shot from after Christmas when my craft room was trashed. Shh, don’t tell anyone!!
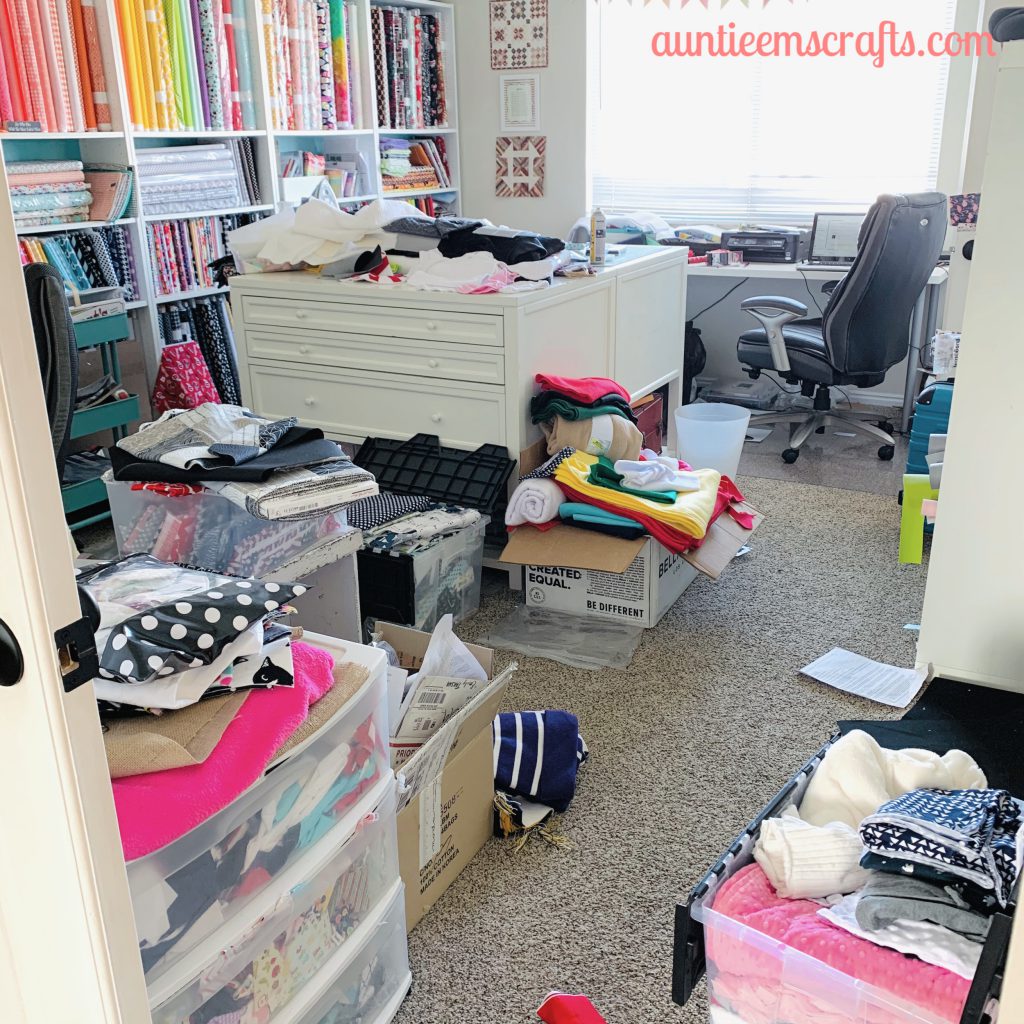
When my fabric store sales increased during Covid-19, my niece and I were having a hard time getting to the fabric and having a good place to cut it where the bolt wouldn’t fall on the floor. We decided to move the cutting tables against the wall.
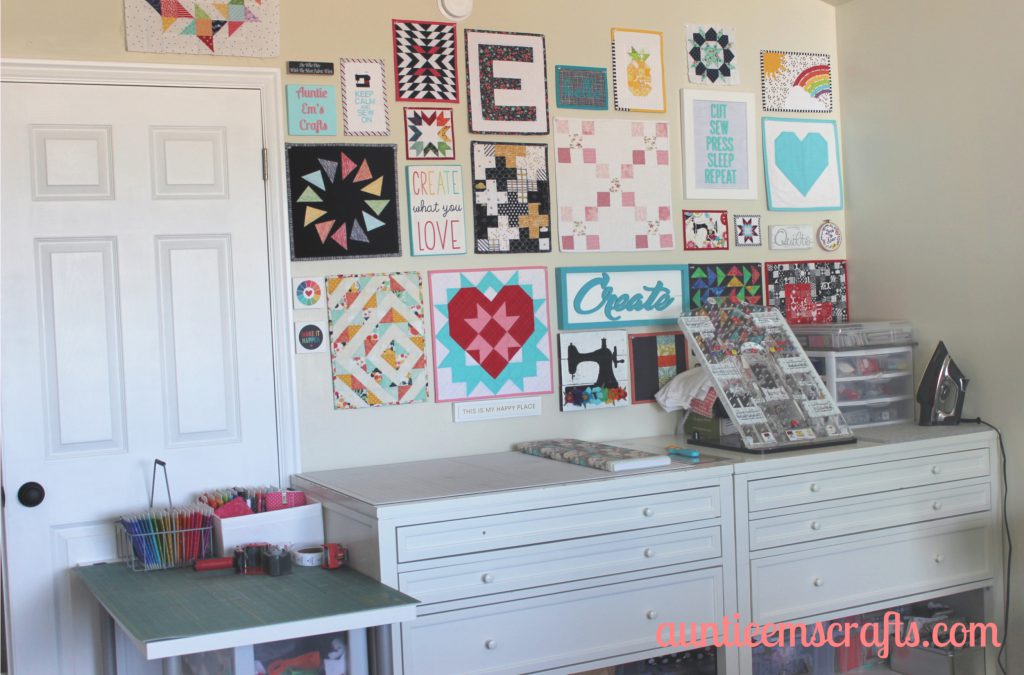
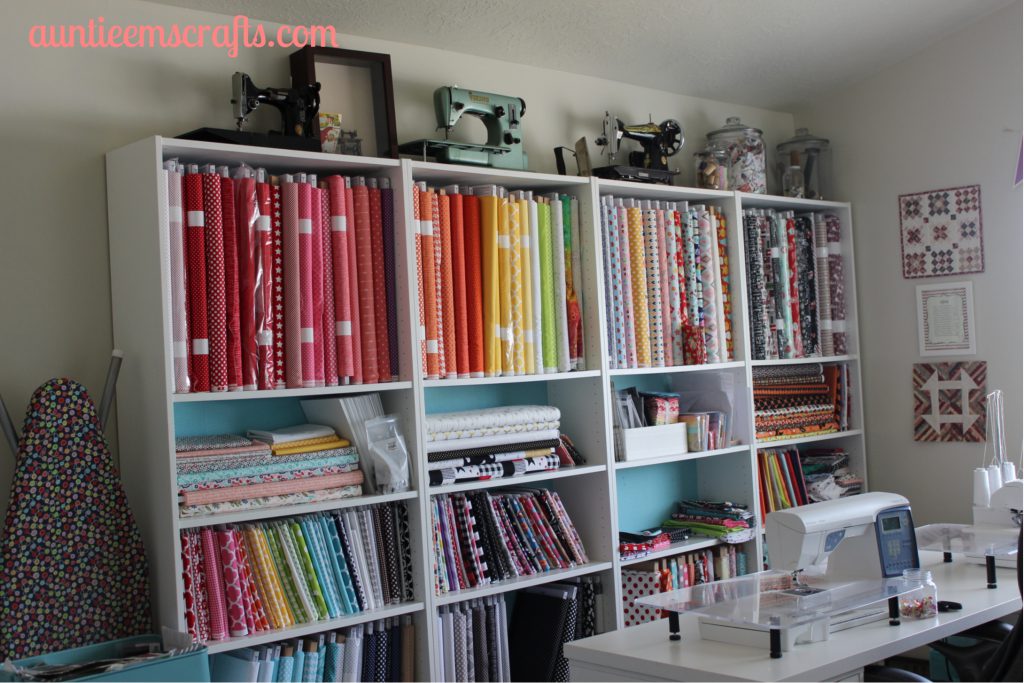
That was a great start but I still wasn’t satisfied. I did like this set up much better, but I really wanted the fabric OUT of my sewing room. I decided to get a DreamBox and Sew Station (more on that in another post later) and I began to move the fabric bookshelves into my “showroom”. That’s our fancy word for third car garage. My craft show set up was already in there but if I moved the fabric there too then customers could easily come over to shop without stepping foot into my messy living space. SCORE!
Arrival day was super exciting for me. My husband was mostly excited about the free plywood, LOL!
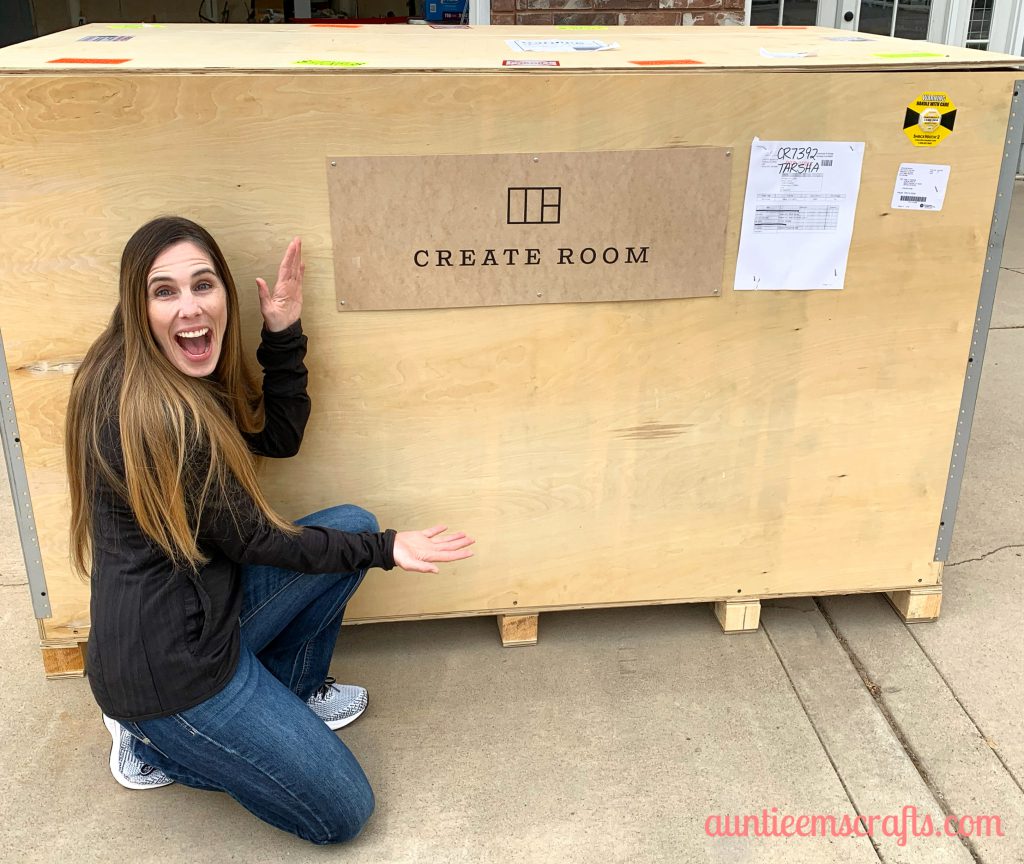
I got the pre-built service and that saved us several hours in assembly. It was still pretty time consuming to decide where to put my shelves and bins, plus deciding what to put in them. I do wish I’d have purchased the 80 tote set rather than the 40 tote set. I didn’t think I would need them but having the extra shelves would have been nice. I’ll plan to order the upgrade during their next sale. For now I wanted to make the best use of the spaces that I have.
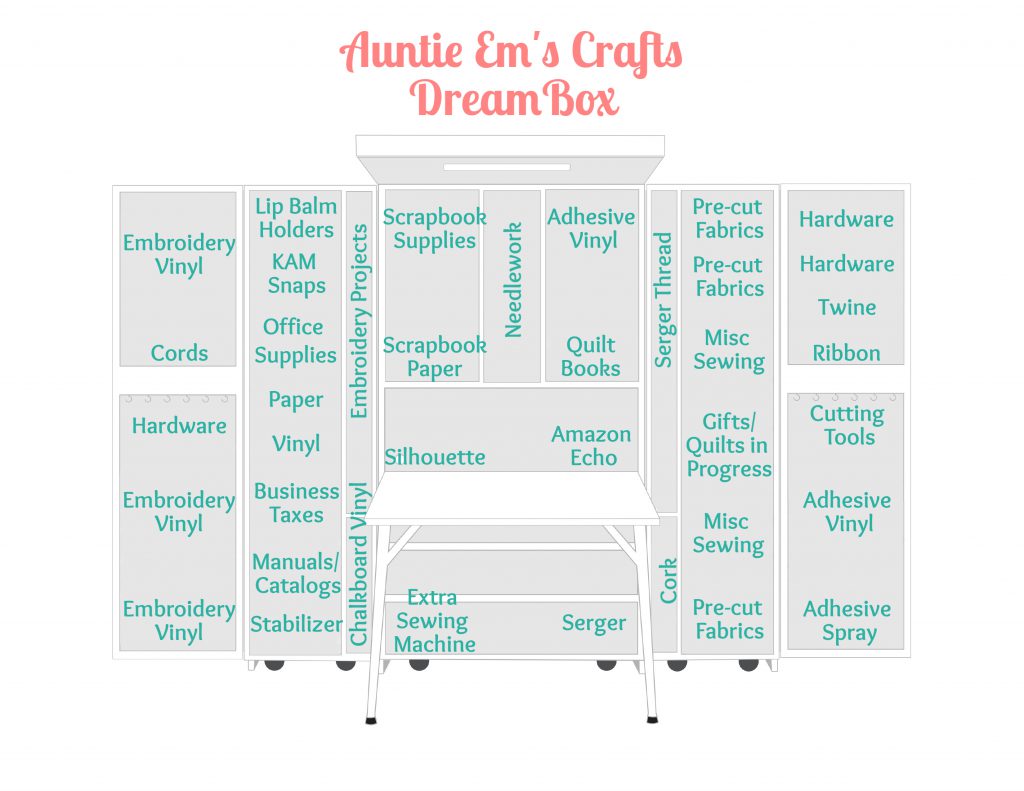
The skinny shelves and bins were perfect for holding my serger thread and small embroidery items that are regularly made for my handmade Etsy store. Since I only had the half set of totes and shelves I was able to store bolts of vinyl and cork on the lower halves.
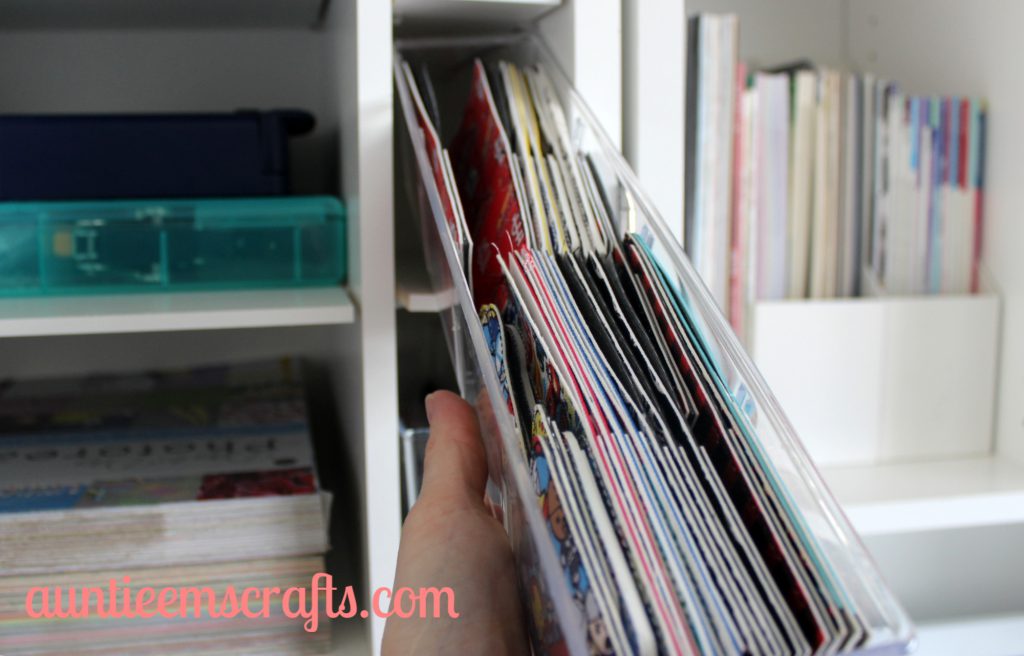
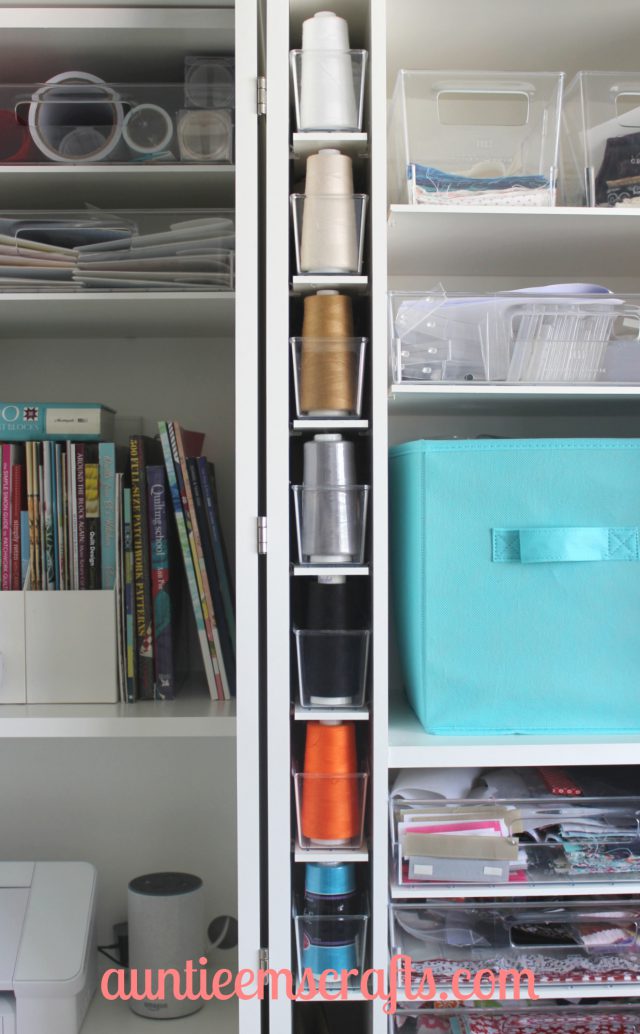
The right doors were filled with various sewing projects, keychain hardware, adhesive spray, adhesive vinyl, cutting tools, and ribbon/twine. I like the little containers that come with the set. They are great for seeing exactly where each notion is kept and when I need to restock.
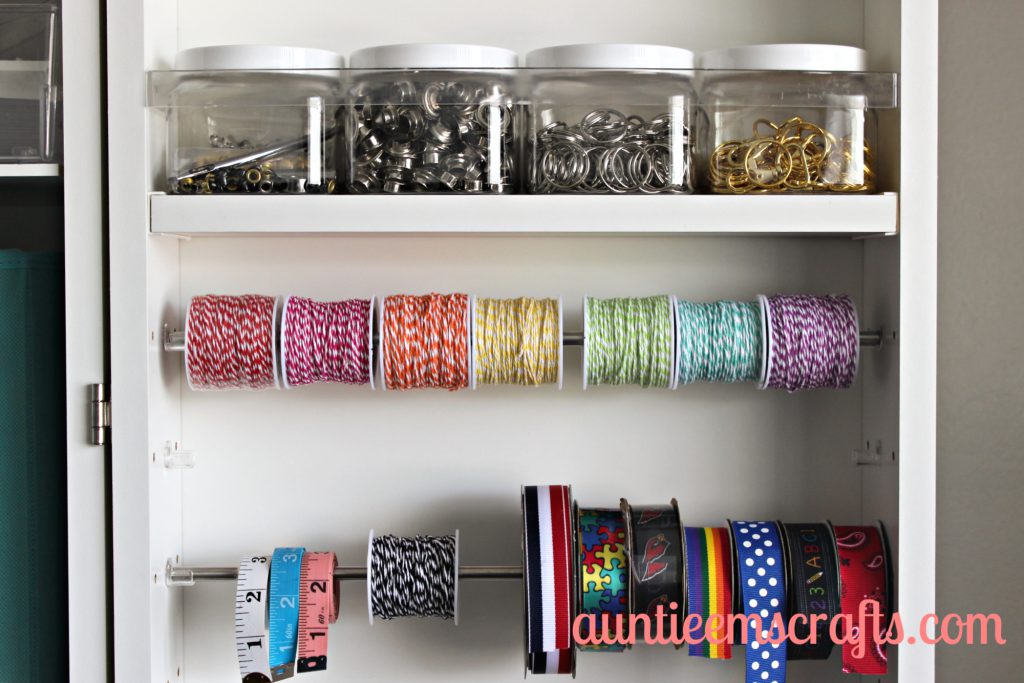
These containers hold a LOT more than the ones I previously used, which were technically crayon boxes from Walmart. I have around 150 lobster clasps in here versus 60 that fit in a crayon box.
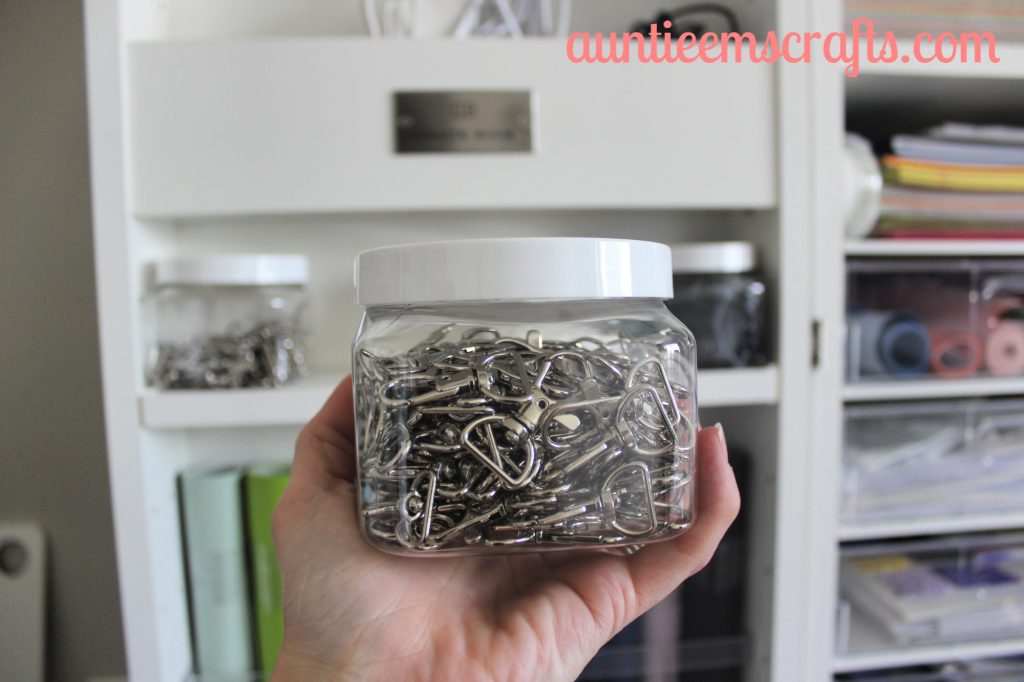
The left doors were filled with machine embroidery items I use on a regular basis: vinyl, lobster clasps, stabilizer, and KAM snaps. I used the left totes to help me manage my Etsy stores. I keep additional office supplies, paperwork for my sewing equipment, and fabric sample cards on these shelves. I also have a tote for storing my paperwork for business taxes. It’s so great not having the receipts in a pile on my work desk.
In the very back part of the desk I have my Silhouette Cameo and my Amazon Echo. I listed to music every day while I get orders ready. There was plenty of room on the DreamBox for it so I moved it from my window sill.
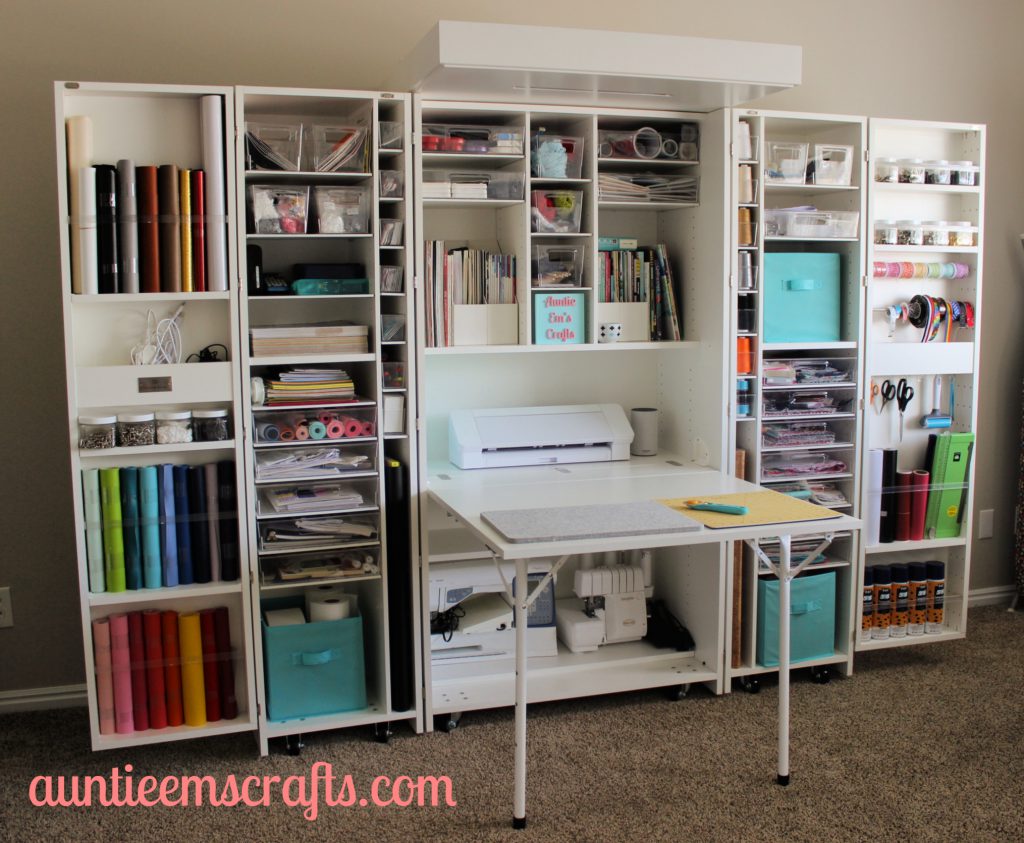
I’m using the shelving in the middle for scrapbook supplies and magazines, needlework supplies, heat transfer vinyl, and quilt books. Under the desk I store my extra sewing machine and serger. I plan to purchase more fabric bins for the empty shelf. I could also move my silhouette down there since it doesn’t get used often.
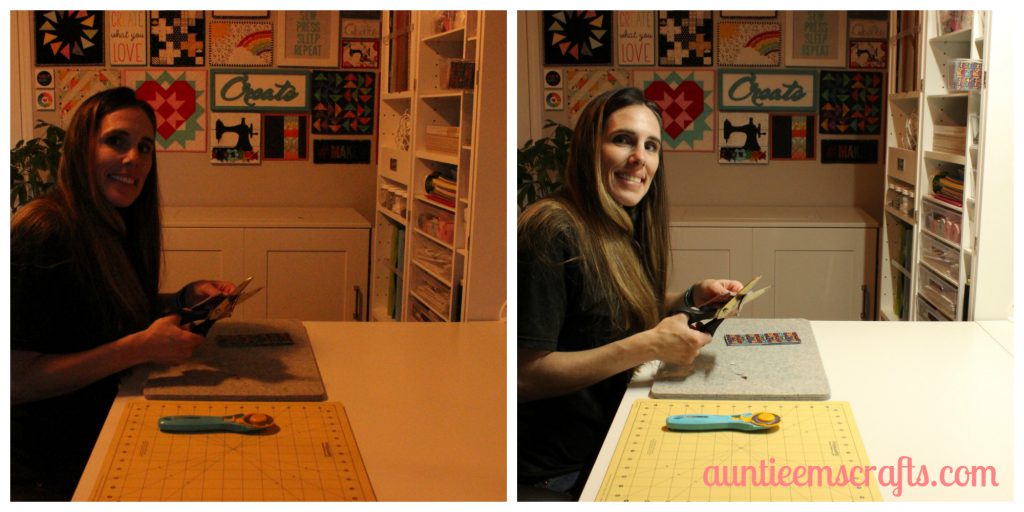
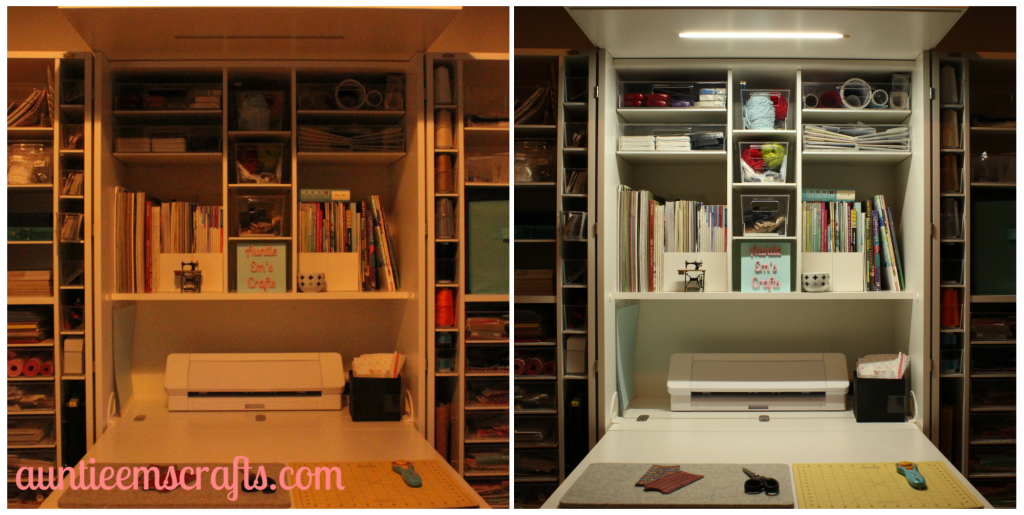
I wasn’t sure if I needed to order the crown with LED light but many DreamBox owners said it was a must-have feature. I have to agree! There is a clear difference when the light is on. It might be a little difficult to see here, but the overhead light I have isn’t very bright for evening work. The LED light shines a bright white light over the whole workspace. I don’t craft at night very often, but this will be fantastic for the Fall/Winter craft show season when I have to work extra hours.
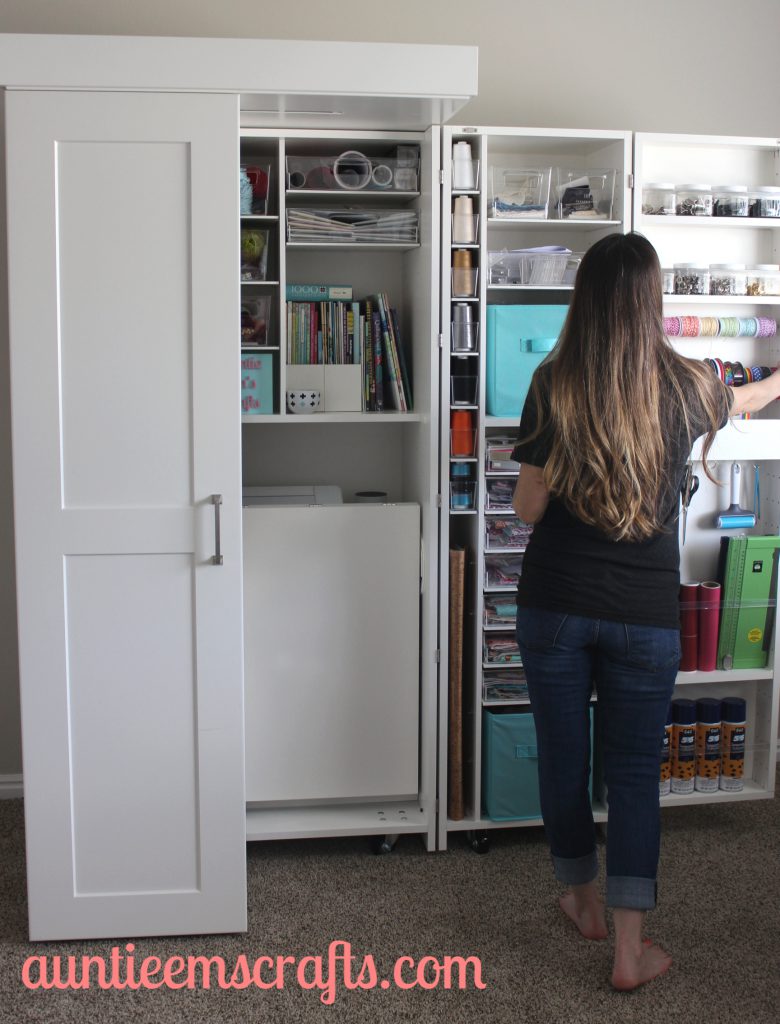
I opted for the shaker style doors because I really love that look. I will PROBABLY keep my DreamBox open all the time so you won’t see that. BUT, if I ever need to close it up and make room for an air mattress for a guest, the DreamBox will certainly be a pretty feature in the room.
My favorite part of this whole set up is that I’m able to SIT DOWN to work on the things I make on a daily basis. Previously I stood at my cutting tables and would look down to cut sewing and embroidery items. This led to a trapezius strain that lasted for over four weeks. My neck was wrecked from the repetition and bad posture! The DreamBox desk can raise up to be a standing workspace, but I’ll probably keep it lowered to sit in my office chair. (A bonus is that I can have my four year old sit here to play LEGOs while I’m at my shipping workstation processing orders.)
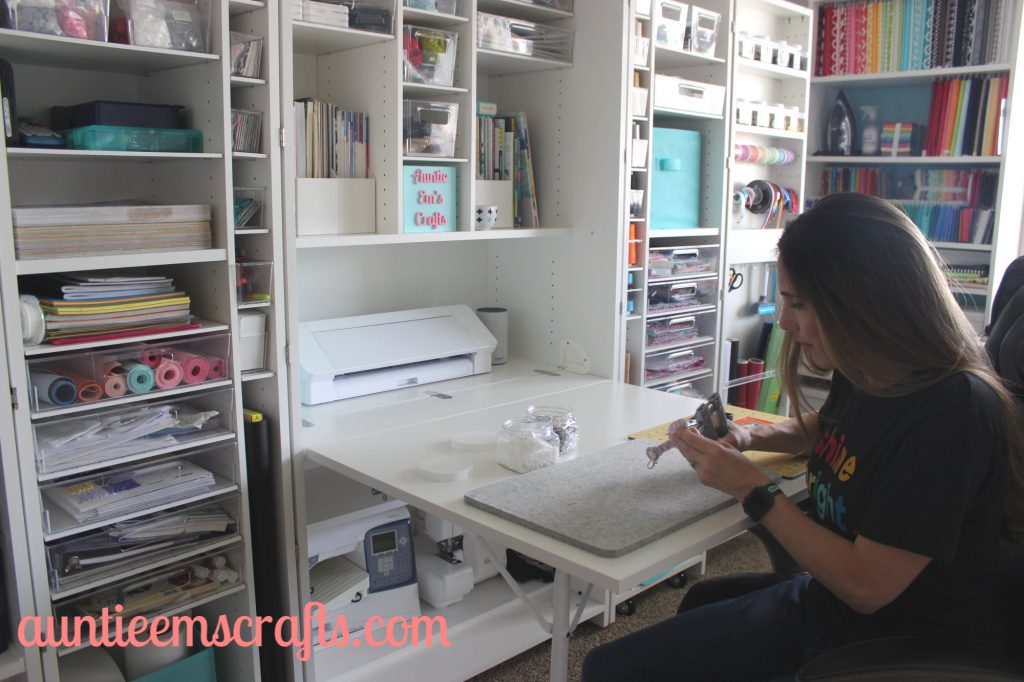
This DreamBox was the perfect Mother’s Day present for me and I’m super giddy to finally own one. I feel like I finally know where to put everything. I also do a much better job of keeping my office clean now so that’s a HUGE bonus in my book.
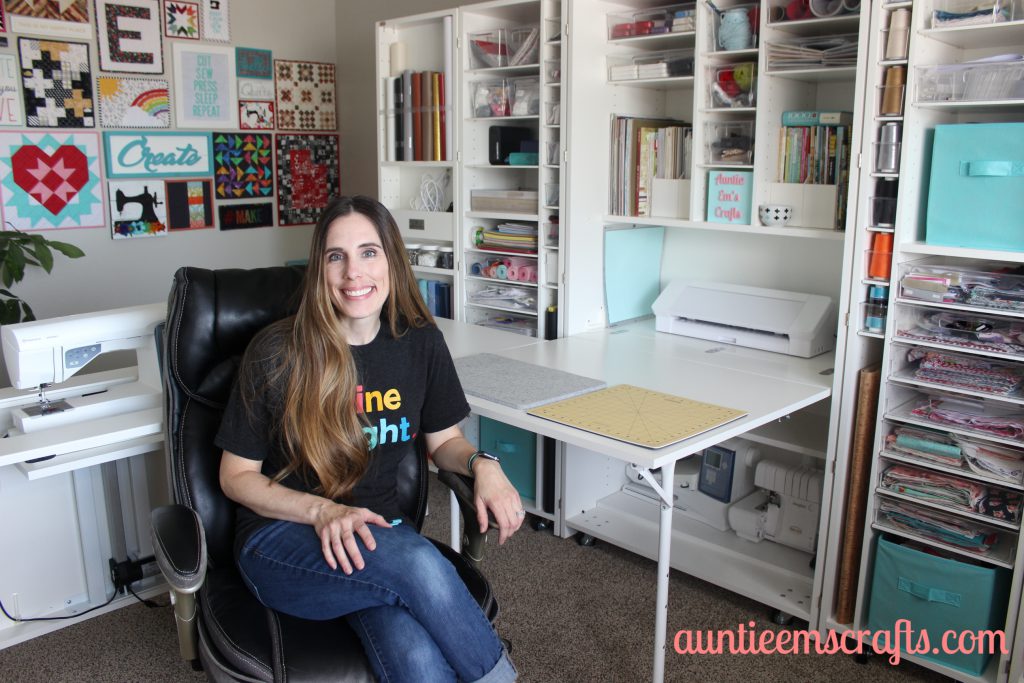
Here’s an overview of how I have mine filled up.
This is a great piece of furniture that would be helpful for anyone who works in the craft industry, whether for fun or for profit. To check out the DreamBox and all of the craft furniture from Create Room you can visit their site here. Use code AUNTIEEMS to get $100 off!
If money is tight, I’d opt for the crown with LED and the extra totes and shelves over the fancy exterior of the cabinet but my needs might not be the same as yours. You can always add the crown or totes later, but you won’t be able to change the outside doors.
I can’t wait to use this DreamBox everyday. It really has been a dream come true for me!

This post contains affiliate links. They are of no cost to you if you click one, but they do provide financially support for my blog.
Leave a Reply