Ever since I first saw a quilter’s design wall on Pinterest, I knew I needed to have one. If you are unfamiliar, it is a board covered with quilt batting that you can stick your in-progress quilt blocks onto. It is especially a great idea for those of us with pets who do not want to get animal hair on our projects from laying them on the ground. Plus, dogs and cats will immediately lay on whatever project is on the ground. I think they do it on purpose!
I don’t have cats anymore, but I do have a black lab who sheds EVERYWHERE. Laying any project on the floor, let alone quilt blocks, is not an option.
Handmade gifts are my favorite, so getting this for my birthday was a total score!
To make your own, you will need:
1.5″ x 4′ x 8′ foam insulation (I think any 1.5 or 2″ rigid foam board would be fine)
2 yards of 90″ wide batting or a twin sized packaged batting
Craft adhesive spray
Duct tape or staple gun
Box cutter or other sharp knife
Straight edge (ruler, level, etc)
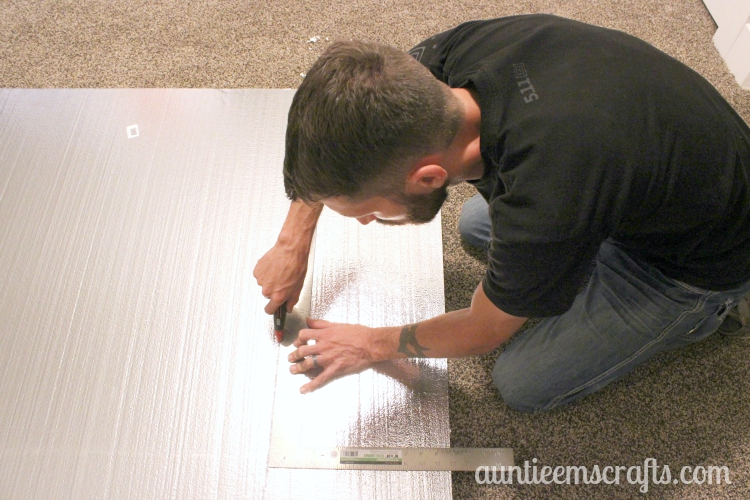
We started by first cutting one foot off of the foam board. My ceilings are 8′ so I needed to take off just a little height. We set a ruler along the bottom edge and used it to measure while he cut 12″ off. Pardon the dark photos…. we decided to start working on this late at night. In fact, the entire thing was done late at night so I hardly have any photos of the construction.
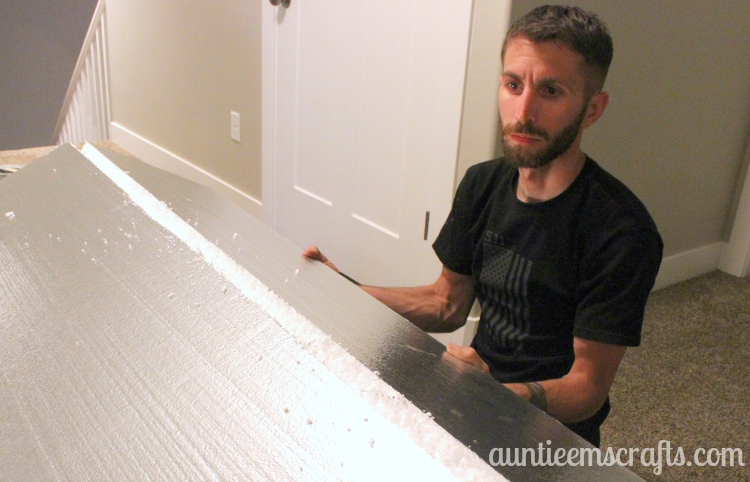
My mom and I took the board outside to finish it. We laid the batting on top of the foam and smoothed it out to make sure it laid pretty evenly all the way around the edges. We picked up half, sprayed the foam with the adhesive spray, then smoothed out the batting. We repeated with the other half.
Once the top was good, we flipped it over and sprayed the edges all the way around and secured the batting. We then sprayed the remaining batting to the back. To make sure the batting would stay put, we used duct tape on the batting edges all the way around on the backside.
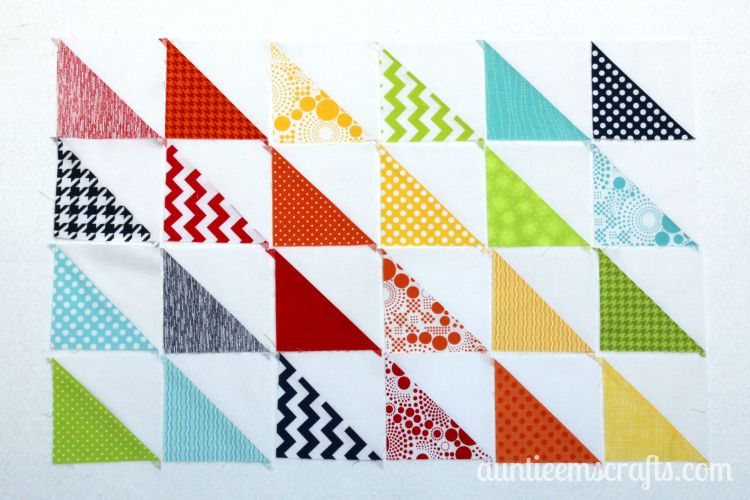
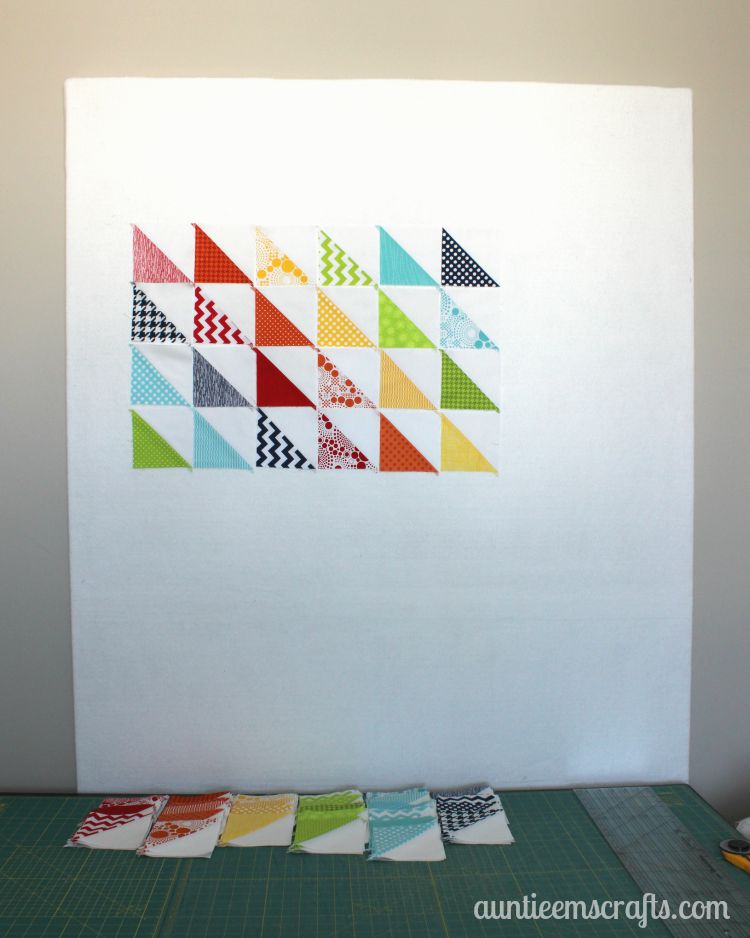
I am already IN LOVE with the design board. It will make laying out quilts so much easier. I will be able to easily move around my pile of half square triangles into many different patterns before committing to a certain one. The blocks just stay on the batting when you smooth them down. BTW- If you are as addicted to rainbow quilts as I am, check out this board on Pinterest.
I highly recommend making a design wall if you are a busy quilter. Getting the board ready really only took an hour or less.
![]()
Em, I just ran across your tutorial “Design Board”. My husband was going to make one, but was curious how you attached it to the wall. Since it is a form of board, we werent sure if anchors you secure on would the back of large pictures would easily come out of the foam for hanging.
Monica, mine is not secured to the wall because I like to be able to move it.