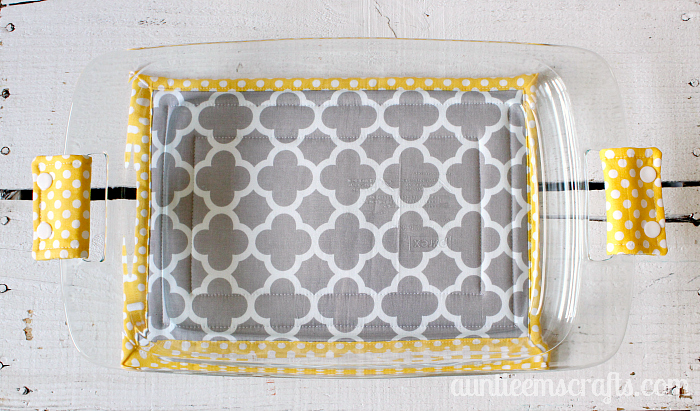
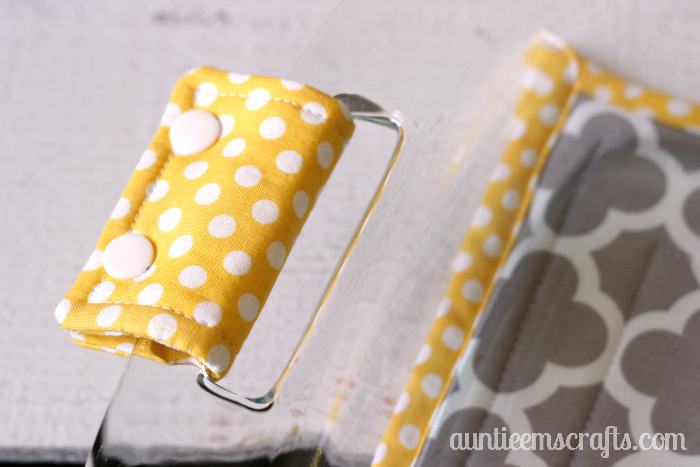
I recently bought a set of new 13×9″ Pyrex casserole pans. The new ones now come with lids and handles…. both features that my old one lacked. After using one for the first time I realized they needed a padded handle to make passing a dish around easier on the hands. I tried three different sizes and variations, but these Pyrex handle covers are the ones I have settled on.
Fabric Requirements:
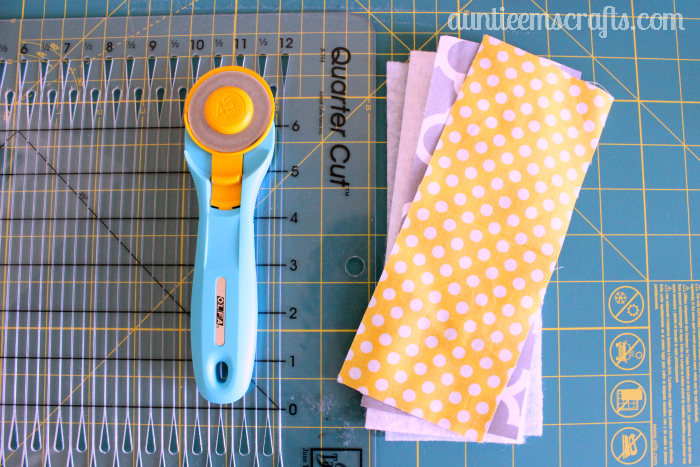
3.75″ x 8.5″ Scrap fabric for the top*
3.75″ x 8.5″ Scrap fabric for the bottom*
3.75″ x 8.5″ Scrap batting or fusible fleece
3.75″ x 8.5″ Scrap of Insul-Bright (if you do not have this on hand, you can double up the batting or fusible fleece)
*The top and bottom can be the same print, if you’d like! Either way is cute.
Supplies:
Quarter Cut Ruler, or other acrylic ruler
Cutting mat and rotary cutter
Basting Spray
Wonder Clips
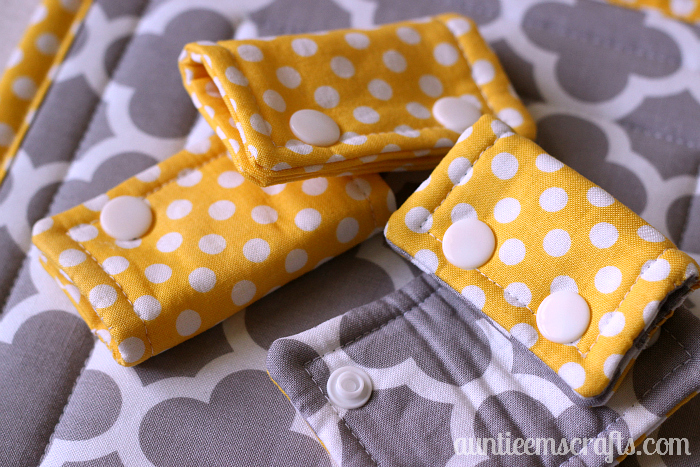
Sz 20 snaps and snap tool kit (I used Babyville)
1. Cut the two fabrics and two liners to size.
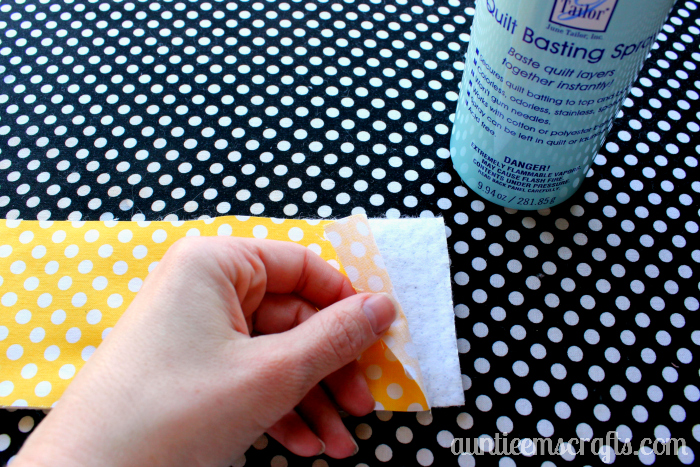
2. If you are using fusible fleece, iron it the back side of one fabric piece. If you use batting, spray adhere the pieces together with basting spray.
Apparently I have a dot obsession. 🙂
3. Use the basting spray to adhere the second fabric piece to the Insul-Bright.
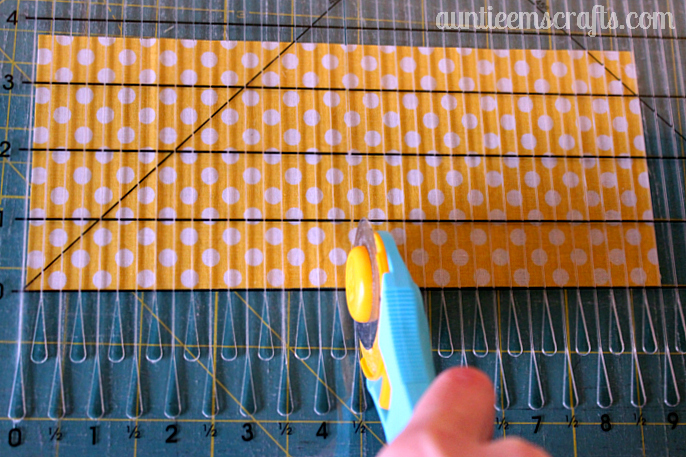
4. Now cut each piece again so that the finished sizes are 3.75″ x 4.25″. This is an instance of do as I say, not as I do. I made a set that began at 8″ long and another at 9″ long. Starting with 8.5″ was perfect!
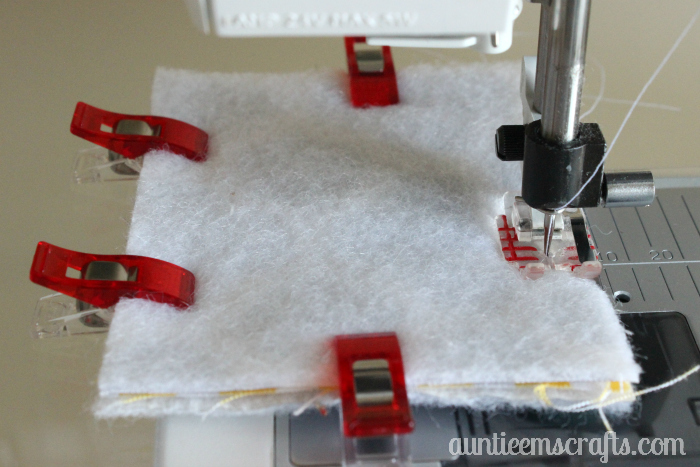
5. With right sides facing together, join a top and a bottom piece. Use a few Wonder Clips to keep the pieces from moving. Toward the bottom of a long side, start sewing with your 1/4″ foot. Sew all the way around, leaving a 2-3″ gap. Make sure you set your stitch length slightly longer than normal and also fix or back-stitch where you begin and end.
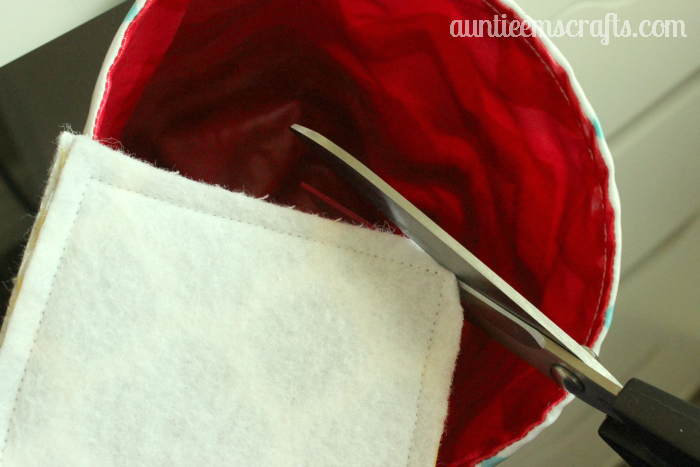
6. Clip the excess fabric away from the corners. Be sure not to cut your threads! My super awesome thread catcher was custom made by Compelled to Craft on Etsy.
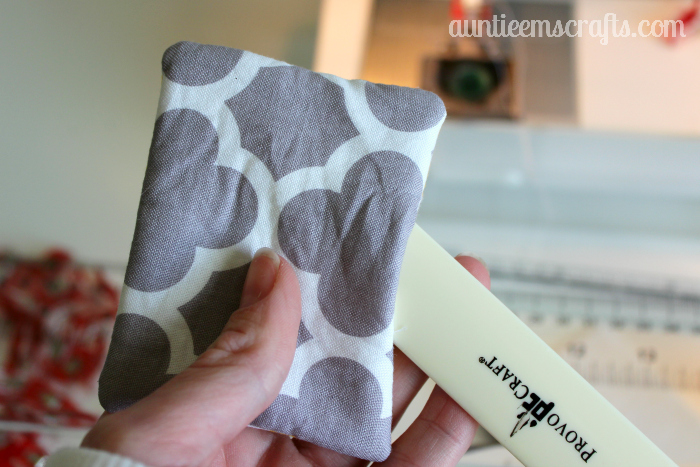
7. Clip your strings and flip it right side out. I always use a bone folder (scrapbooking tool) to push my corners out, but a chopstick or other pointy object would be fine too.
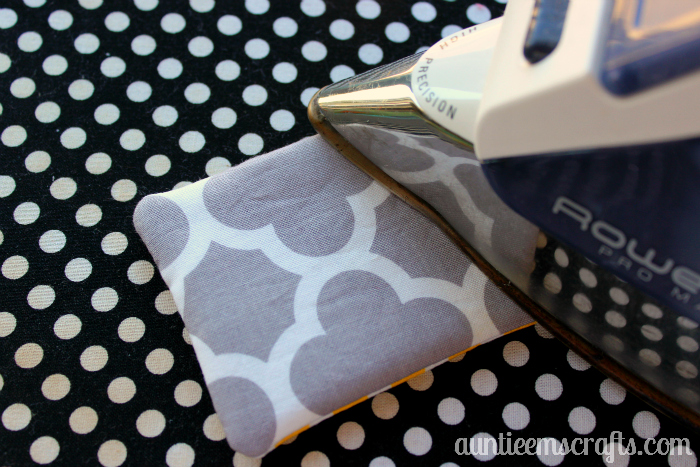
8. Iron it nice and flat with a little bit of starch or sizing. Make sure the opening is ironed flush with the rest of that side.
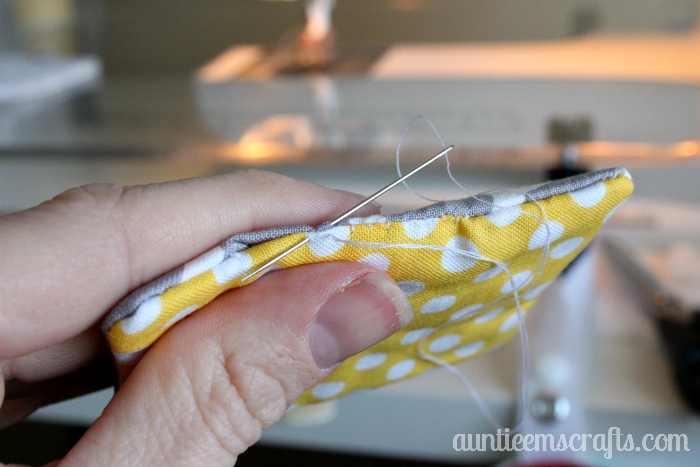
9. Hand sew the opening shut.
These next steps are where I forgot to take photos with the yellow and gray…. soooo I made another set with different colors so that I could show you the rest. Well whatdoyaknow, more dots!!
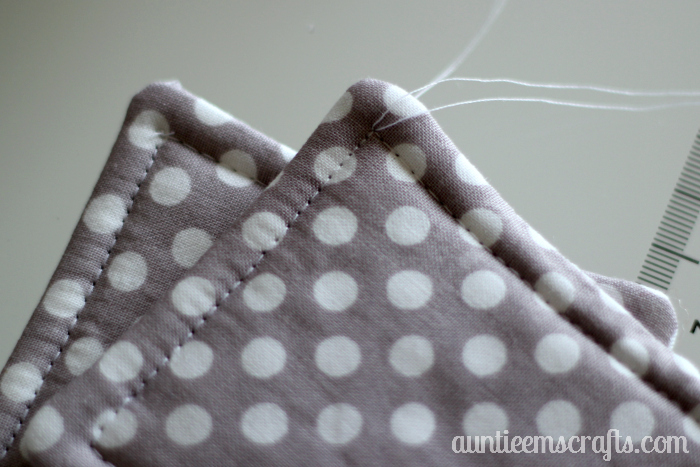
10. Top stitch the piece using the 1/4″ foot. Fix or back-stitch where you begin and end. Tie the strings together to form two knots on the top and bottom before clipping them.
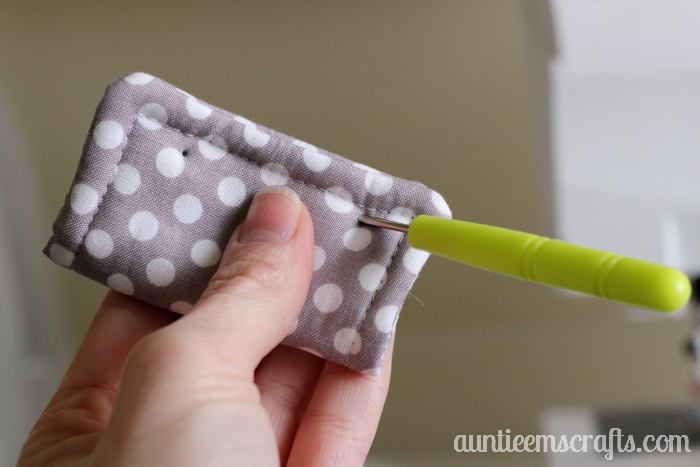
11. Next, use the piercing tool from your snap tool kit. Fold the fabric in half and pierce the fabric through all of the layers at once, about 3/4″ from the sides, and 1/2″ from the top.
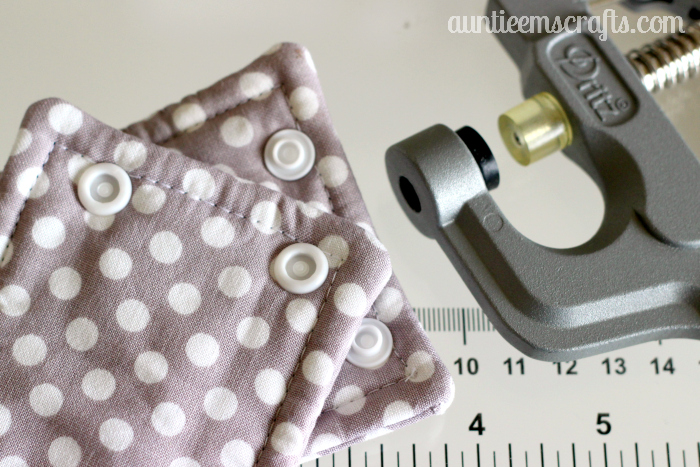
12. Place a snap base in all four holes so that the circle parts are all on the same side. Add a male piece to two holes on the top and add a female piece to the two holes on the bottom. Squeeze the snap tool to set them in place. Tip: squeeze the tool half way first, then all of the way to prevent your snaps from breaking.
Repeat steps 5- 12 for your second handle cover.
13. Snap the handle covers onto your Pyrex dish and enjoy!
Here is a tutorial for the hot pads to go under your pyrex dish. You can find some completed hot pads in my Etsy store.
Very clever. Nice gifts.
Very cute…what size of snaps did you use? Thank you for the tutorial!
Hi Karen, they are size 20 snaps. Thank you for bringing that to my attention. I have updated the supplies info.
I love this. This is a good gift to those that have everything.
Very cute ideal for the leftovers.
Very cute! Will certainly dress up the table. Very clever!
Very cute and clever! Want to try this
I Love The padded handles for the Pyrex dish.