It’s March already?! When did that happen? I have been so busy the last few months that time has just flown by. But here it is March and I’m only a few days away from my first craft show. I’ve been working all weekend on adding a few more items and getting everything tagged. I’ve been asked on social media where I get my craft show display wall and tags so I thought it would be easier to share it here and have all the info in one place.
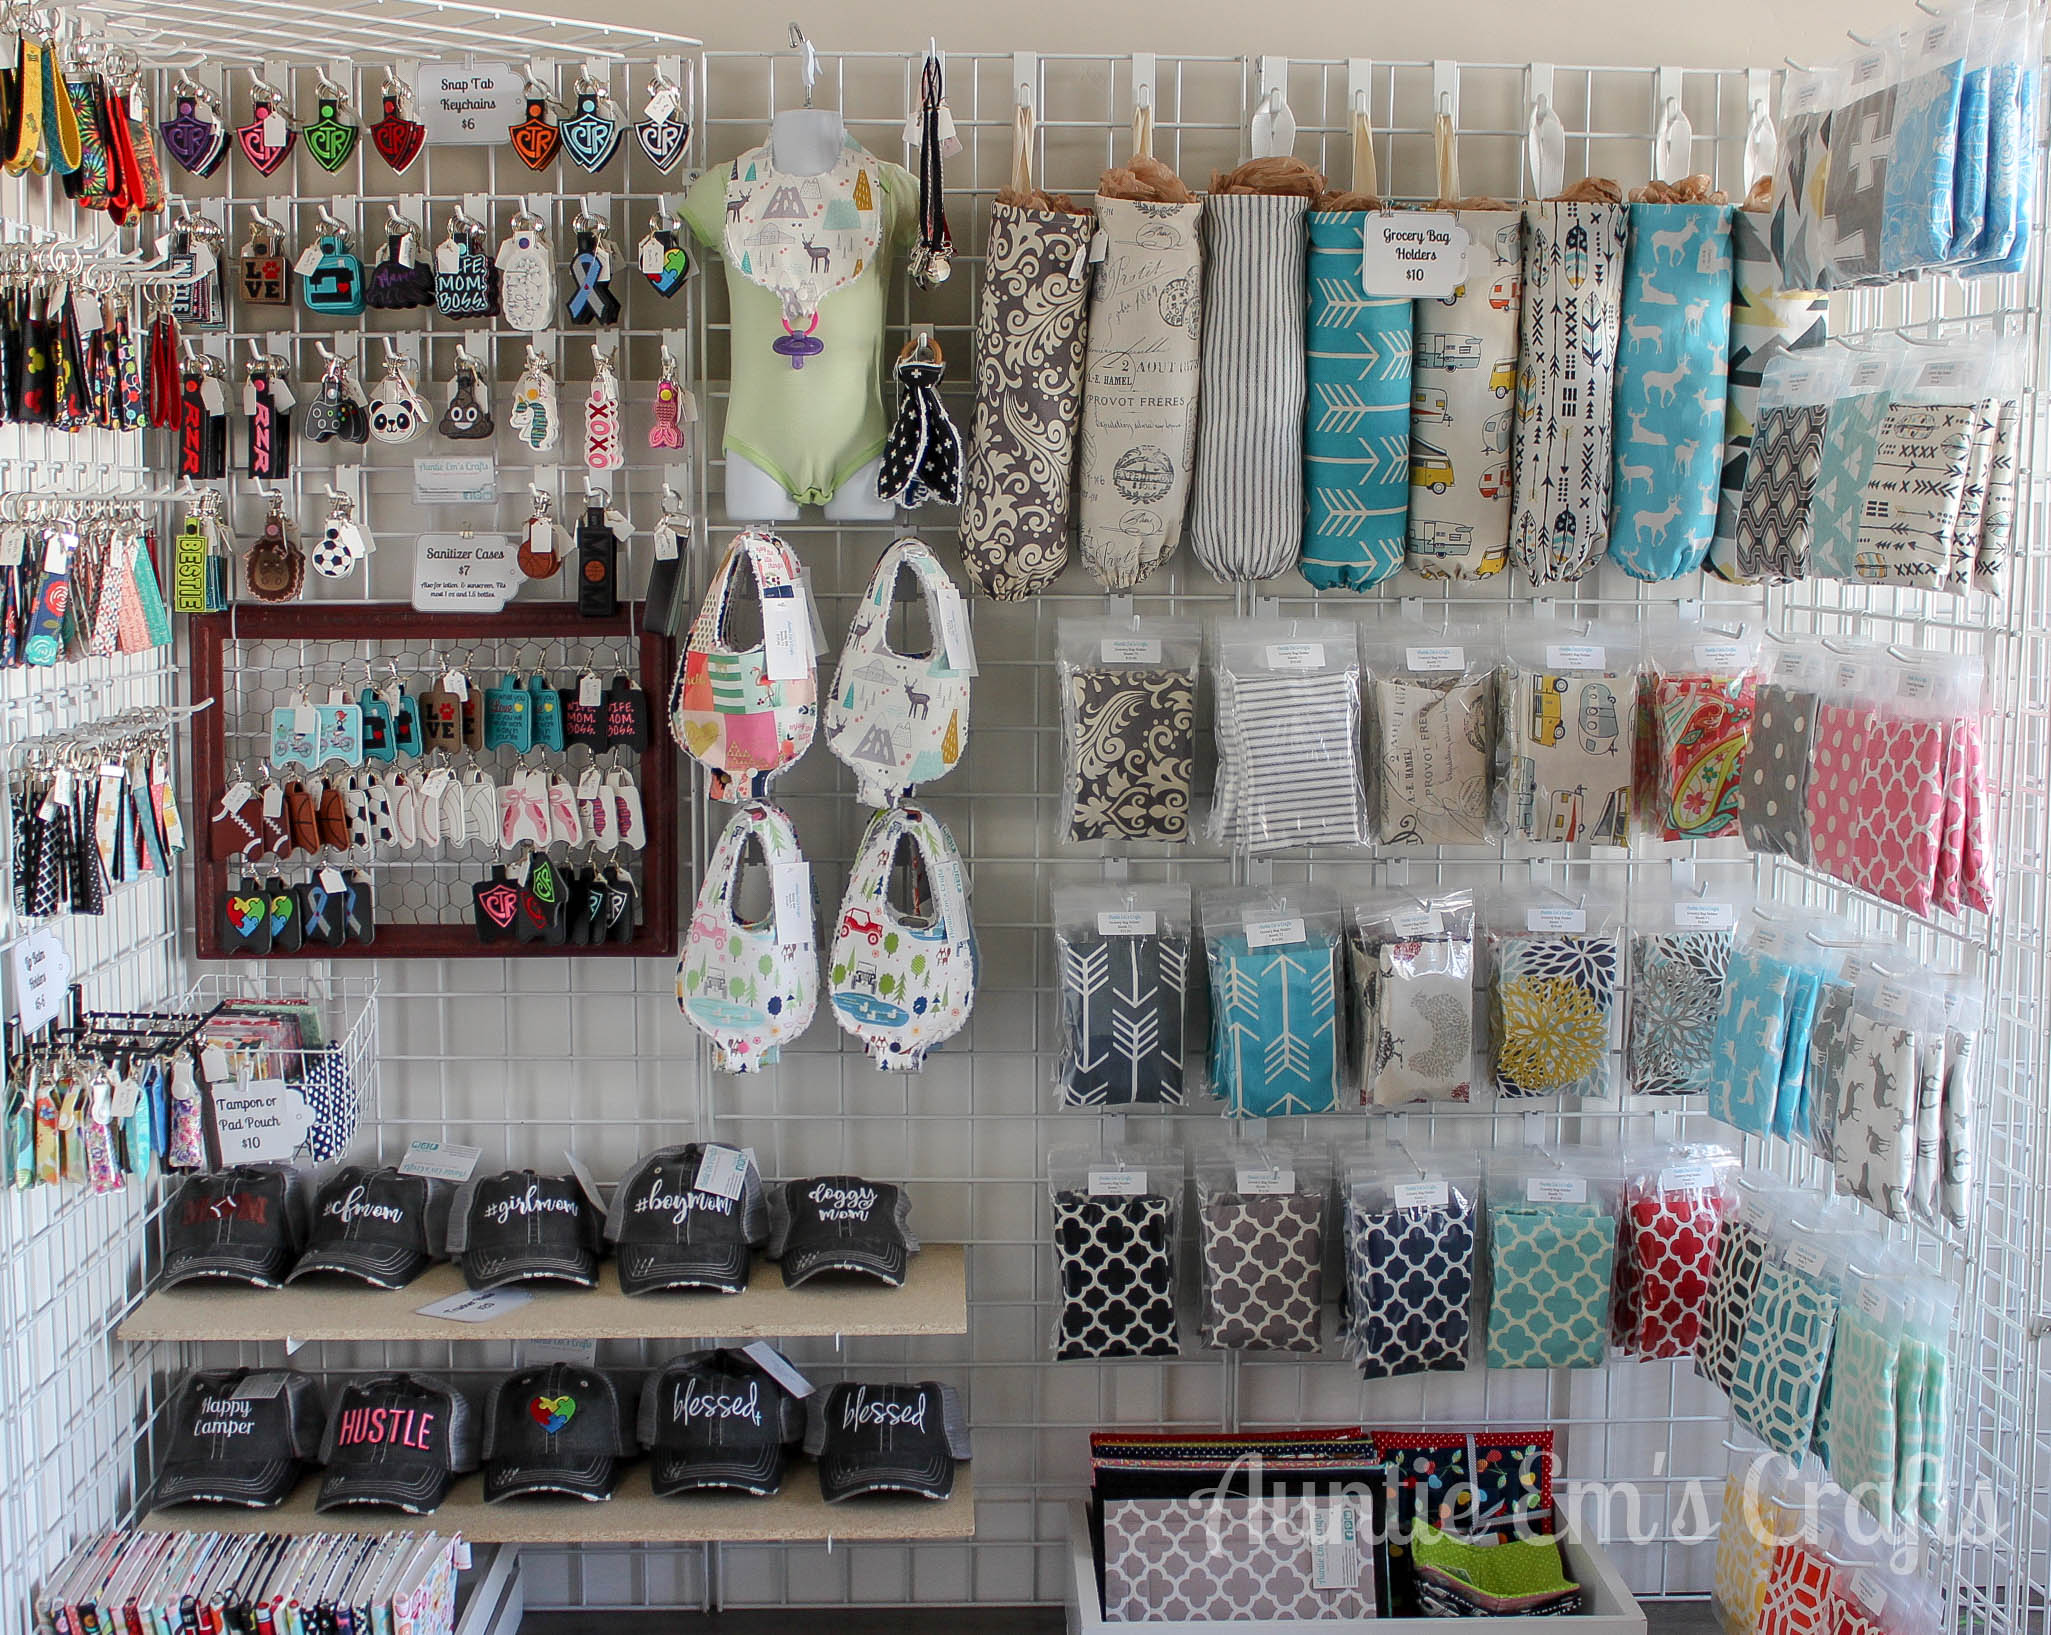
My gridwall came from Advanced Displays in Murray, Utah. If you are in the area, I recommend calling ahead to find out if they have any used gridwall in stock. They sell the used 2×6′ panels for $15 each. Sometimes they look brand new, sometimes they are gross. It doesn’t hurt to check them out if they are in stock. Otherwise new 2×6′ panels are $22 each. Hooks start around 40 cents each, depending on size. You can also get these items on Amazon, if you are prime shopper. You can get a set of three panels for $87 shipped. The hooks are about 55 cents shipped.
I find that I keep going back there to buy more and more hooks, baskets, and bags. I’d recommend buying more than you think you need without going too overboard. I just went two weeks ago, but now that I’ve made more keychains I’ve run out of hooks and had to borrow some of my husband’s black ones. Advanced Display isn’t exactly on my way to anything since I live about 40 minutes from there, but I can stop on the way to my show to pick up a dozen more.
I’d also check the Facebook Marketplace and Craigslist in your area for used ones before committing to new. There may have been a boutique owner who decided to call it quits and she’s got hundreds of dollars tied up into gridwall. You might score a good deal.
Anyway, I like the gridwall because it helps me use vertical space. This is especially important if you are trying to shove a lot of items into a 2×6′ wide space at a craft show. I can fit several pieces in between the seats of my van when my back row is stowed. Then, I can store the totes of my goods on either side of the gridwall for extra stability. If you decide to do this, make sure you cover plastic pieces in your vehicle with a blanket or towel so that the metal doesn’t scratch it. The downside to gridwall is that it can be heavy if you have to carry it a long distance from your car to your booth space. I use a convertible dolly to help me transport it so that it doesn’t make my hands tired from carrying. If you have a Sam’s or Costco membership, I’d check there first for a better price.
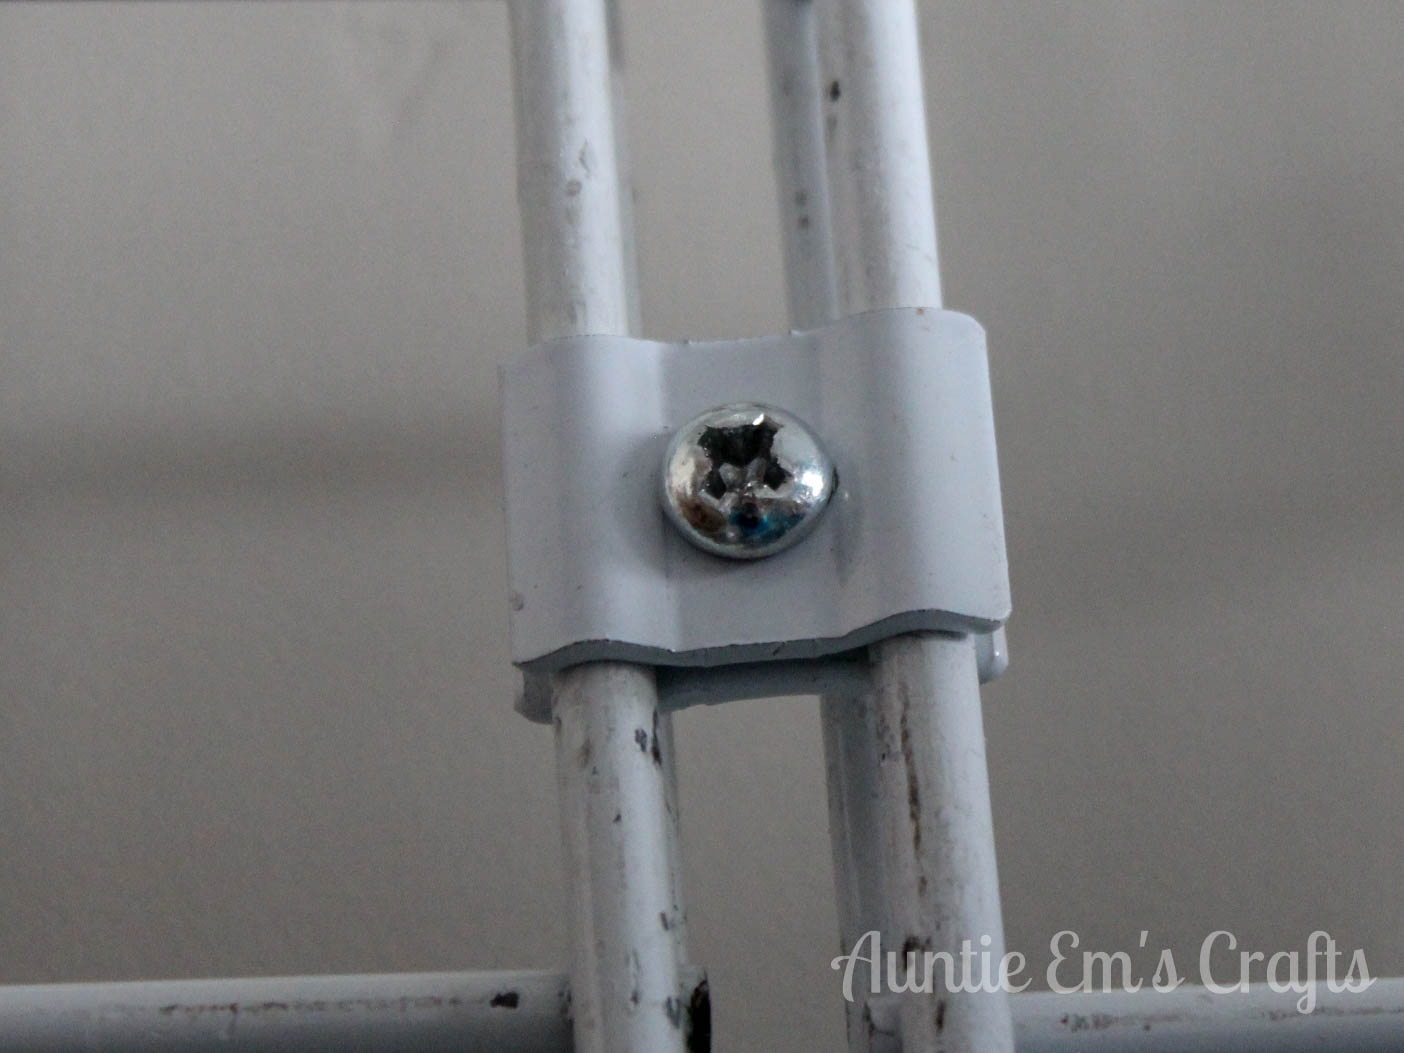
To hold the gridwall together you can either use zip ties that match the color of the gridwall panels or a metal clip. If you get zip ties, DO NOT GET CHEAP ONES! Harbor Freight is a no-no here. They will break and you’ll be sorry (ask me how I found that out….). Invest in good quality zip ties and take a pair of scissors or pruning shears with you to cut them off at the end of your show. Or, better yet, purchase some of the metal clips that connect the panels. You’ll just need to bring along a phillips screwdriver to tighten and loosen them. I used zip ties for over a year before I decided to just buy the clips.
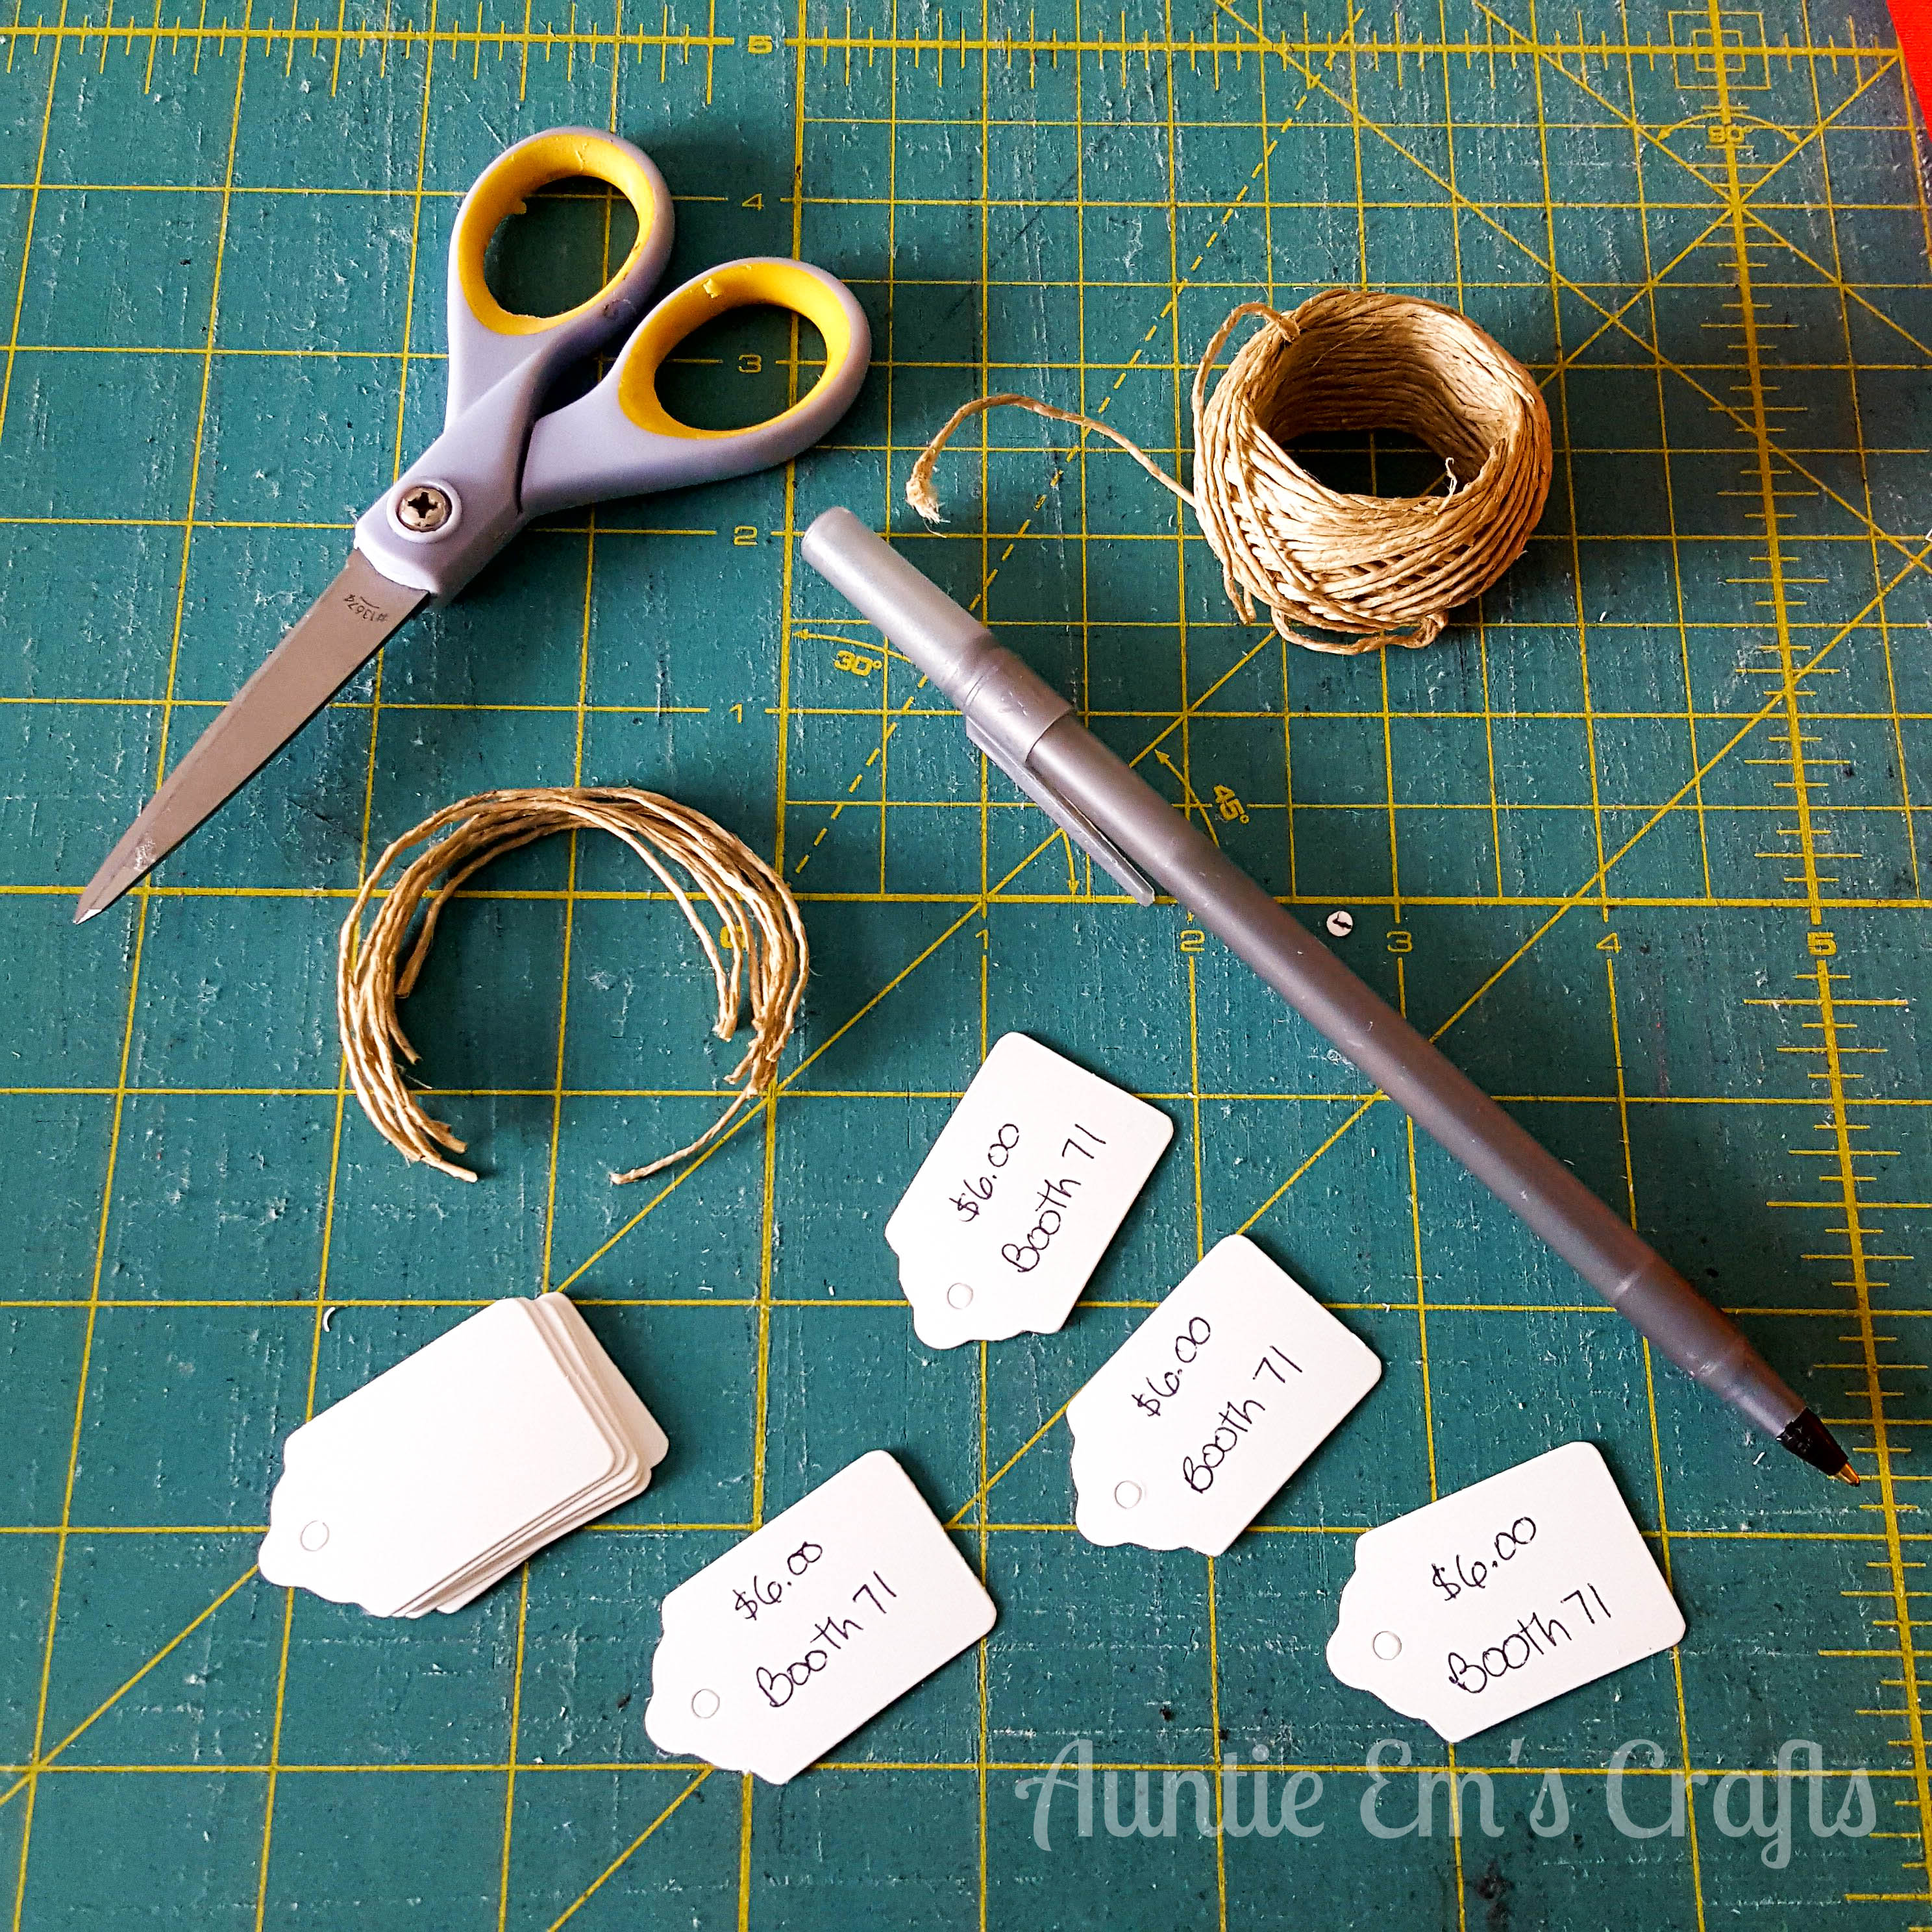
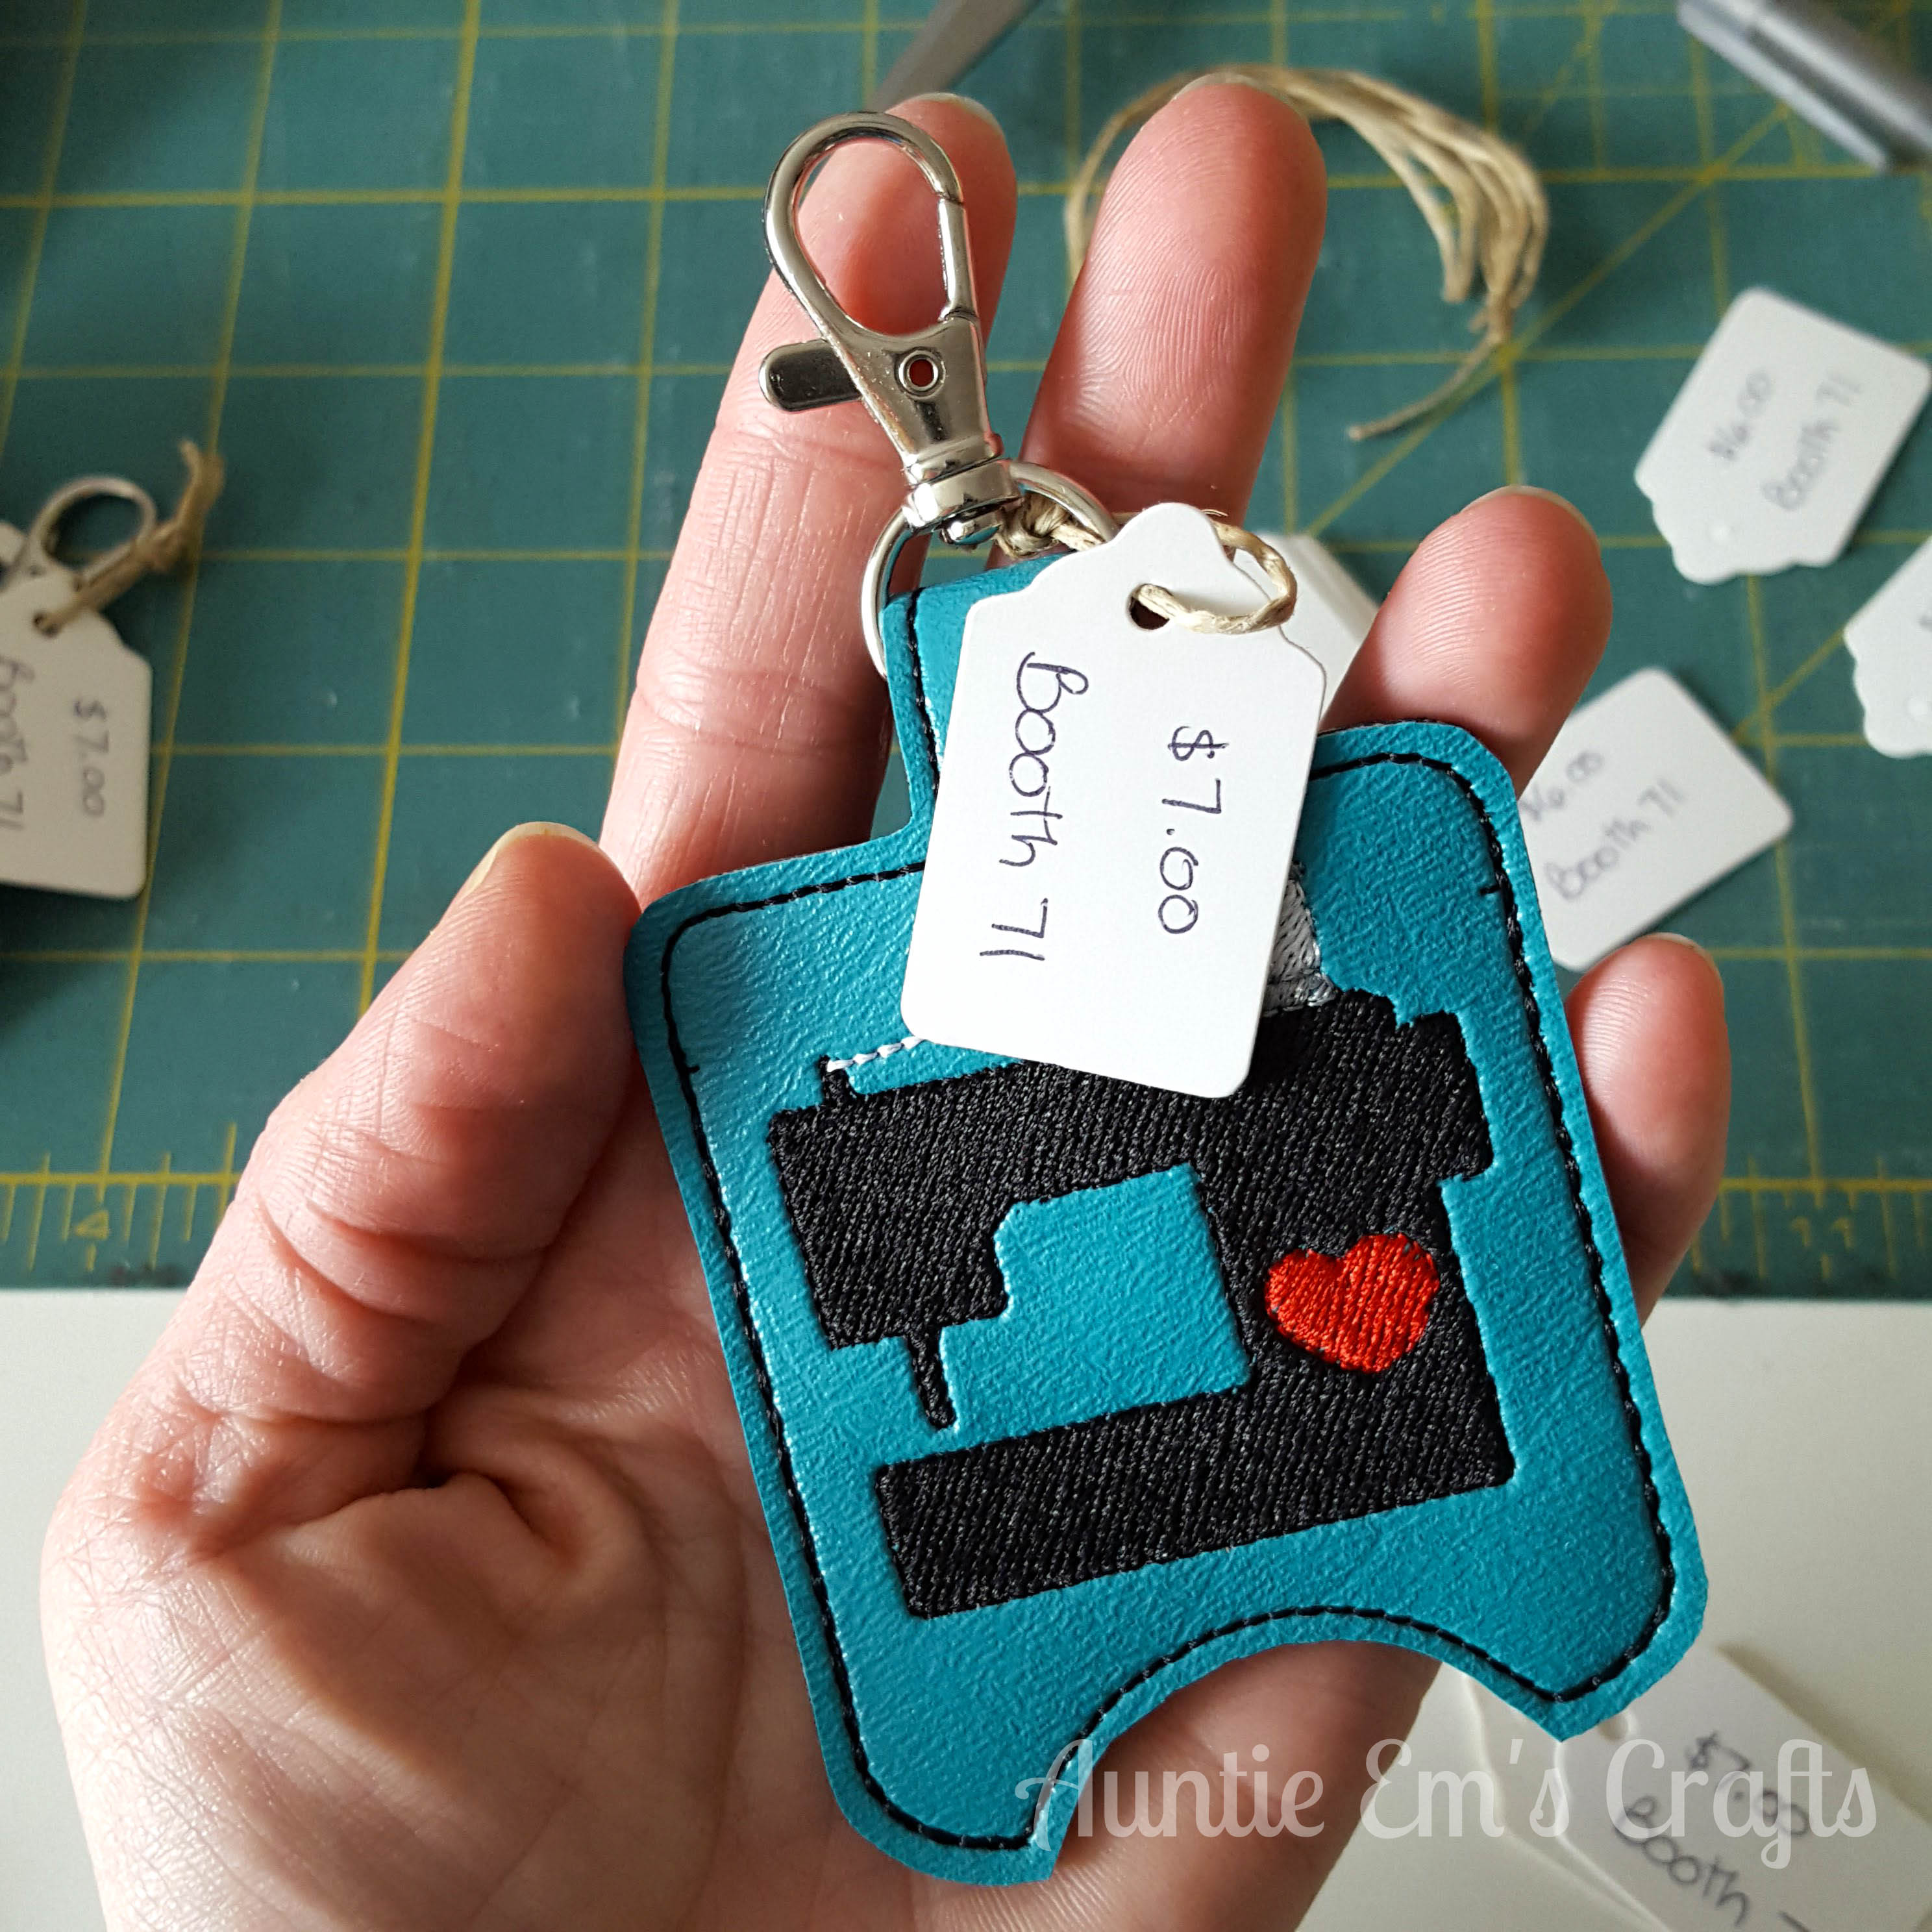
Okay, now onto the tags. I purchased a box of 1000 blank tags from Advanced Display. Since I already had those I decided to string them all myself with hemp cord. The smarter solution would have been for me to just buy these ones that are already strung for me. It would have saved a lot of time. On the plus side, my hemp cord coordinations with my burlap backdrop. If you are in a time crunch, Hobby Lobby carries prestrung ones but they will cost you about $4 for 24. Make sure to take your 40% off coupon and load up your kids with you so they can use the coupon for you too! 🙂
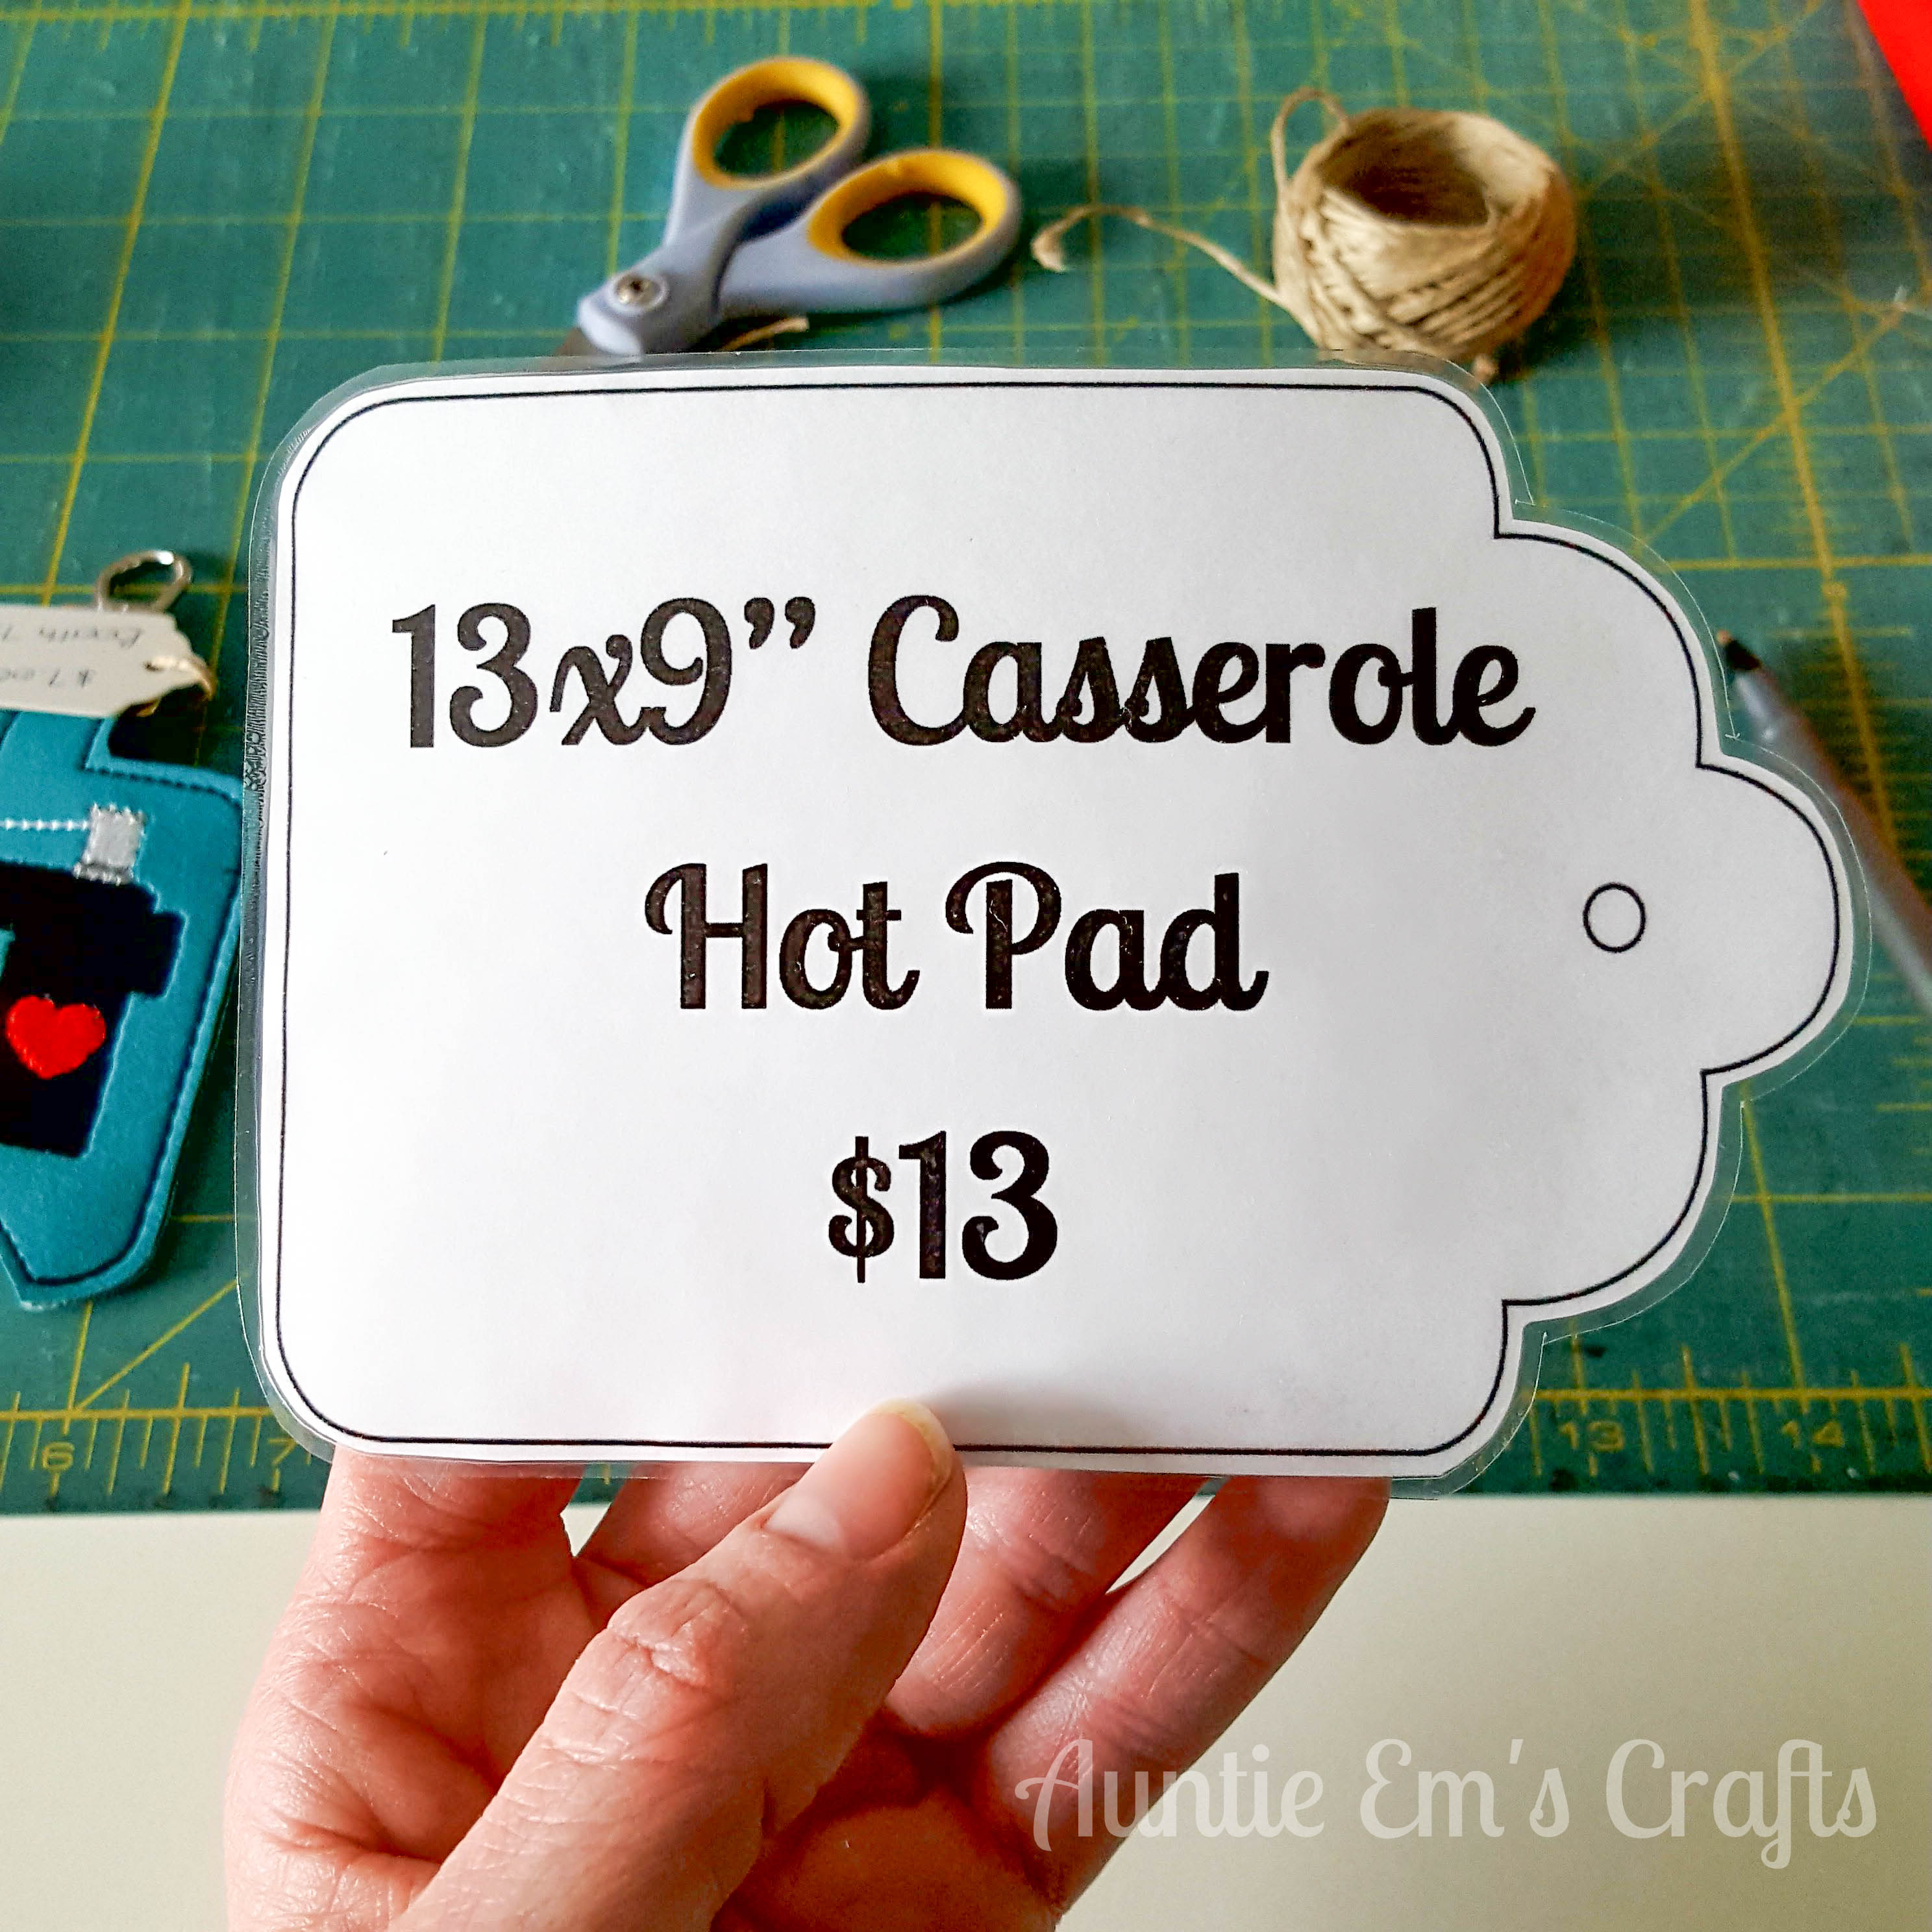
The large description tags were made in a word document. I’ve attached the blank tags for you to use. You’ll need to add a text box in each tag with your wording. I cut each tag out, run all four through a plastic page in the laminator, then cut them out again. You don’t have to laminate them, but they will last much longer if you do. I clip mine onto the gridwall or baskets with Clever Clips. Amazon has a few purchasing choices for those, depending on how many you’d want. Advance Display has them for 28 cents each.
I like to buy plastic merchandise bags when possible for flat items to help prevent smells and stains from getting onto my items. I once did a craft show in a nursery before Christmas. My items all smelled like dirt when I got home. Since then, I’ve put my rice bags, grocery bag holders, and tampon holders in bags. Joann, Hobby Lobby, and Walmart will carry a few sizes on bags near the bead jewelry section. I love the larger size bags that I get from Advanced Display, as well as GT Zip brand bags. Many bags do not come with hanging tags, so if you need to hang the item on your gridwall hooks, either punch a hole at the top or get the stick on hang tabs. I usually just use a crop a dile to punch holes in my bags.
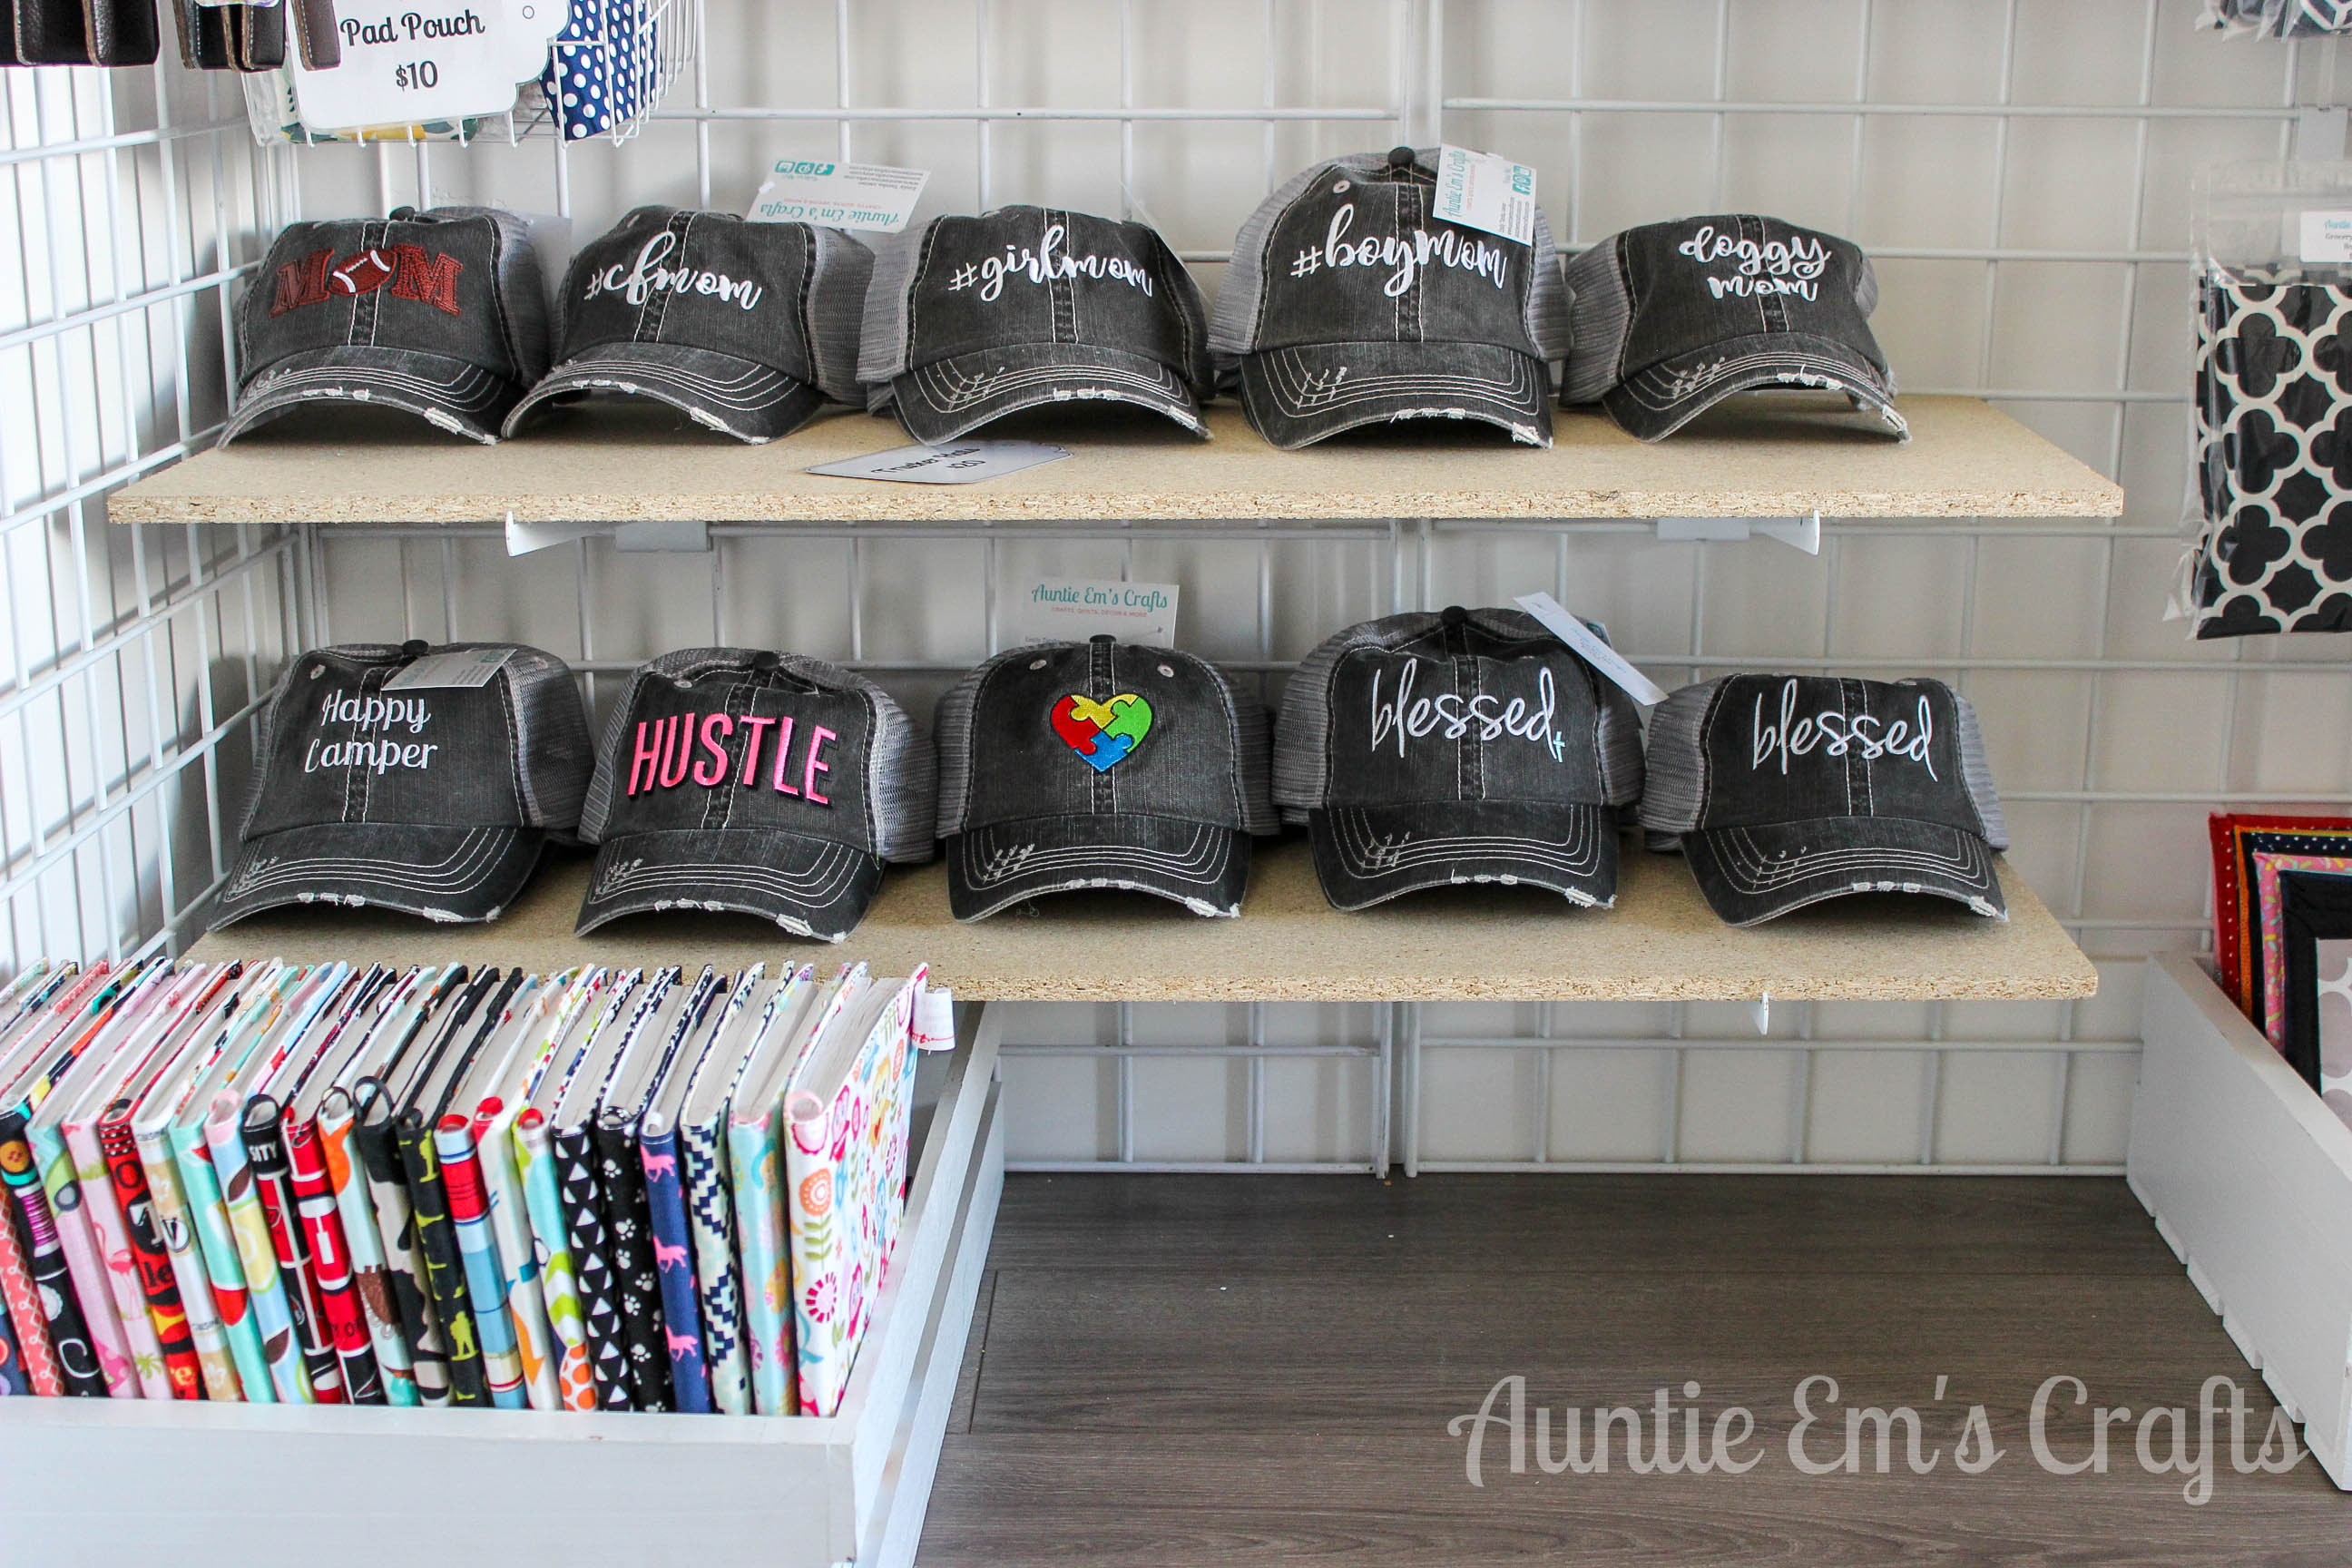
If you need to add shelves in your display, I don’t recommend buying the shelf from your local display store. They will charge a lot more than say Lowe’s for a melamine shelf. You are good to buy the shelf brackets from them though. Just make sure you buy a size that the shelves come in, like 9″ or 12″. I happened to have a man in my neighborhood giving away a 6′ piece of wood, so my husband just cut it into the size I need. I may or may not paint it. Adding a burlap table runner would be a lot faster so I might go that route.
My wooden crates were built by a man near me with scrap wood from his cabinet making job. He sells them for $5 so I had to snag a few for my display. (He’s in Provo and can be found on many Facebook Yard Sale groups, if you are local.) Craft stores have some larger sized premade crates around $10. If you are handy with tools, you could make them much cheaper.
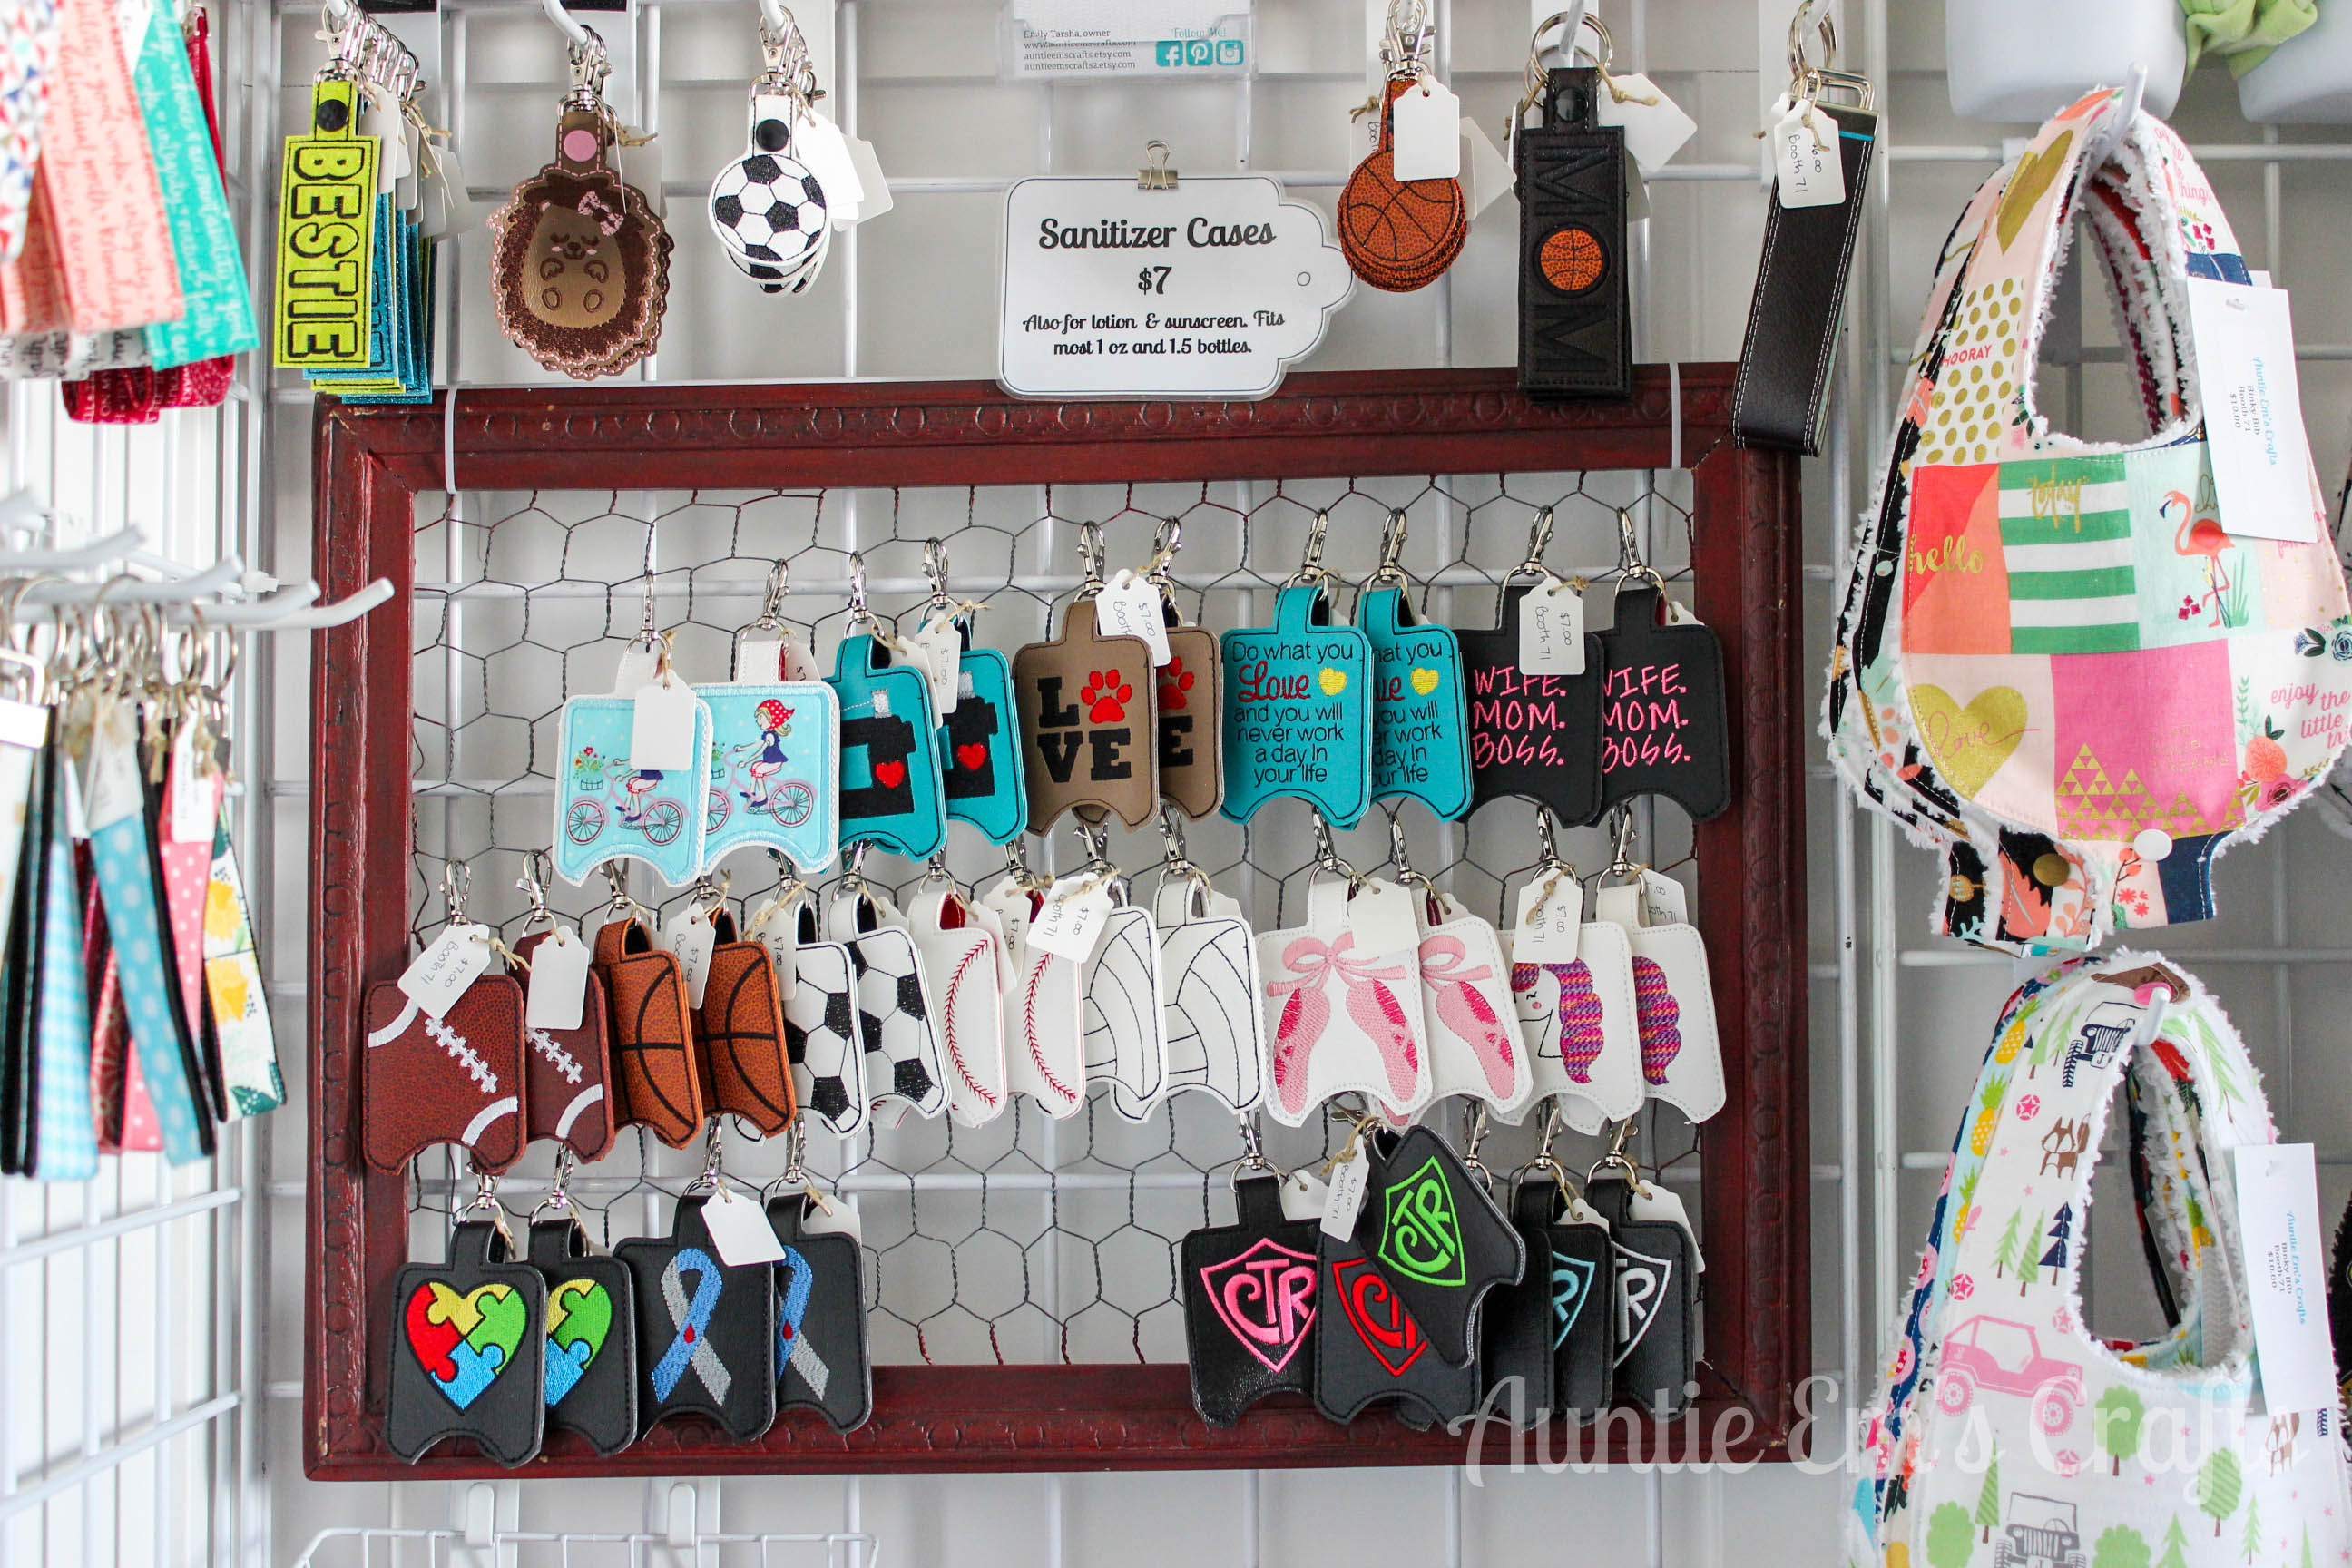
The chicken wire frame that I’m using for hand sanitizer cases was made with a scrap piece of chicken wire from my neighborhood Facebook group. The frame was bought for $2 at a second hand store. I attached the chicken wire with a staple gun, though evidently not very straight. I used to use this for pacifier clips in a vertical fashion so the crooked wire wasn’t noticeable. I’ll fix this after my first show since I’m almost out of time.
(These photos are of my Spring 2×6′ craft show display. I’ll have a 8×8′ space in the Fall/Winter that I can share with you later in the year.)
My last bit of advice is if you want to go shop at a local display store, take some of your items with you to make sure they fit in the baskets, bins, etc. You can also try out their plastic merchandise bags to make sure you get the right size. If you buy your items on Amazon, just measure everything first and add a little extra if there is any depth to your product.
Did I miss anything? Feel free to leave a comment if you have any questions about what I use. I hope you have great success at your shows this year. 🙂
This post contains some affiliate links. These links help my blog make money but are of no cost to you. Thank you for supporting my blog!
Thanks so much for sharing.
Beautiful Display !!
How did you attach the fabric to the gridwall?
Which fabric? The grocery bag holders? Those are hanging from picture hangers.