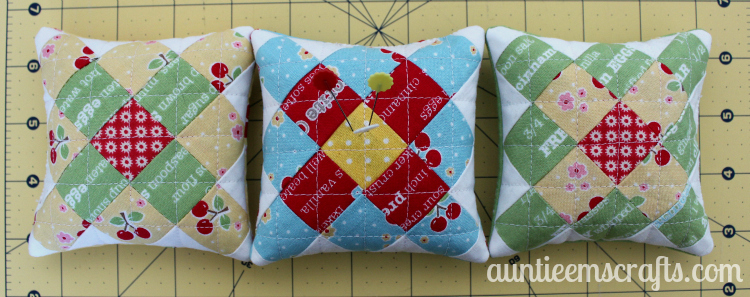
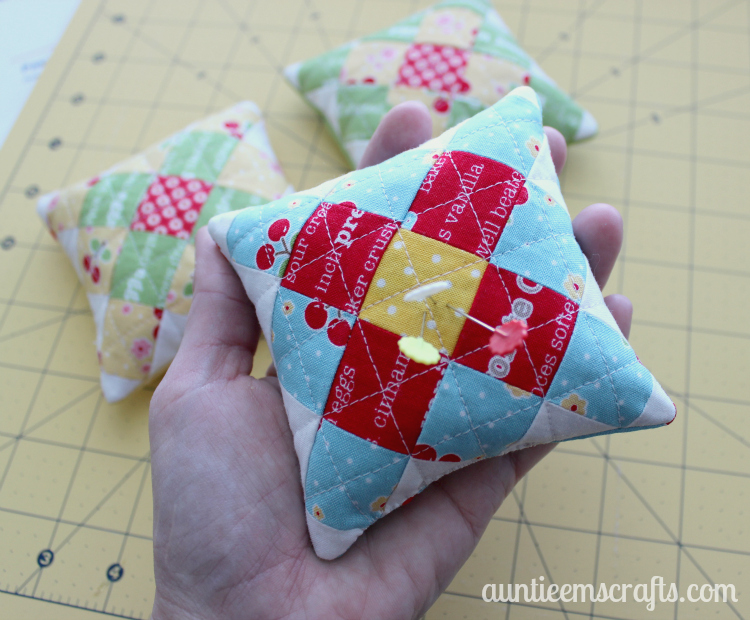
I’m hooked! I love the mini granny square blocks. So much so that I decided I needed to make a granny square pincushion… or three 🙂
Here is how to make your own….
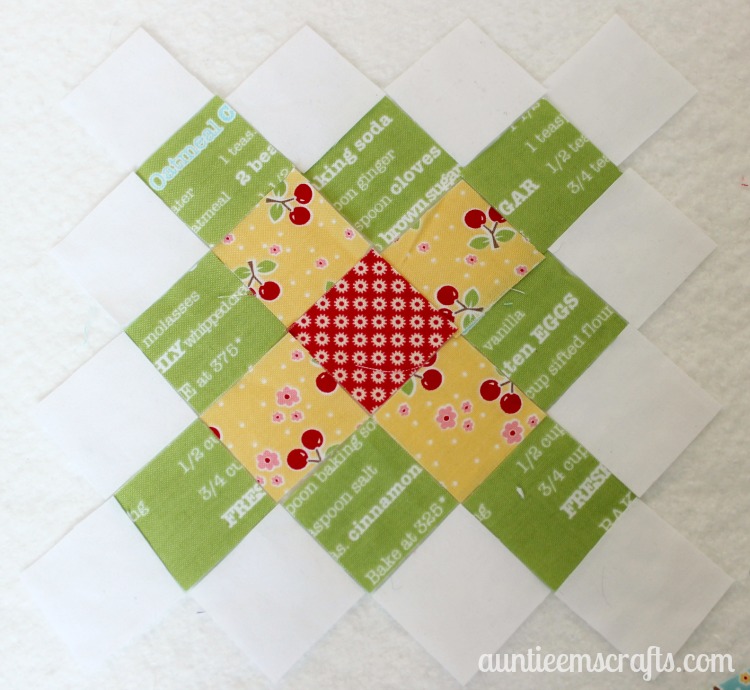
Assemble the block as shown on my tutorial, but do not cut the block to 4.5″ yet.
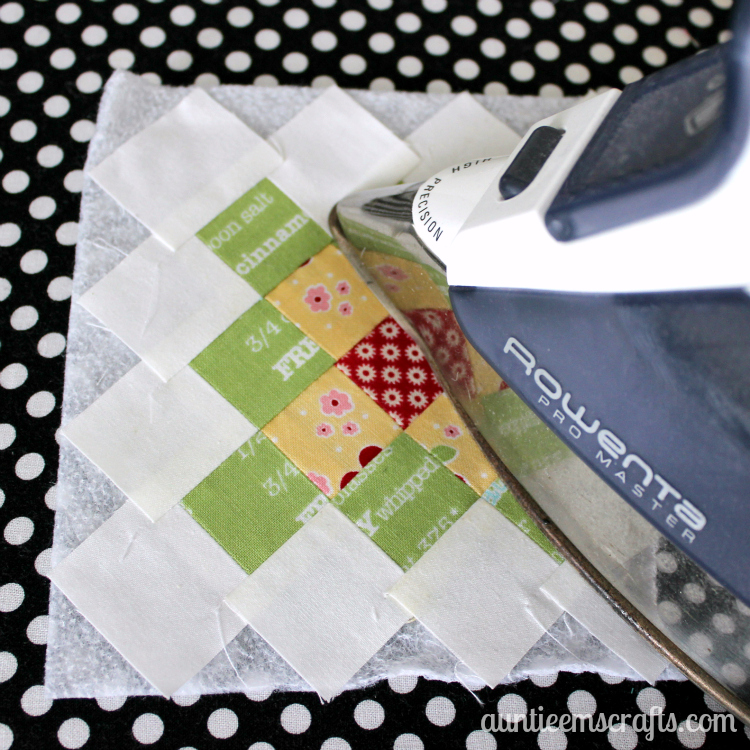
Iron a piece of 6″ fusible fleece to the back of the block. Use the tip of the iron so it does not stick to the fusible fleece.
Use a water soluble pen or disappearing ink to mark the block and quilt as desired. You will want to increase the size of the stitch from when you assembled it.
Trim the block to 4.5″ square.
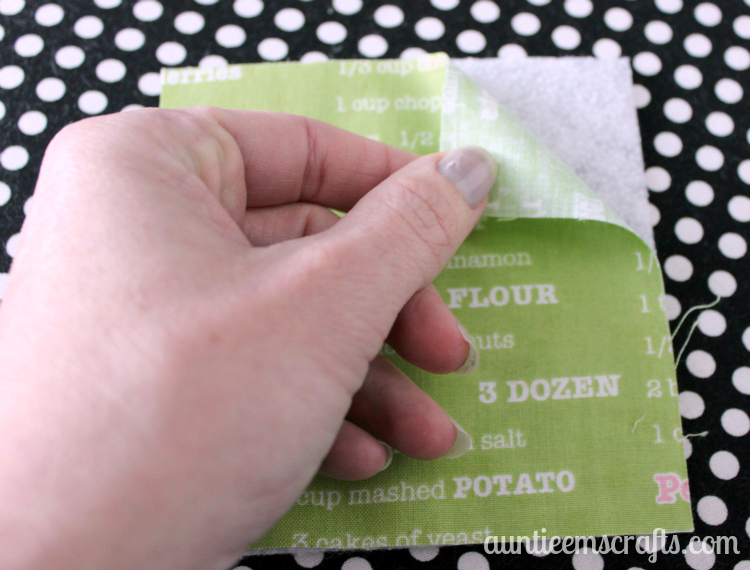
Cut a 4.5″ square from your backing fabric and fusible fleece. Iron the fusible fleece to the back of the backing fabric.
Place the quilt block and backing right sides together. Use Wonder Clips or pins to hold the pieces together. Sew around the block, leaving a 2.5″ – 3″ opening on one side. Fix the stitch, or backstitch, where you start and stop sewing.
Clip the corners to reduce bulk. Turn the block right side out.
Fill the pincushion with about 3/4 cup crushed walnut shells or stuffing. I purchased crushed walnut shells in bulk at Petco and it has lasted me a long time.
Hand sew the opening shut. If you need more info for this step, I have a few photos in my bean bag tutorial to help.
This pincushion would make a great sewing swap gift, along with a matching pencil pouch for notions.
Enjoy!




very pretty pincushions
Love the block and tutorial. Thanks for a great way to make gifts and use scraps.
Why crushed walnut shells?
Susan, they add weight to the pincushion so that it can also double as a pattern weight. I like the added weight because it helps it stay put on my desk. Some believe that they sharpen the pins but I don’t know for sure if that has been proven.
Do you have this available to download???