At this point you have probably already seen my mini granny square pincushion and mini quilt posts. I have already mentioned a few times how much I love these cute little blocks. Immediately after finishing the mini quilt I turned to Christmas fabrics to make a few granny square ornaments for my tree.
For this ornament, you will need:
- A completed 4.5″ granny square (tutorial here)
- 6″ square piece of backing fabric
- 4.5″ square piece of fusible fleece
- 4.5″ square piece of lightweight fusible interfacing
- basting spray
- wonder clips
- small acrylic ruler
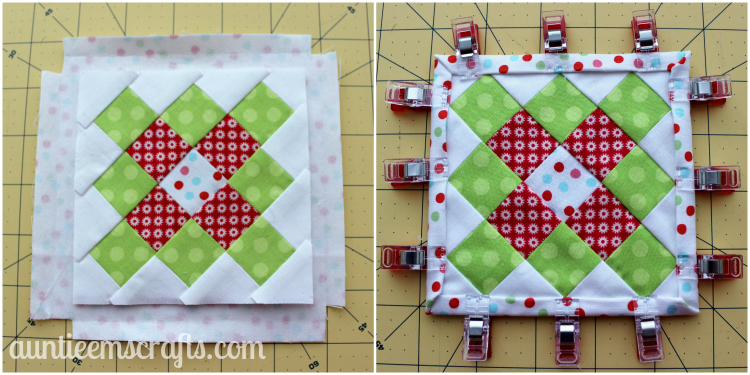
Iron your fusible fleece to the back side of the granny square. Iron the lightweight interfacing to the back side of the backing fabric.
Use your small ruler to center the granny square onto the backing fabric. It should measure .75″ on all sides.
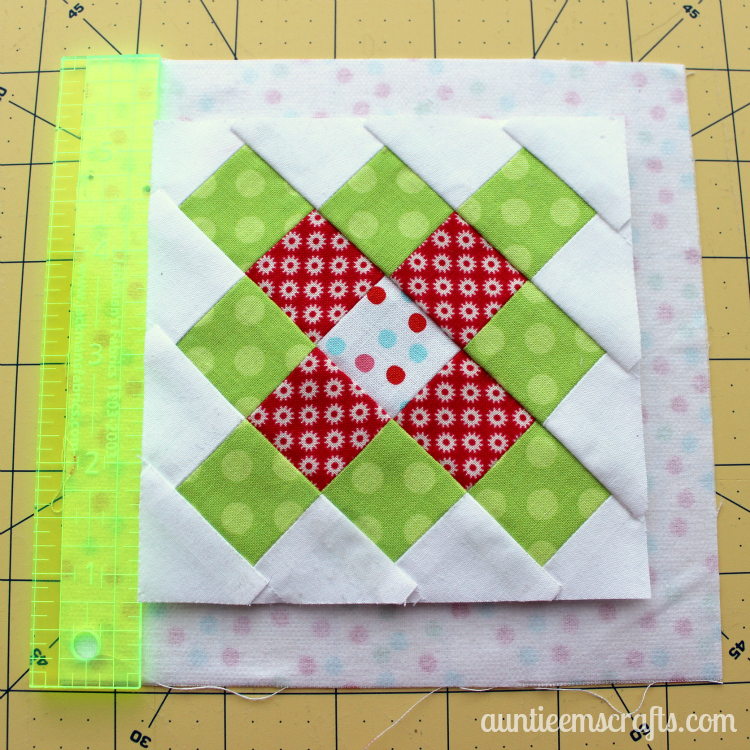
Spray a small amount of basting spray or craft adhesive spray to the back of the granny square so that it sticks to the backing fabric. Double check your measurements to make sure the block is centered.
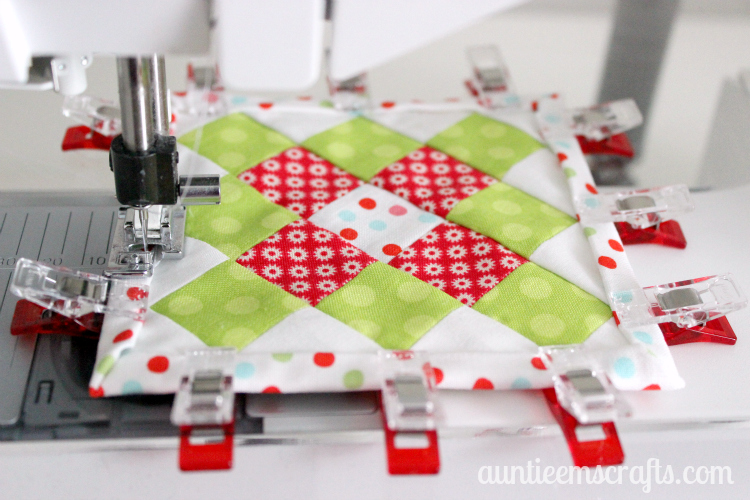
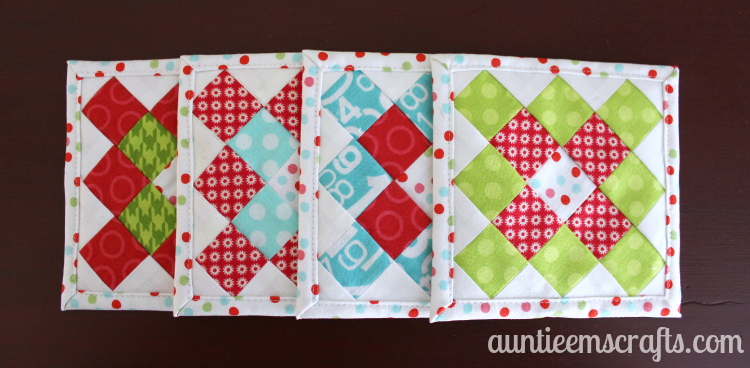
Follow steps 9-12 from my hot pad tutorial to finish the binding.
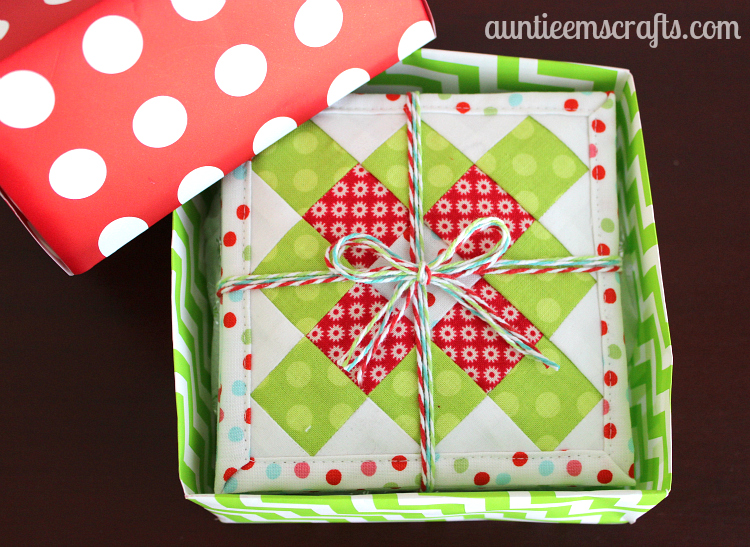
If you’d like, you can stop here and use this as a coaster. A set of 4 with ribbon would make a cute gift idea. The gift box was made with my sister in law’s tutorial. I started with 14 x 14″ StoneWrap rather than 12 x 12″ scrapbook paper. Any gift wrap would work but StoneWrap is thicker so it makes a more durable box.
If you want to make it into an ornament, you can work with the block as it is or add some quilting at this point. You can also do the quilting prior to adding the backing.
Use a Crop-a-Dile II or an eyelet setting kit to add a 1/8″ eyelet in a corner. Add 8″ of baker’s twine, ribbon, or a ornament hook to hang it on the tree.
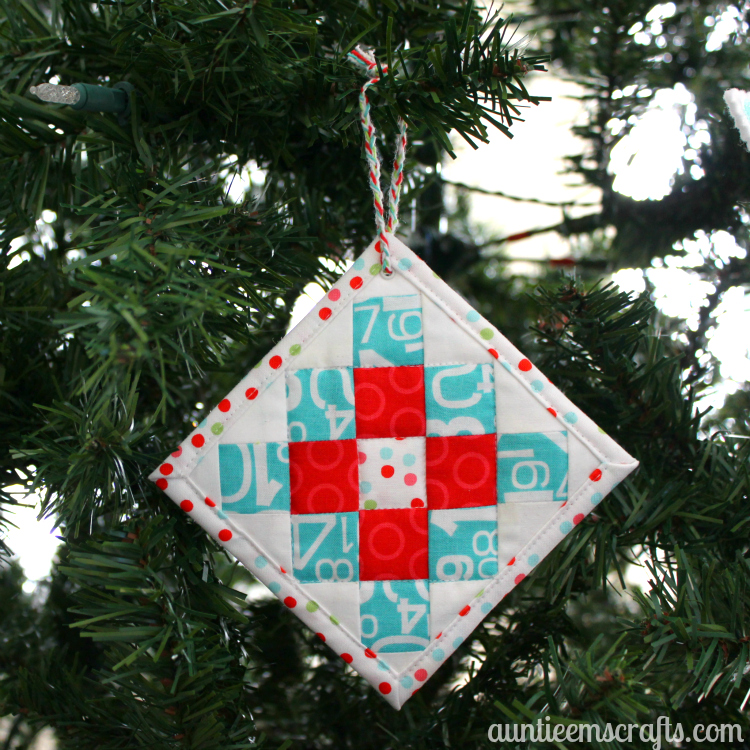
![]()
Such a cute idea. I’d have never thought of putting them on a tree!