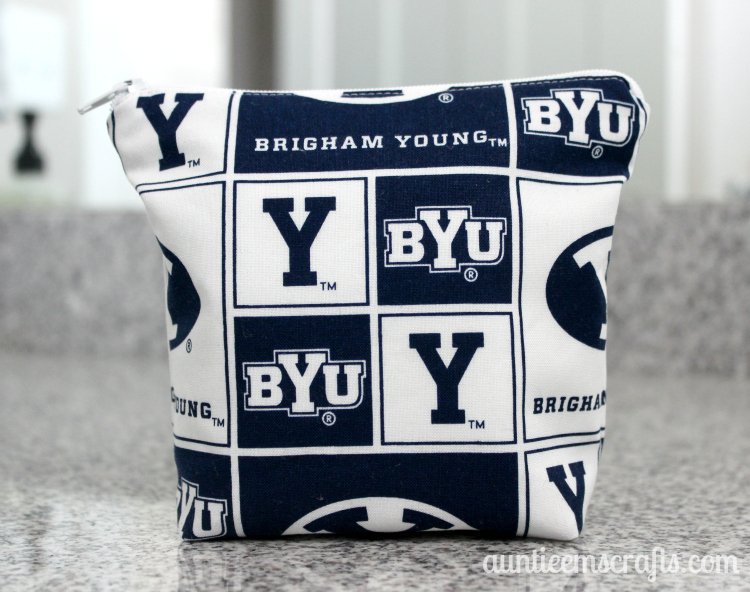
Last week a customer asked for a toiletry bag to hold 4-6 maxi pads. She saw my tampon pouches for sale on Etsy and asked if I could customize a maxi pad pouch for her. Since she was a big BYU fan, here is what I came up with.
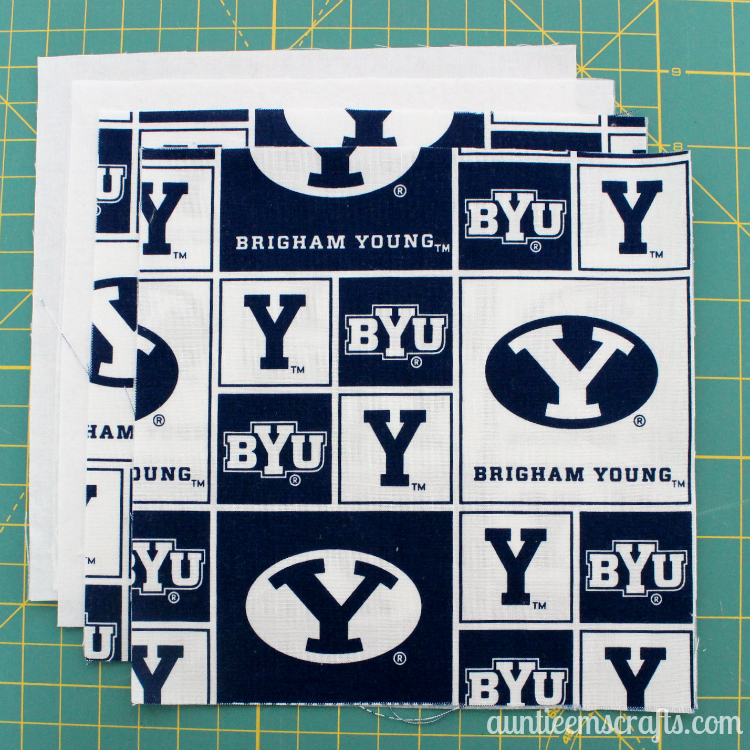
Start with fabric squares 7″ x 7″… two for the outside, two for the liner, and two lightweight interfacing. Iron the interfacing to the back of the outside fabric pieces.
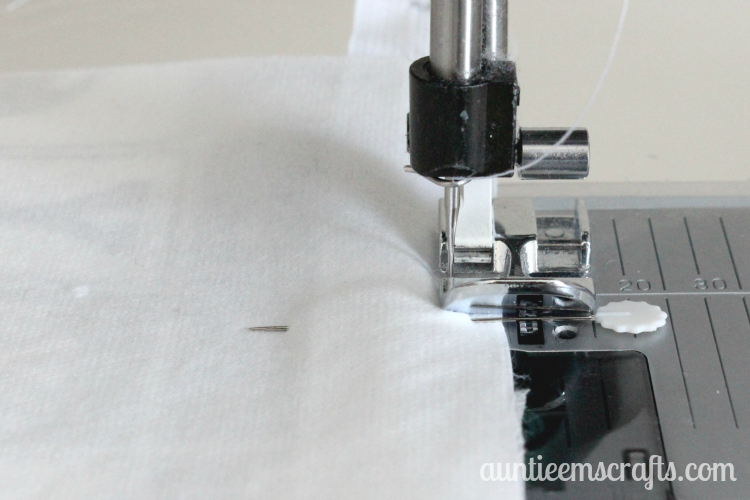
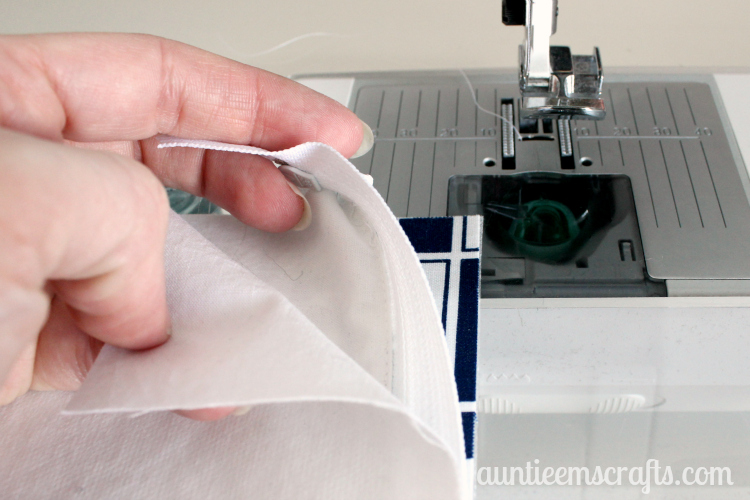
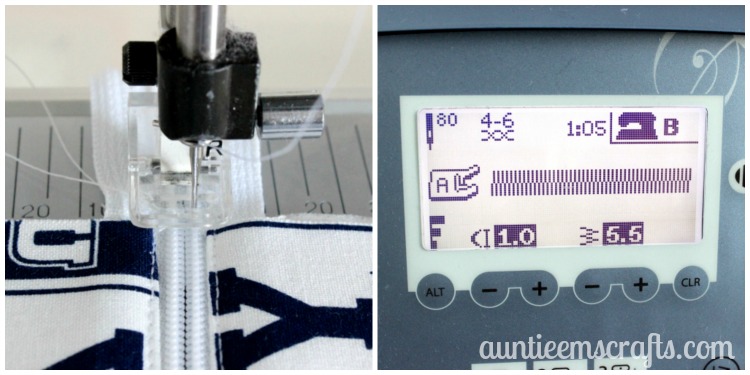
Center a 9″ zipper face down on the outside fabric, then place the lining on top. All edges should be flush. Pin in place and use a zipper foot to sew it down.
Iron the fabric so the top edge by the zipper is flat and even.
Top stitch near the top of the fabric.

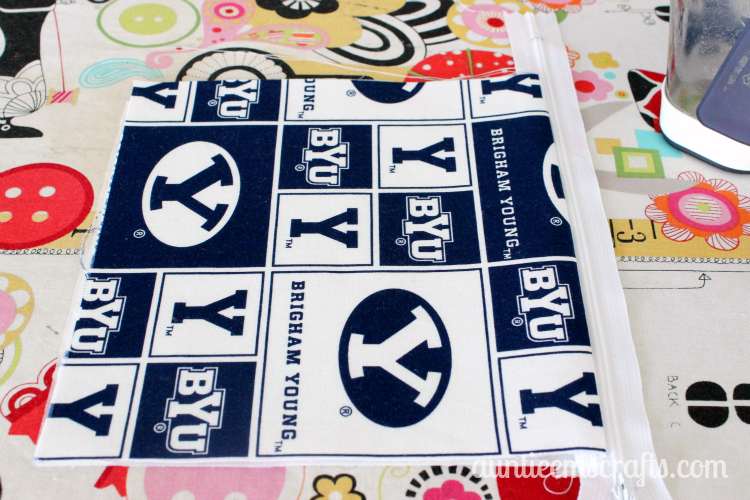
Place your second outside piece up. Place the zipper face down and the second liner on top. Pin them in place and sew again with the zipper foot. Iron the fabric and top stitch.
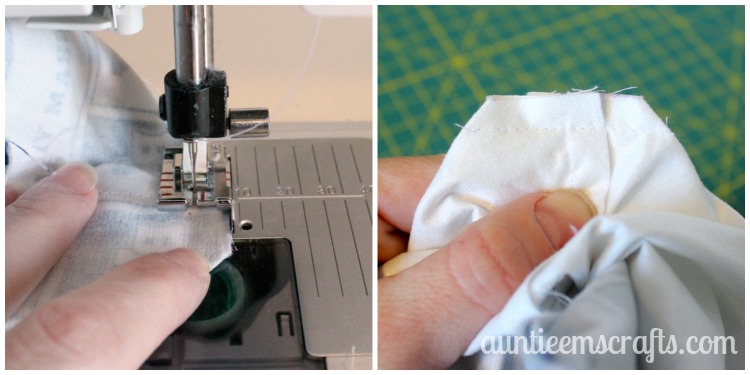
Use a tight zip zag stitch to tack both ends of the zipper so that you can cut off the excess.
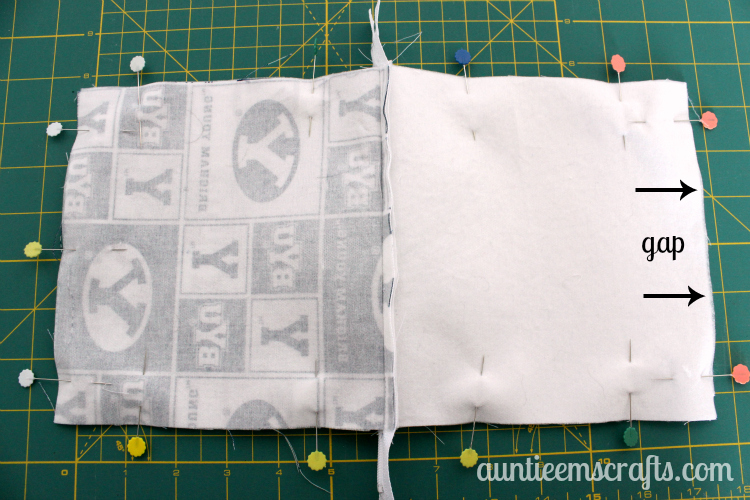
Open the zipper half way (don’t miss this step; you need it open to flip it right side out later). Place the liner pieces together and the outside pieces together. Pin all the way around. Sew with a 1/4″ seam allowance. Leave a 2.5″-3″ gap on the liner for flipping it right side out.
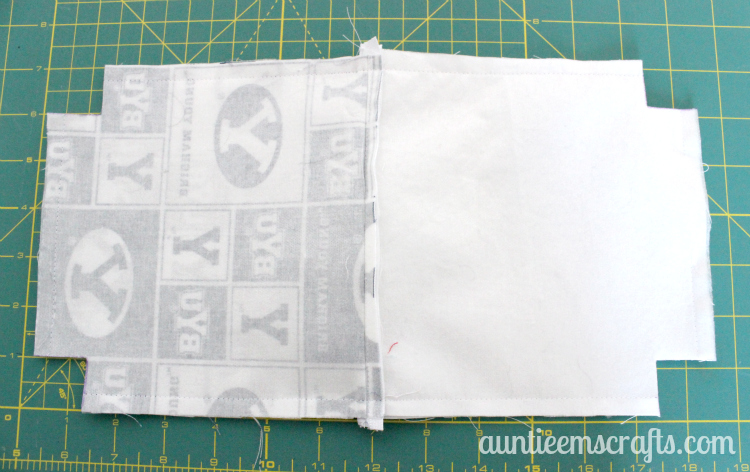
Next make the bottom of the pouch have boxed corners. Use a small ruler and marking pen to draw 1″ squares on all four corners.

Cut the squares out.
Open the squares and place the seams together. One side should go left and the other right so the seam sits flat. Sew it down. Make sure to backstitch where you start and stop.
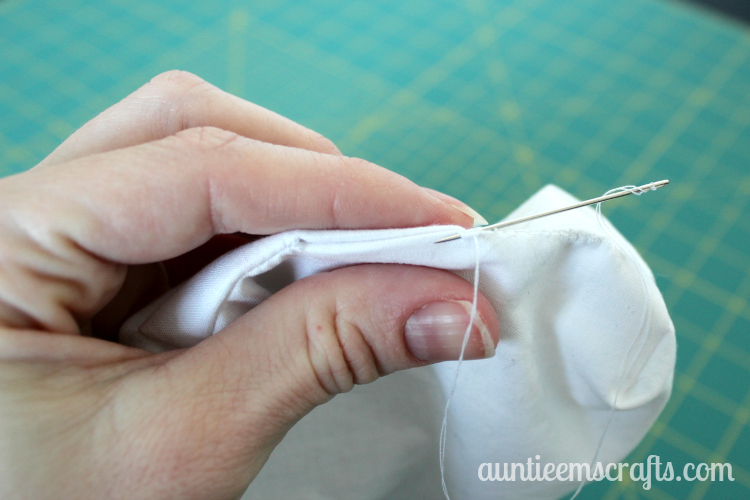
Flip the bag right side out and hand stitch the opening on the liner shut.
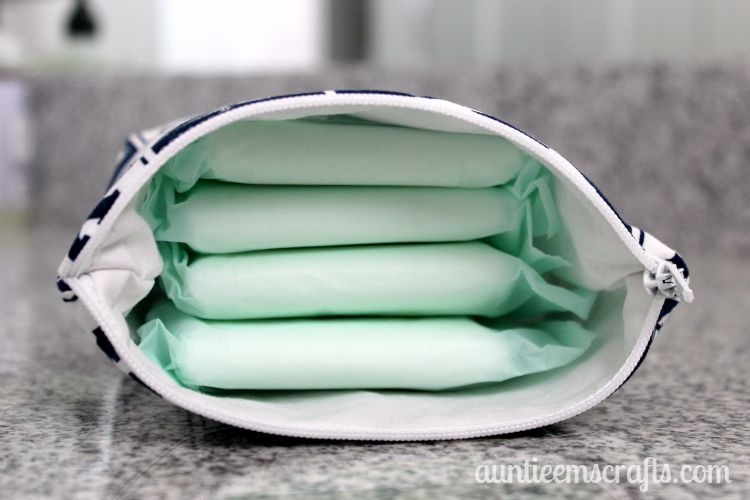
Here is the finished product. I was able to fit four giant sized pads in there (you know, those humongous ones the hospital gives you when you have a baby) so her request for 4-6 maxi pads will be just fine.

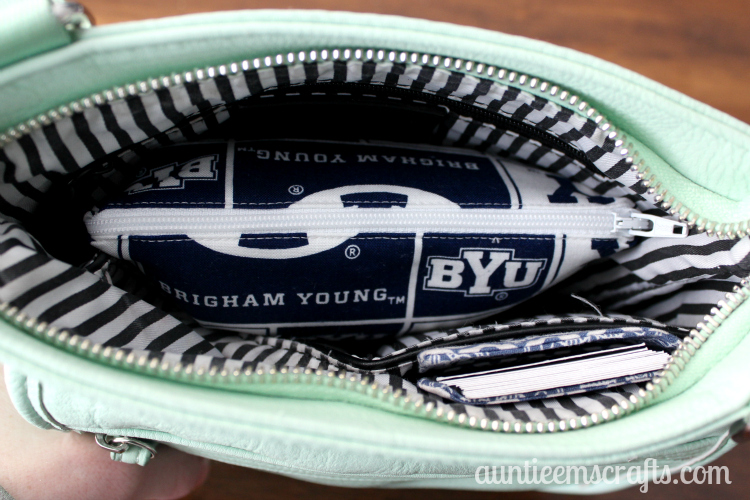
The bag is still small enough that it fits into a small, crossbody purse with room to spare. Now you can store the pads in your purse, car, and backpack without them coming unwrapped. No one will need to know what is inside but you 🙂
If you would like to order a custom bag for your pads (or tampons), visit my Auntie Em’s Crafts Etsy store and choose from a variety of designer fabrics.
![]()
Thanks so much for this! I know a few ladies who will love to see these in their Christmas stockings. 🙂