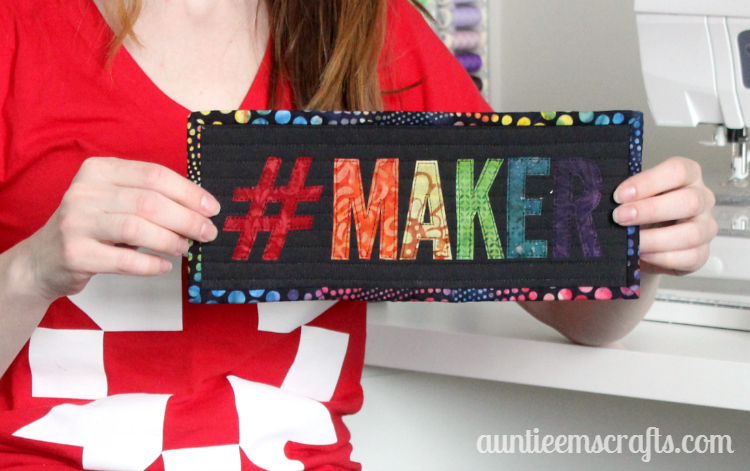
It’s not often that I stop and make something for myself. Between craft shows, an Etsy store, a blog, and a baby at home I simply don’t have the kind of time that I used to for big projects. So, I decided to make something small. I hopped on the Maker movement and make an applique wall hanging with some scraps.
If you do a search for #maker on Instagram, you are sure to find all kinds of wonderful, handmade goods. It’s a pretty trendy tag right now, along with #makersgonnamake, #makersmovement, #iamamaker and more along those lines. Being a maker myself, I sometimes neglect to make myself gifts. Every year for New Years I have a resolution to sew more for myself. Did you catch that? Every year. As in, I am not good at keeping the resolution.
This year in January was no different, but this time I had more of an excuse. Our little boy was born in mid-November so I haven’t had a lot of time to sew anything, let alone something for ME. Now that I got two big craft shows out of the way, I took some time to make something…. a maker mini wall hanging.
To make your own Maker Mini Wall Hanging, you will need the following:
#MAKER template
Heat’n Bond Ultra Hold Iron-On Interfacing
6″ x 13″ fabric for front and back
6″ x 13″ scrap batting
2.25″ x WOF strips for binding
fabric scraps for the #MAKER
You will also need basting spray, a pen or fine marker, small ruler, small scissors, and Wonder Clips or pins for the binding.
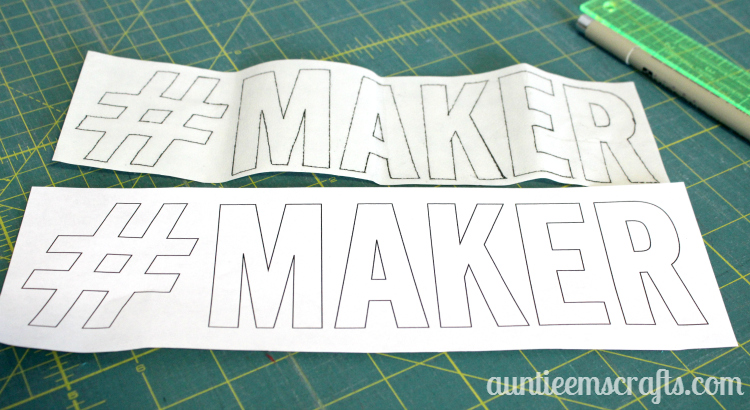
Print the #MAKER template. Use a thin marker or pen to trace the letters onto the bumpy side of the Heat’n Bond. Tip: Use a small ruler to help on the straight lines.
Cut out each letter on the heat and bond. Decide on your colors for the wall hanging. These scraps are leftover from my mother in law’s Paper Hearts Quilt, and later Modern Quilted Potholders. I thought the colors would really stand out on a dark background. 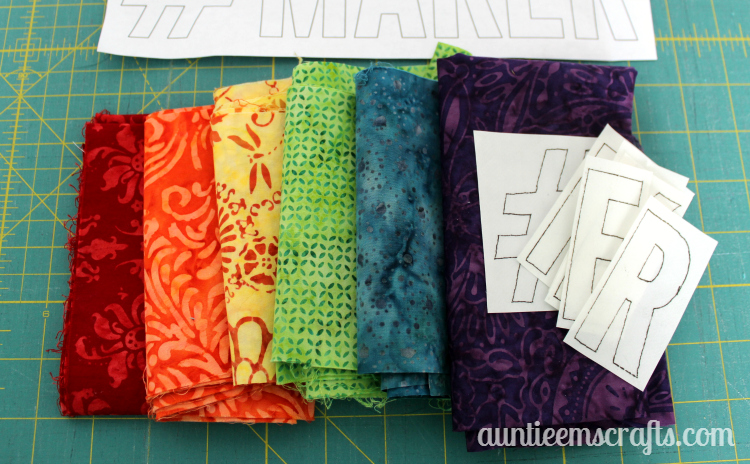
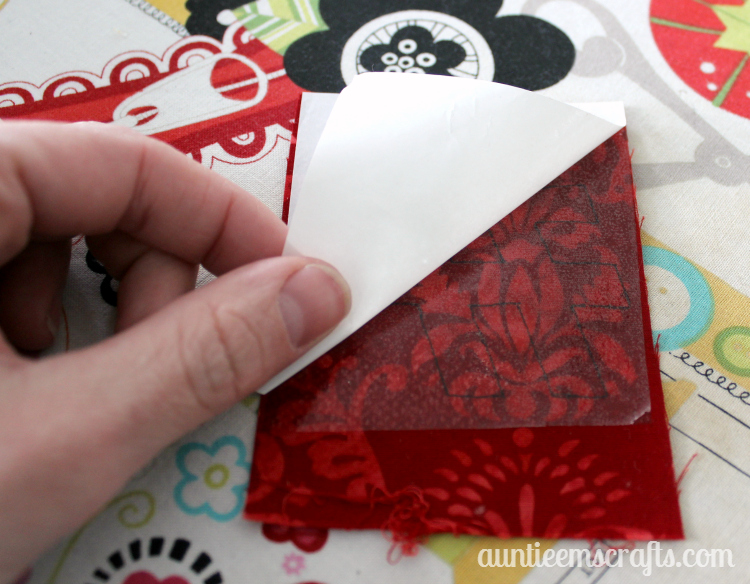
Cut small pieces of the fabric for the #maker, just enough to fit the interfacing. Iron the Heat’n Bond to the back side of the fabric. Peel the paper backing.
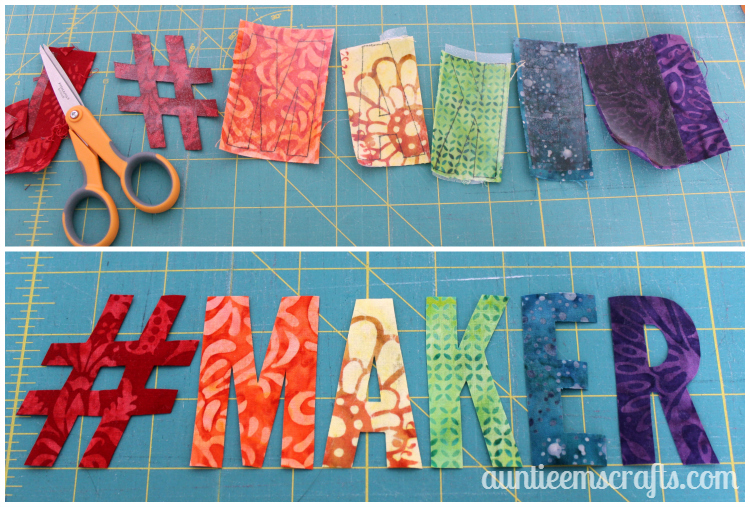
Carefully cut out each letter with a pair of small, sharp scissors.
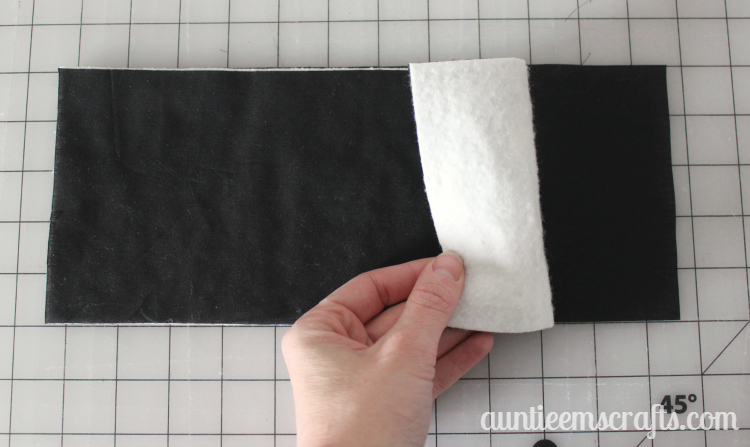
Make a quilt sandwich with your backing, batting, and front fabrics. Use spray adhesive to hold the layers together while you quilt them.
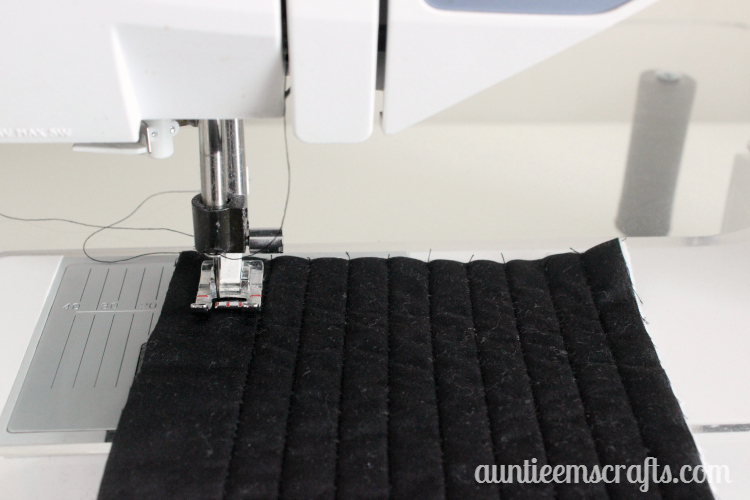
Quilt the layers as desired. On this one I used the edge of my foot to make 1/2″ wide straight line quilting. Trim the edges as needed to make sure they are nice and straight before you add the letters and binding.
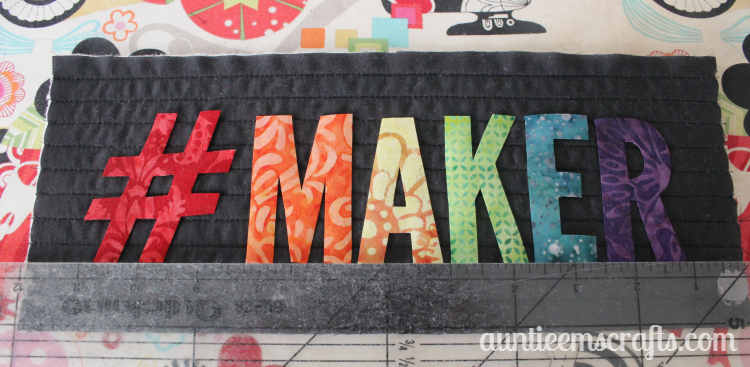
Set the project on your ironing board. Use a ruler to line up your letters. Use a hot iron to press the letters into place.
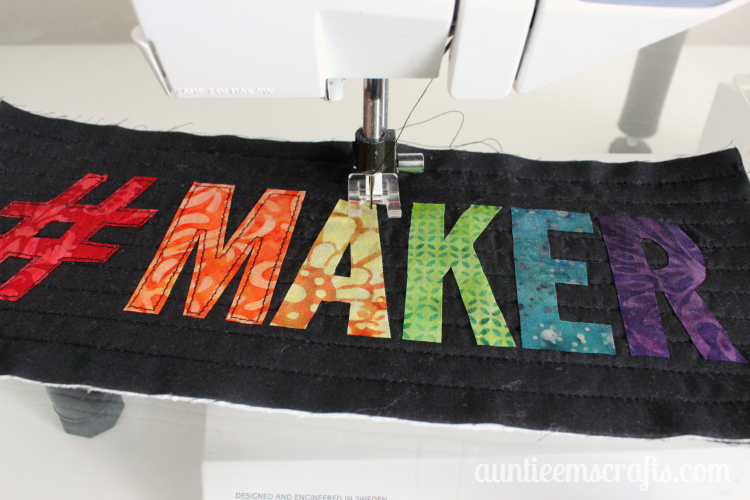
Use an open toe foot to sew a raw edge, or a utility foot to sew a blanket stitch.
Create and add binding. If you need help with this step, I have a tutorial with lots of photos here. I closed the gap with a straight line on my binding rather than at an angle. I chose option 2 on the tutorial to hand stitch the binding to the back.
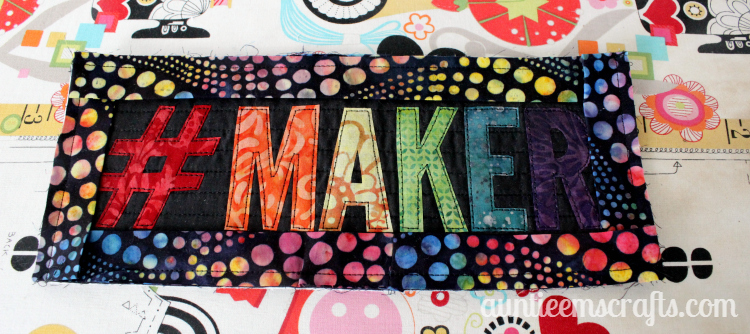
Here it is all done! In hind-site, I probably would have used a lighter color than the purple or used a white background instead of black so that all the colors showed really well. I’m still happy with it though. 🙂
I liked it so much I wanted to make another. After all, these hardly use up any fabric…. I’ve been dying to use my black and white stripe fabric as a binding so I got out some black and white scraps. This time, I ironed on the letters THEN quilted it in a random fashion.
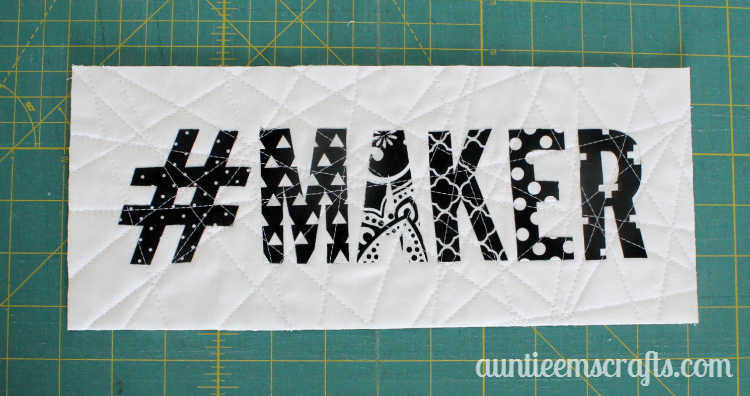
The binding was a perfect choice!

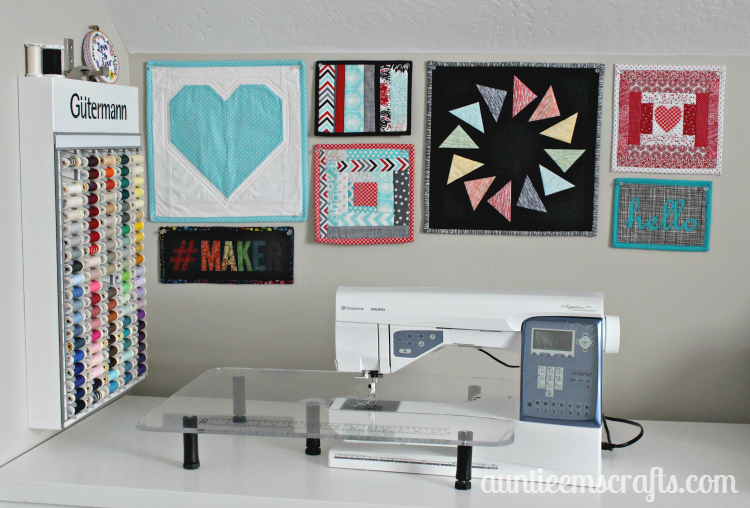
I hung the batik one on my mini’s wall. My sewing room doesn’t always get the best lighting inside, so it is a little dark in the photo but you get the idea.
The black and white one is available for purchase in my etsy store. Custom completed wall hangings and kits are available as well.
I would love to see your finished #MAKER mini wall hangings. Tag me on Instagram @auntieemscrafts!
![]()
Leave a Reply