Life has been chaotic lately! We’ve been going through the IVF treatment, my husband just started a new job, we put a contract on a house to move closer to the new job, we put our house on the market, and I’ve begun packing. Phew!! Needless to say, my crafting time has been put on the back-burner. Luckily, a friend from Blueberry Corner Quilts has written a tutorial for me to share.
English Paper Piecing Hexi Flower Pincushion Tutorial by Kelly Le Barre
This is a great project to use up some of your scraps. With English paper piecing, this can easily be made in just a few hours. The pincushions make awesome gifts and can be made in any size. For this tutorial, I chose to use 1″ finished hexis. My fabrics are Free Spirit Pocket Full of Poppies.
Gather your supplies:
- 7 fabric scraps for the hexis
- Two 7″ squares
- Paper and printer for hexi templates
- Poly-fill or Crushed Walnut Shells
- Regular sewing notions: needle, thread, scissors, etc.
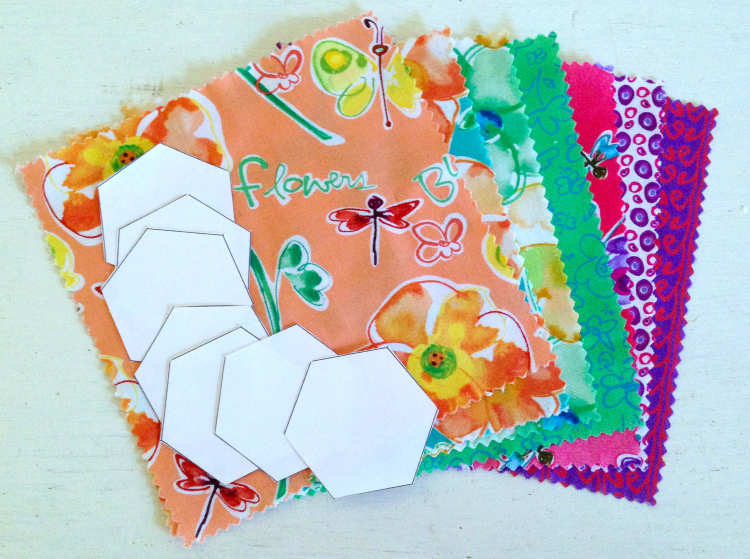
First step to paper piecing is to print up your templates. I used these templates from Geta’s Quilting Studio. She has an awesome tutorial for cutting out lots of hexis. She also has hexis of many different sizes.
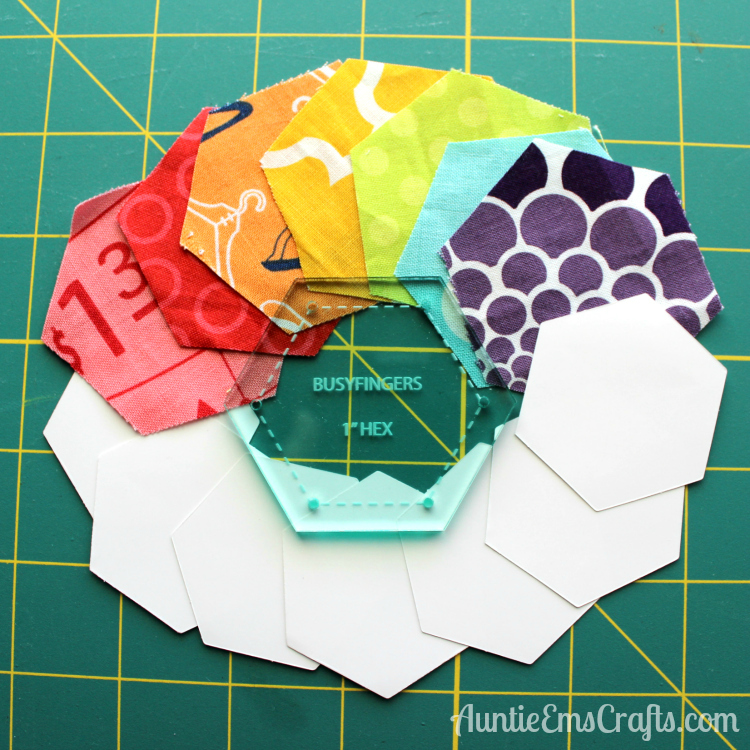
(You can also use pre-cut hexagon papers and acrylic template. You can purchase a 1″ kit in my Etsy store. – Emily)
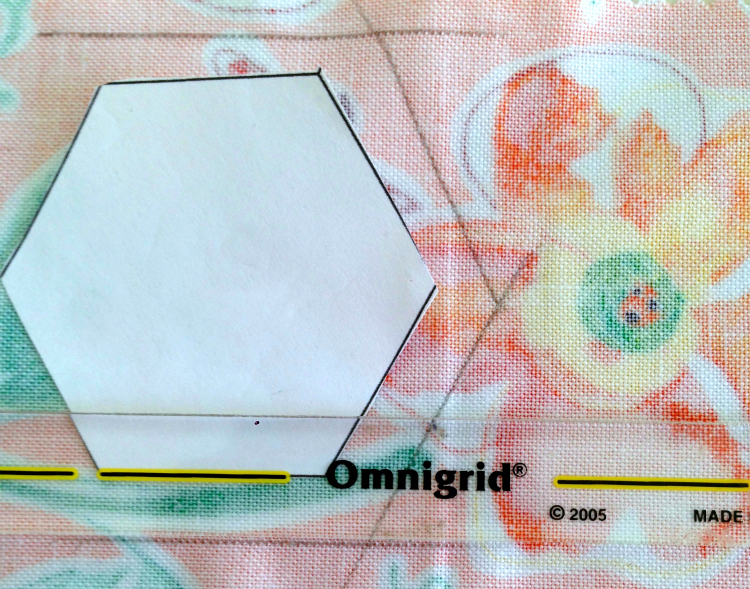
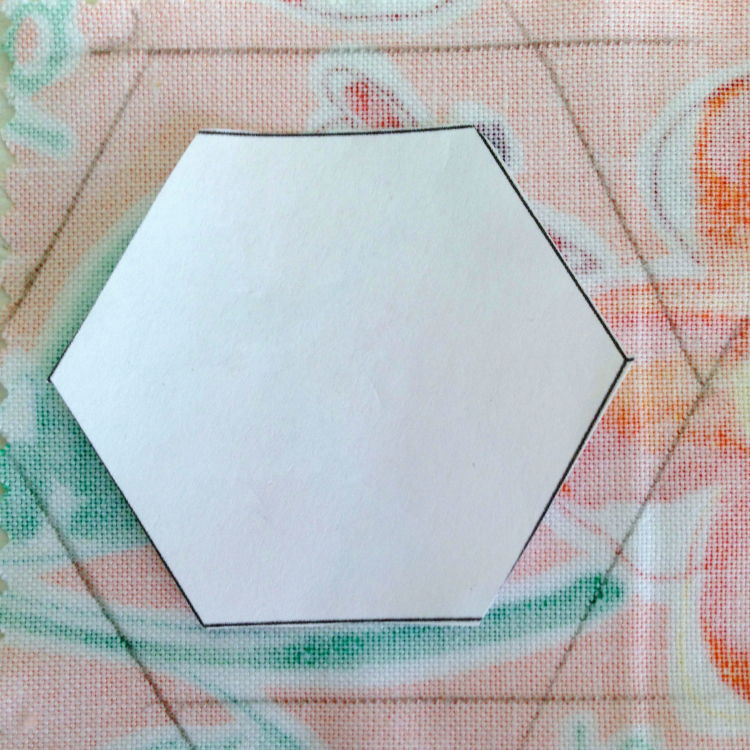
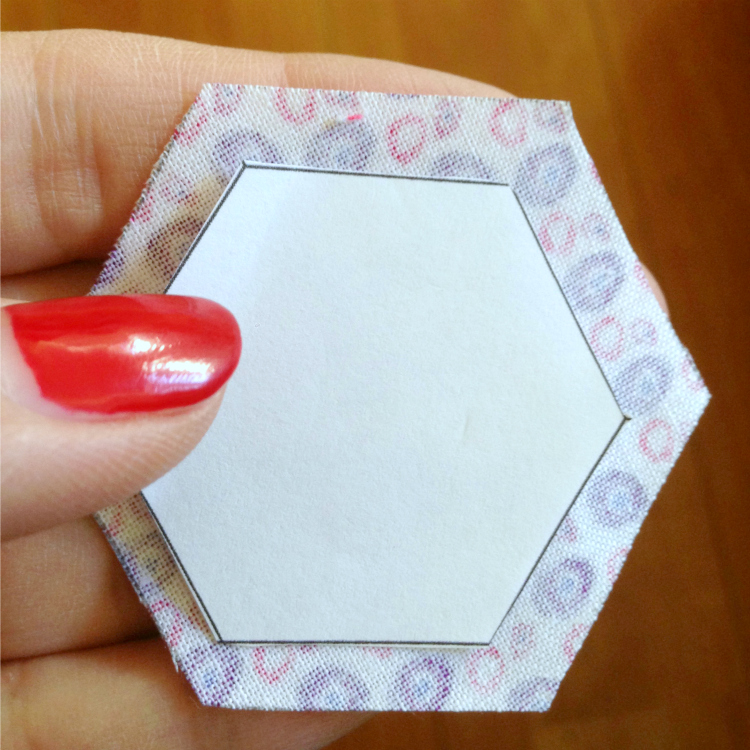
Place the paper hexi on the wrong side of the fabric. Use a small ruler to draw a 1/4″ seam allowance all the way around. I used a Fons and Porter Omnigrid ¼” ruler. When you line up the yellow line with the edge of your hexi, the edge of the ruler is ¼”.
After you have traced your seam allowance, cut out the hexi.
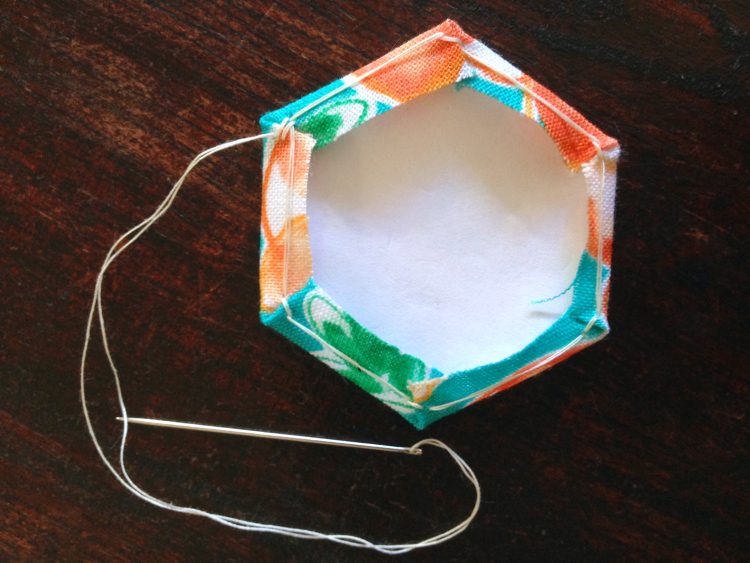
Thread your needle and tie a knot. Fold over the seam allowance and take one to two stitches at each corner as you make your way around. Be sure NOT to sew through the paper. You will be taking the paper out at the very end.
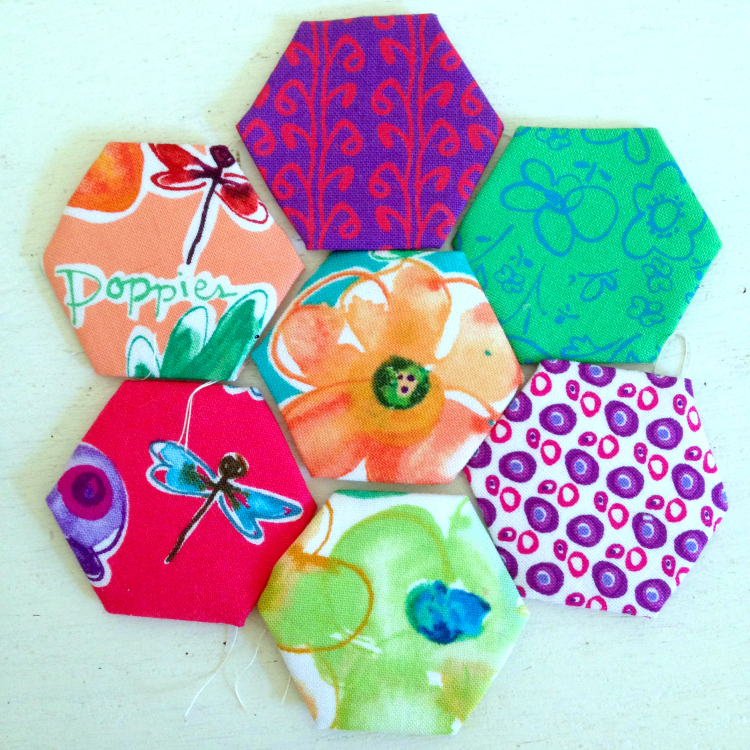
Once you have completed all of your hexis, and finalized the layout, you can stitch them together.
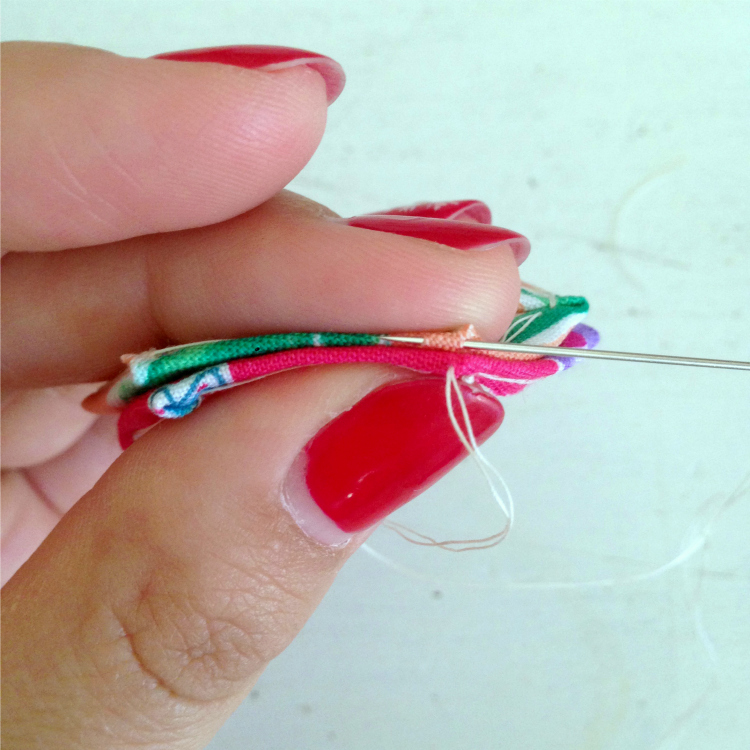
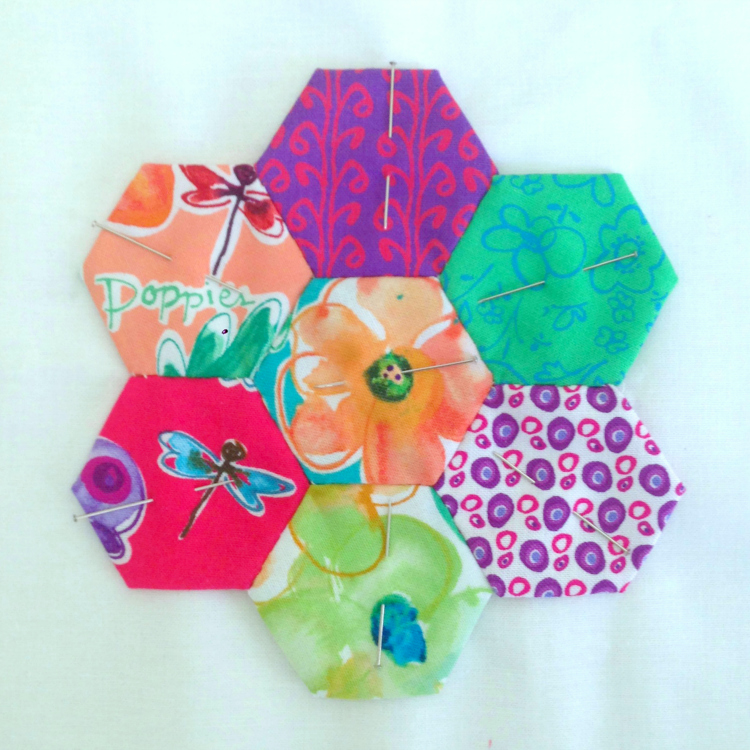
Start with two hexis with right sides together. Use a ladder stitch to sew them together, then continue on by adding each hexi in a flower pattern until they are all attached.
Here is my hexi flower!
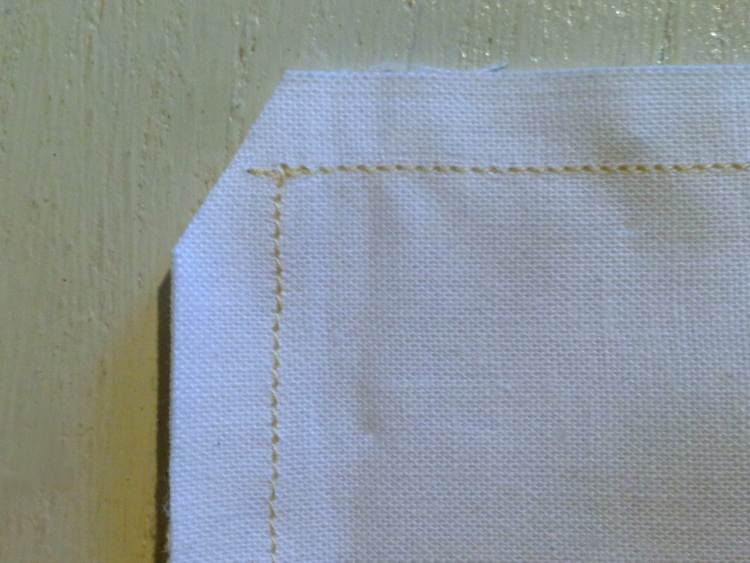
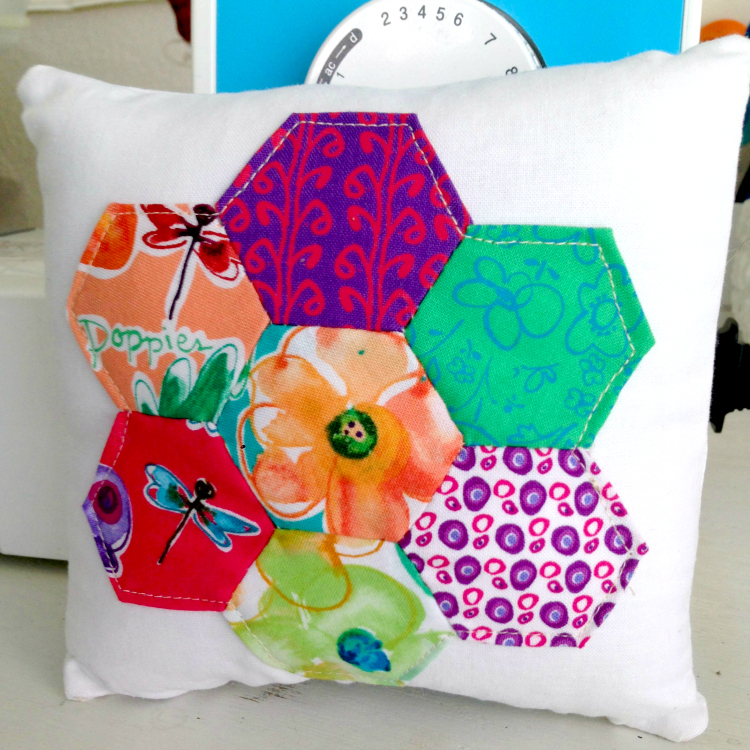
Remove the paper backings from your hexis. Center and pin the hexi flower onto one 7” square. I used a long straight stitch to join the flower to my square, but any decorative stitch would work as well. After you have sewn on the hexi flower, you can sew the two fabric squares together. Start with right sides together and just off center on one of the sides, then sew all the way around and finish leaving a 2-3” gap. Be sure to clip your corners slightly before turning the cushion right side out. This will give you nice, clean corners.
Fill your pincushion with poly-fill. poly-fill with steel wool, or with crushed walnut shells. Once the pincushion is full, use a ladder stitch to close up the gap.
And there you have it… one super adorable hexi pincushion!
I’m so glad Kelly shared this tutorial! I can’t wait to make one (or a dozen). Check out Kelly’s etsy store, which has some adorable ready to ship quilts and blankets available.
I want to take this pattern bigger to piece at least part of a quilt or turn this into a measure of cloth to make me a skirt. AThanks for the ideas.