Every time I walked into my pantry I was reminded how badly I needed a place to put my plastic bags. I guess the floor wasn’t an acceptable place? Or so my husband said. The bags were everywhere. I finally broke down and made myself a grocery bag holder. After sharing it on social media, it quickly became a regularly requested item from my customers. You can make one (or a handful) too, even with beginner sewing skills. Let’s get started!
Supplies to purchase: (contains affiliate links)
1/2 yd light weight to medium weight home decor fabric*
1/2 yd polyester boning*
1/3 yd nylon webbing*
package of 3/8″ or 1/2″ braided elastic
Fabri-Tac glue
*1/2 yd of 42-45″ wide fabric will make two bag holders. If you want to do two, purchase a total of 7/8 yd boning and 2/3 yd webbing instead. If you purchase 58-60″ wide fabric, purchasing 2/3 yd fabric will yield three bags. For this, purchase a total of 1 1/3 yd boning and 1 yd webbing. You can get these supplies in small quantities in store at Joann Fabrics.
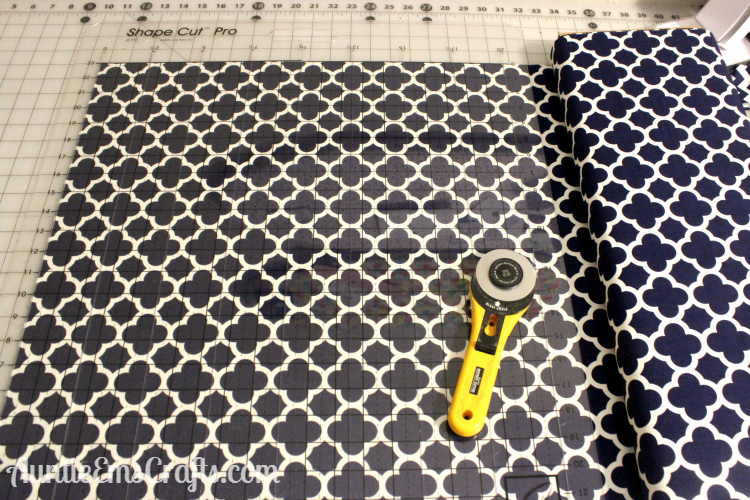
Cut the materials. The webbing will be cut to 11″ for each bag. The boning will be cut to 15.5″. Do not cut the elastic until later. If you bought 42-45″ wide fabric, cut the fabric at 16″ wide first, turn the fabric, then cut at 20″ to create two bags. If you bought 58-60″ wide fabric, cut the fabric at 20″ wide first, turn the fabric, then make a 16″ cut nearest the selvage edge. You will then open the folded end and make another 16″ cut to create the third bag.
Sew on the boning. Center the boning material on the 16″ side so that there is a quarter inch of fabric on each end of the boning. Baste the boning to the fabric with a straight stitch or zig zag stitch. You want the fabric face down and the curve in the boning to come upwards, not towards the fabric.
Next, flip the boning under twice. Pull the fabric tight and top stitch near the open edge with a regular sized stitch.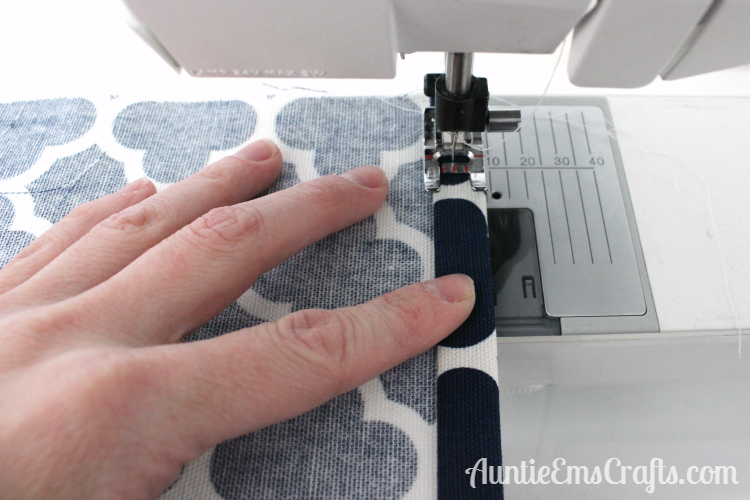
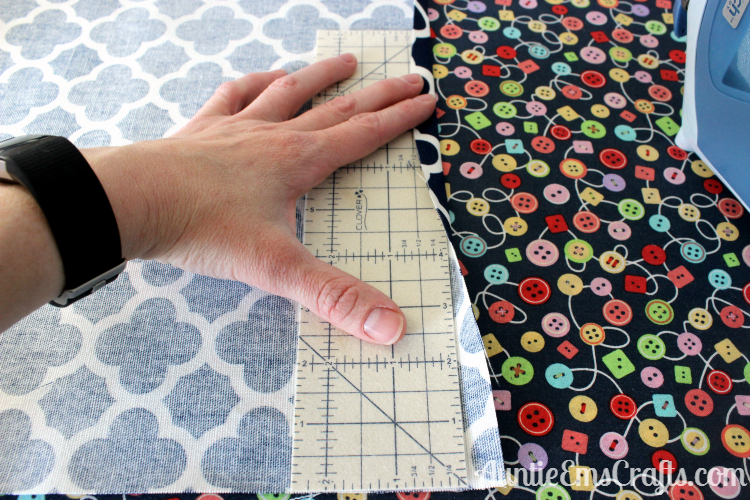
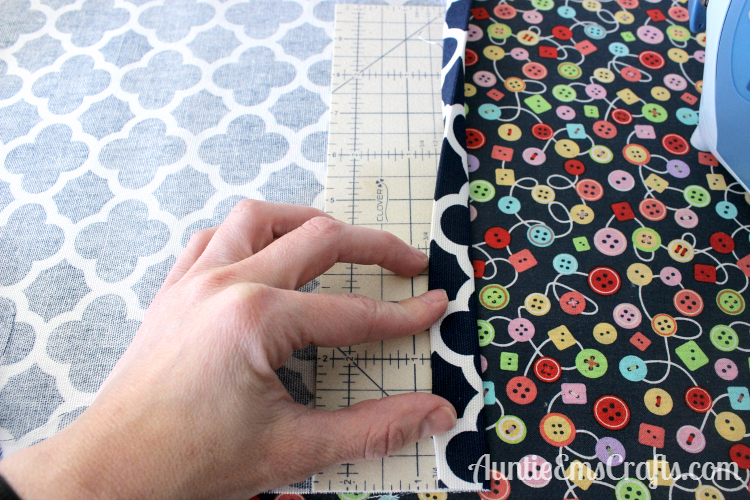
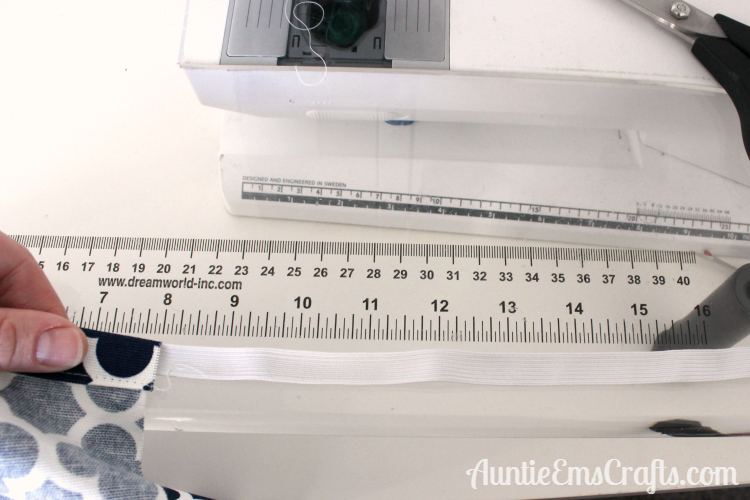
Add the elastic. Iron the opposite end under .5″ then again at .75″ to create the casing for the elastic. If there are any wrinkles or folds in the fabric, remove them with a little starch or Best Press at this step.
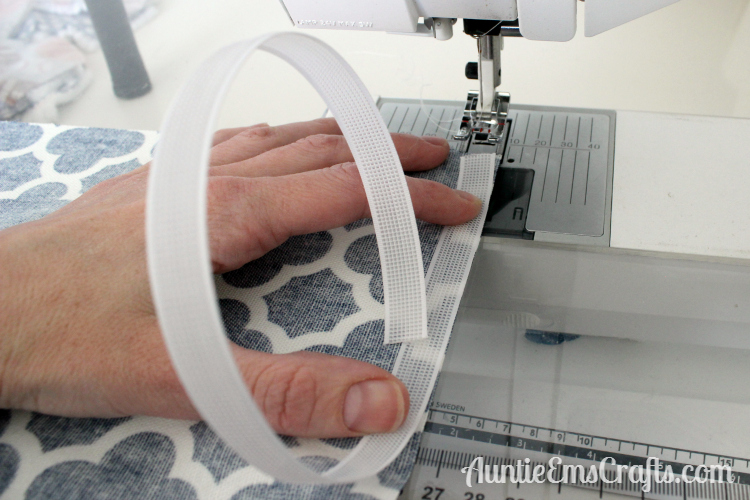
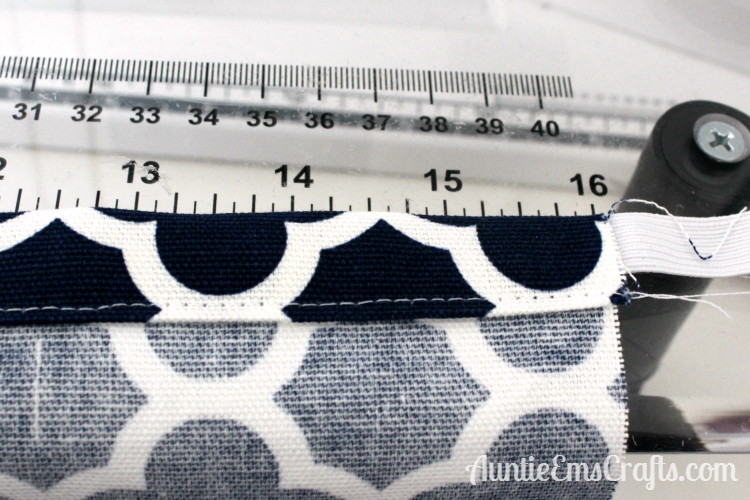
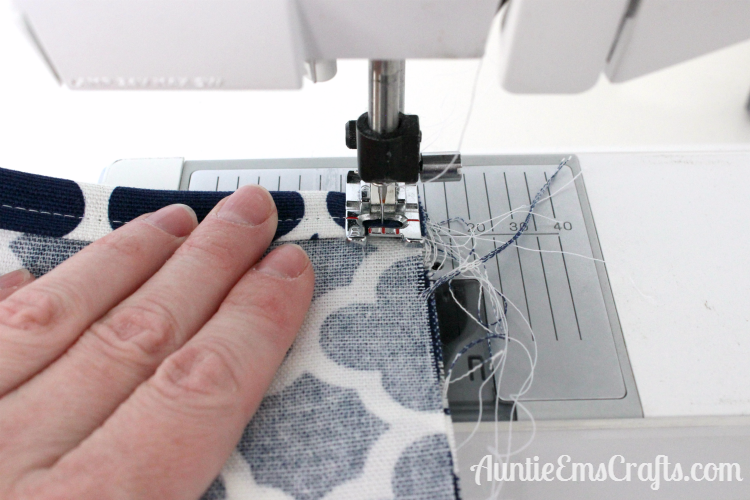
Lay the end of the elastic on the right end of the casing (1). Flip the casing over the elastic (2). Sew a line forward and in reverse to secure the elastic to the side of bag holder (3). Turn your fabric and sew near the edge of the casing. Be sure to keep your elastic out of the way so that it does not get stitched to the fabric. (4)
When you get to the end you’ll have 16″ of elastic inside the casing.
Pull the fabric so that 8″ of elastic is removed from inside. Stitch that end shut and cut the extra elastic away from the bag.
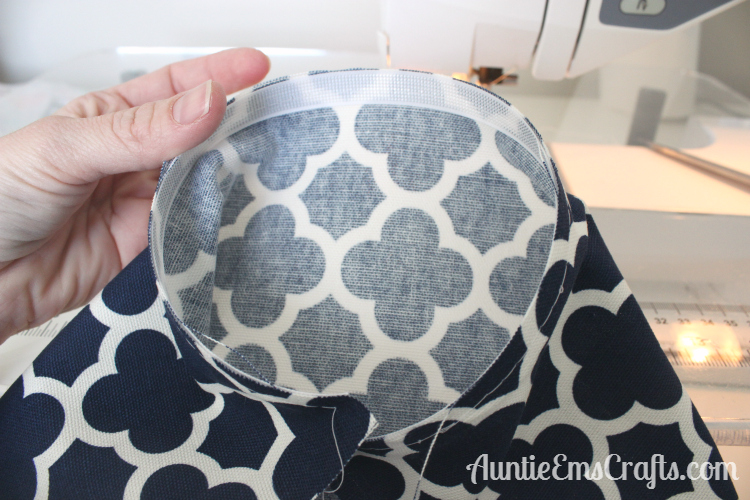
Sew the seam. Fold the bag in half tall wise to create the seam. Start at the top with the boning. Straight stitch with a .5″ seam allowance. Fix the stitch or backstitch at the beginning and end.
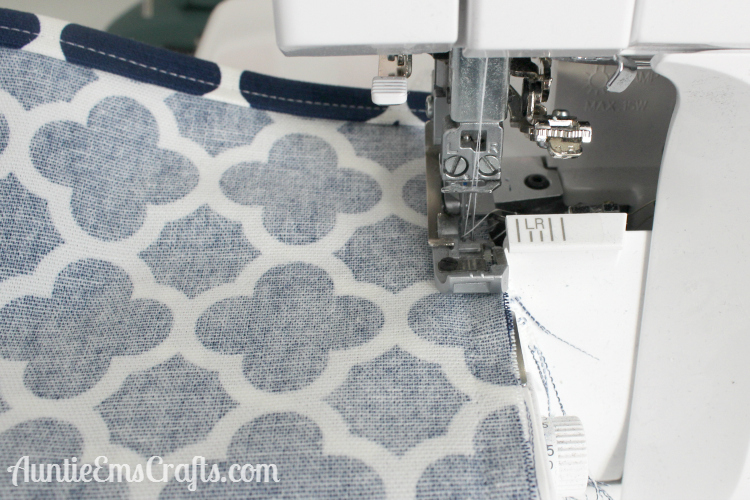
Use a serger to secure the seam, cut the seam with a pair of pinking shears, or use a zig sag stitch on your sewing machine. This will ensure the fabric does not unravel. If you use a serger, tuck your threads in with a double eye needle.
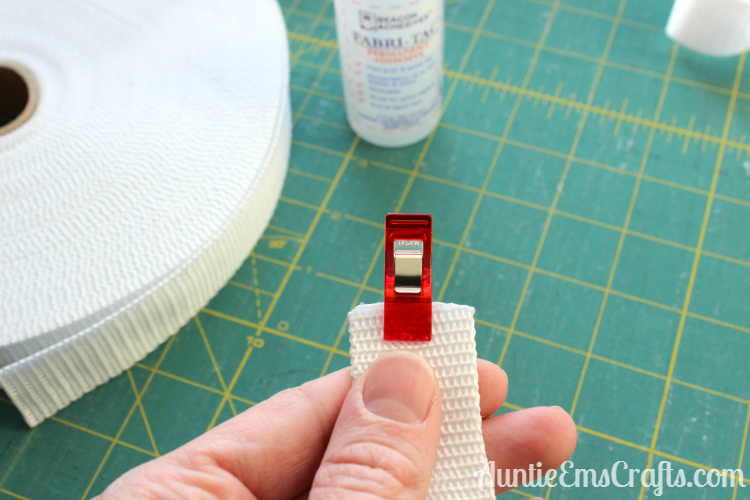
Add the strap. Flip the bag right side out. Trim any strings and loose threads. Bring the ends of your webbing together, add some glue, then add a Wonder Clip to keep it together until the glue is dry. Add some glue to the bag of the webbing and clip the webbing to the bag until the glue is dry. The glue only needs a few minutes to dry each time.
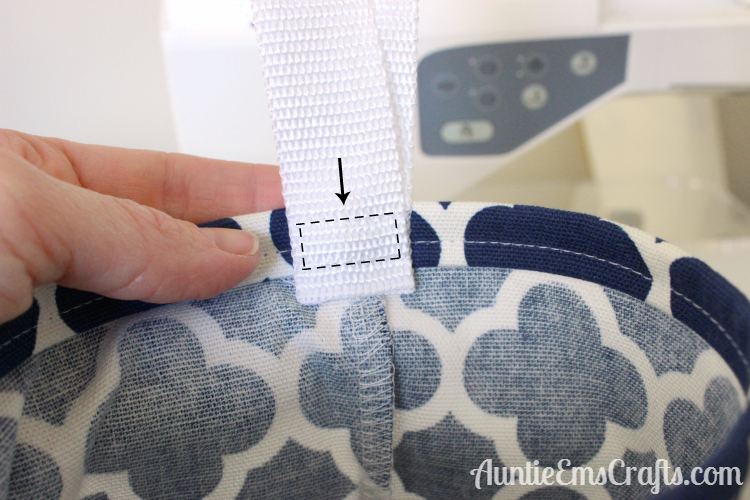
Stitch a rectangle on the webbing to secure it to the bag. Tie the threads in a knot on the front and back then trim your strings.
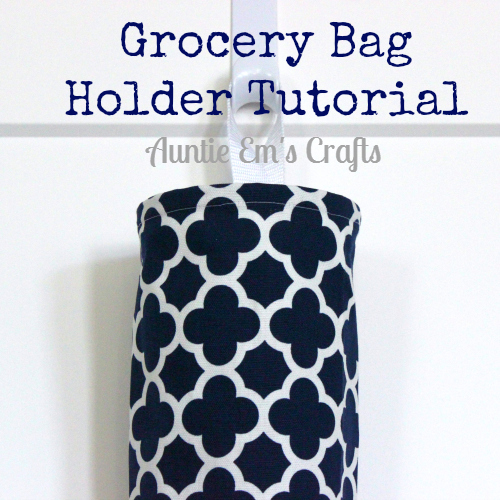
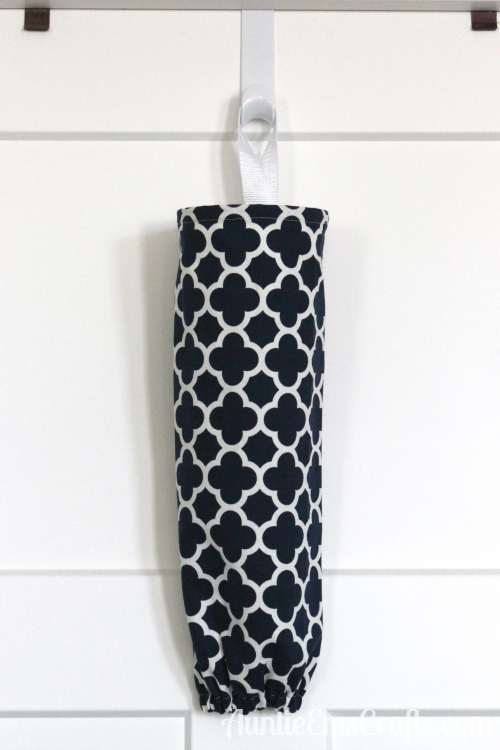
Voila! One life-changing grocery bag holder in about 15 minutes. Your pantry will never look the same again!
Want to make a bunch? Here are some tools to make the job easier:
I use a Hot Ruler from Clover to iron my elastic casing. It is quick and accurate… just what I need when I am sewing in bulk. I purchased mine through United Notions last year and have loved using it. I asked Clover if they would participate in a giveaway and they agreed! Leave a comment below and you are entered to win a hot ruler. Two winners will be chosen on July 1, 2017. (Winners must be in the US or Canada.) Good luck!
I highly recommend the Shape Cut Pro ruler from June Taylor. It makes cutting quicker than having to line up fabric on your cutting mat.
A serger for securing the seam inside the bag is helpful. You’ll get it sewn in half the time of doing a zig zag stitch on your sewing machine.
Wonder Clips from Clover are great for holding the webbing ends together while glue is drying.
You can find my finished grocery bag holders in this etsy store and fabrics I used in my other etsy store. ![]()

Love your fabric choices! Nice gift to make for your friends!
Great tutorial! I’ve seen others but none have the boning on top. Great idea. Thanks.
I have been wondering how to make these. I have one,but I bought it from a store. Thanks for the info!
This turned out beautifully.
You make it look so easy, i think I’ll give it a try. What do you think about using regular cotton fabric? I’ve never used boning but I think I’ll like using it. I can see myself making lots of these for family and friends.
The two other sellers that had bag holders at my last craft show used regular weight cotton. It might be just fine but I have not tried it yet. I like that the home dec doesn’t wrinkle easily because I fold them into 6×9 bags for my shows.
I really like the idea of adding the boning material to the top. I didn’t realize that this product was available! I will certainly look for it. This project would make a great little thread catcher too, only in a shorter length. Thanks for sharing!
Using the Random Name Picker on miniwebtool.com, Carla was the first winner and Debbie was the second winner. Congratulations ladies! Clover will send the hot ruler directly to you.
Can I purchase some from you? were and how
Sharla, I have some bag holders for sale in my Auntie Em’s Crafts Etsy store: https://www.etsy.com/shop/AuntieEmsCrafts