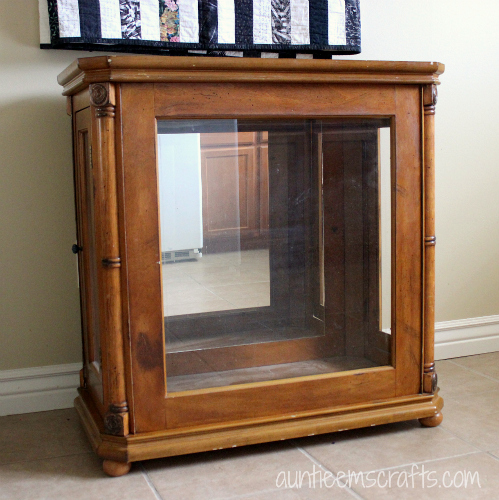
After using chalk paint a few months ago with Simply Notable, I caught the chalk paint bug!! I have been looking around on the Facebook yard sale sites for killer deals on furniture. I found an oak cabinet for $10 at a nearby yard sale. I am not a big fan of oak finishes, but that didn’t matter since I knew it would get painted. I really loved the shape of the piece and had a perfect place to put it.
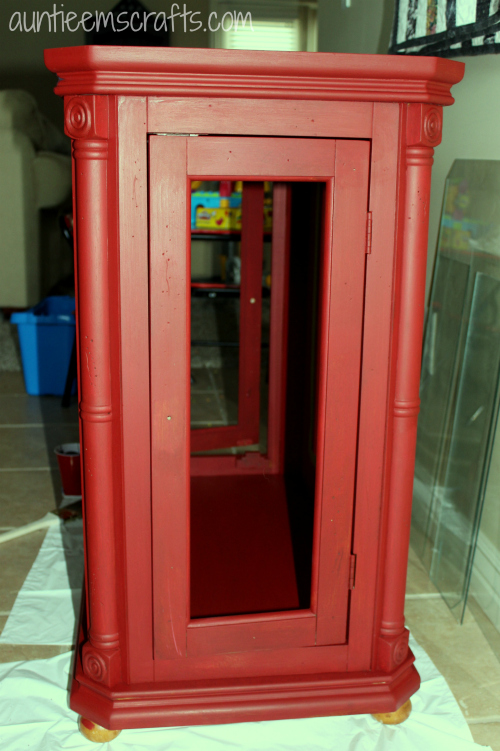
Since I was using chalk paint, I did need to do any sanding or removal of the finish. To prepare the cabinet, I wiped it down with a cloth to remove the dust, took out the four glass pieces, and covered the edges of the mirror with painters tape.
I had an 8 ounce sample of red paint that I got free with a coupon at Lowes. I’m beginning a patriotic theme in my basement so the red was perfect. I mixed 2.5 tablespoons of Plaster of Paris with 1 tablespoon of water in an empty quart container, then added 4 ounces of the paint. I applied one coat over the inside and outside. The cabinet looked pretty good after just one coat of paint but some areas needed to be touched up.
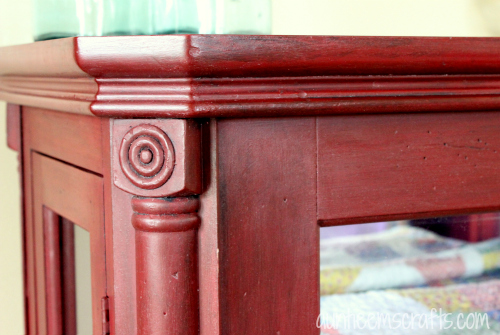
I wanted to give the piece an antiqued look, so I made a glaze. I went to Home Depot and bought an 8 ounce sample of flat deep base paint. I did not have them add any color to it. Instead, at home I mixed 4 tablespoons of the base with 1 tablespoon of black latex paint and 1 tablespoon of water. Working in small areas, I applied the glaze with a paintbrush and wiped it off about 30 seconds later with a clean rag.
After the glaze dried, the cabinet looked a bit darker than I originally hoped for. I took the remaining glaze mixture from my cup and added another 2 ounces or so of the red paint and 1 tablespoon of Plaster of Paris. I mixed it well and brushed it on top of the entire cabinet. The black glaze still shows through, but on a softer scale now.
For the last step, I applied finishing paste wax over the entire cabinet. I have read that using a car polisher is a great way to remove the wax. I didn’t have the pad needed for the polisher, but I would like to give that a try next time. With all the paint, glaze, and wax, my hands were ready to quit by the end of the day.
On my previous chalk paint projects, I did one coat of paint and one coat of natural finishing paste. I will purchase some dark finishing wax for my next project to see how it differs from using the glaze. I’m enjoying trying out these new projects. As far as I can tell, mixing the paint and glazes has been pretty foolproof. Many bloggers have offered up differing chalk paint recipes. Once you try out a project one way you may decide that it works just fine for you for future projects. I’m pretty set with the mixture that I have been using with the Plaster of Paris. I have a kitchen table waiting for me to refinish in my garage. I will probably wait until it cools down to get started on that project. Being able to park in my garage for winter will be my motivation to get it done 🙂
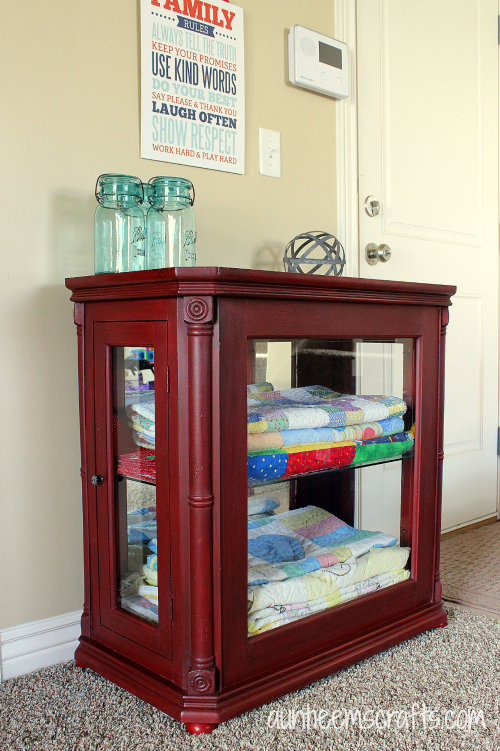
Since I already had most of the supplies/ingredients on hand, this project cost me less than $13. I’m really happy with how it turned out. It fits perfectly in the space that I intended it for. I originally bought the piece thinking I would put my military mementos in there, but I had an idea to put the “retired” quilts of the house in there instead. I have three baby quilts from my son, one from my husband, three from me, and the first quilt I made at age 16. I like seeing them on display instead of keeping them in a tote in the attic. They sure bring back some good memories.
Here are some tips to get started on your own chalk paint project:
– Flat finish paint will give a chalkier look than satin.
– Mix the Plaster of Paris and water really well before adding the paint. There should be no chunks. The consistency is similar to when you add flour and water when making gravy.
– Use disposable containers for the chalk paint. Once the paint dries, it won’t come out of your container.
– Don’t mix too much at once because it will start drying before you use it all. I like to work with ~ four ounce portions.
– Keep good track of the measurements you used in case you need a second batch of paint or glaze.
– You don’t need to use your best brushes for the project. After a few projects your brush will be trashed.
– Applying wax is easier with a paintbrush than with a cloth. Your hands and arms will thank you.
– When waxing and glazing, work in small areas at a time. With glaze, brush on then quickly (about 30 seconds later) wipe it off with a clean rag. The wax you will let sit for about 1o minutes before removing it.
– Use a natural brush cleaner like NEXT Brush Cleaner as soon as you are finished painting. It works great for latex, oil, chalk paint, and stain.
I hope you try a chalk paint for yourself. It really is fun!
Auntie Em
P.S.- If you are looking for great ways to store your quilts, check out some of these great ideas on my Pinterest board Quilt Storage.


Leave a Reply