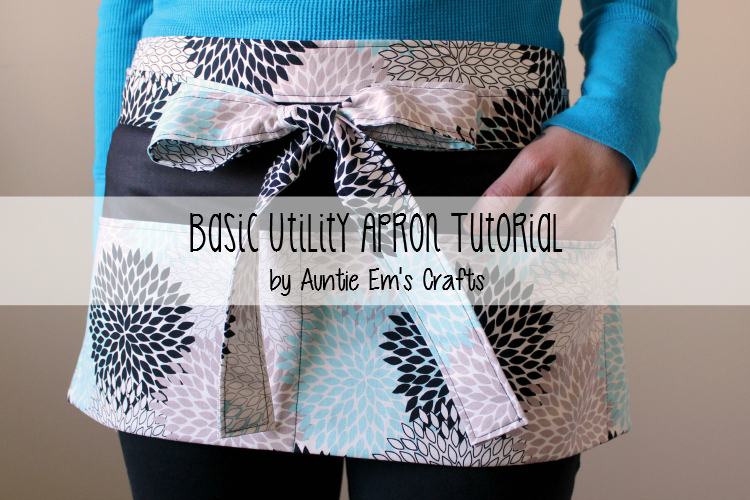
I recently had a custom order for a utility apron from a lady who works at a daycare. She was one of my son’s day care teachers when he was an infant. Ana wanted something she could wear at the school to keep a pen, gloves, and other items handy. This is what I came up with for her.
To make your own basic utility apron, you’ll need the following supplies (be sure to read the instructions before cutting the fabric):
1/3 yard for the front and back,
cut into 2- 11×21″ pieces
2/3 yard for the pocket and ties (see instructions before cutting)
1- 12×21″ piece for the pocket
1- 6×21″ piece for the top of the apron
2- 6×42″ piece for the ties
New to sewing? See my top 12 tools for the beginner quilter blog post for more information about tools that will be helpful in making this apron.
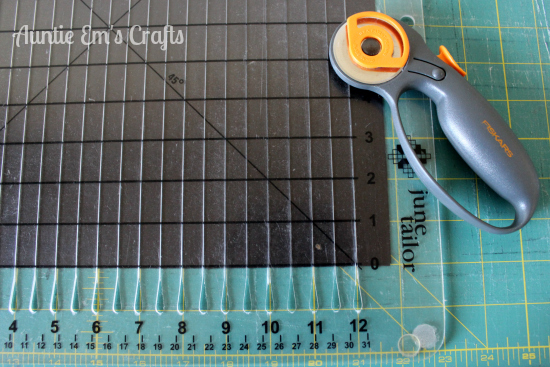
![]() Start by cutting an 11″ strip from the backing (black) fabric to create the front and back pieces with a Shape Cut ruler. Line the strip up on your cutting mat along a horizontal line and trim it at the 0″line and 21″ line. This gives you two 11×21″ pieces.
Start by cutting an 11″ strip from the backing (black) fabric to create the front and back pieces with a Shape Cut ruler. Line the strip up on your cutting mat along a horizontal line and trim it at the 0″line and 21″ line. This gives you two 11×21″ pieces.
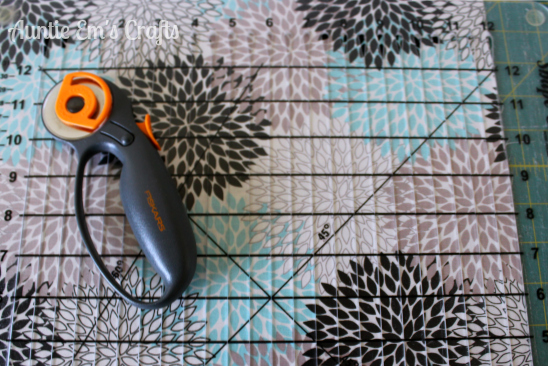
Repeat this process with your pocket fabric, only cutting a 12″ strip instead. This gives you two 12×21″ pieces.
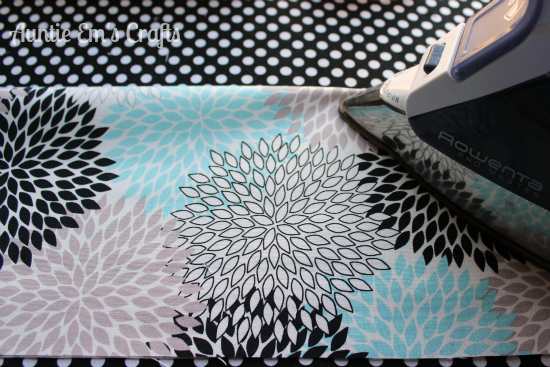
Take one of the pocket pieces and iron it in half longwise to create the 6×21″ pocket. Set the rest of the pocket fabric aside until later.
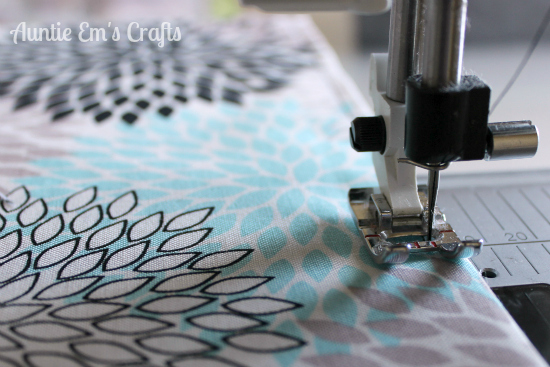
On the fold line, top stitch about 1/4″ away from the edge.
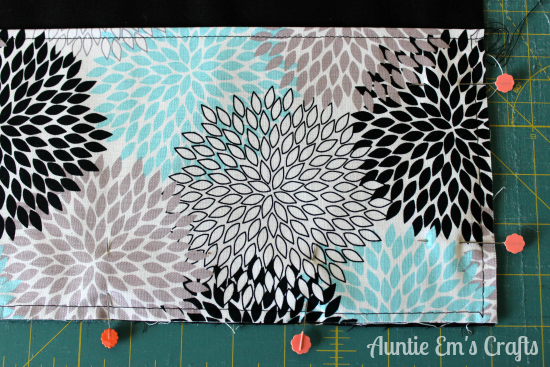
Place the pocket onto one of the black pieces and pin every few inches. Set my machine to baste stitch and sew close to the edge to secure the pocket.
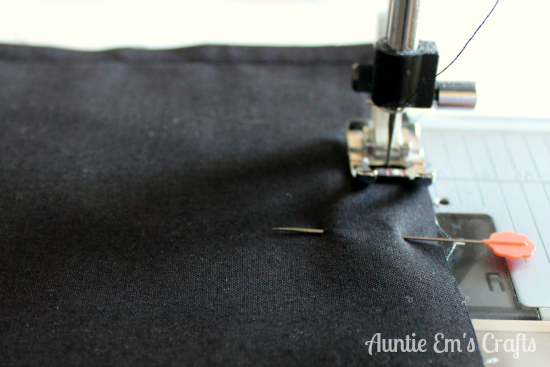
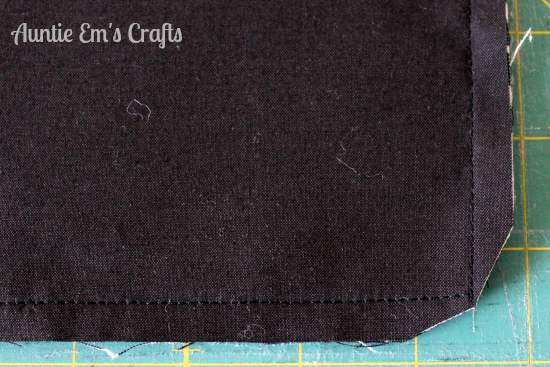
Iron the project again, then place the other black piece on top and pin. Set your machine back to regular sized stitching and sew from the top of one short side around to the top of the other short side, leaving the top of the apron open.
Make two cuts in each corner to remove excess fabric. This helps give a nicer looking corner when you flip it right side out. Be careful not to cut through your stitches.
After flipping it right side out, iron the entire thing one more time. Using a pointy object, push the corners out.
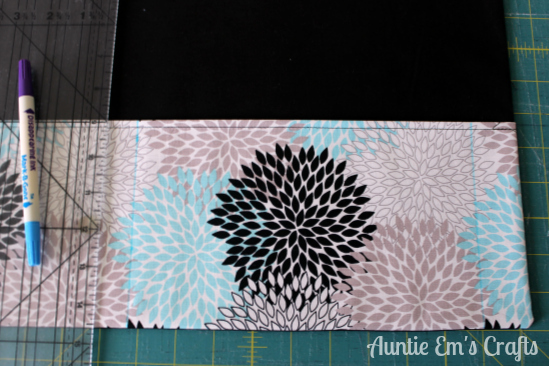
Ana wanted a place to put her pen as well as two equal sized pockets. To get this look, set up your ruler at 1.25″ to make a pen pocket, then measure and draw a line for two large pockets with a water soluble pen.
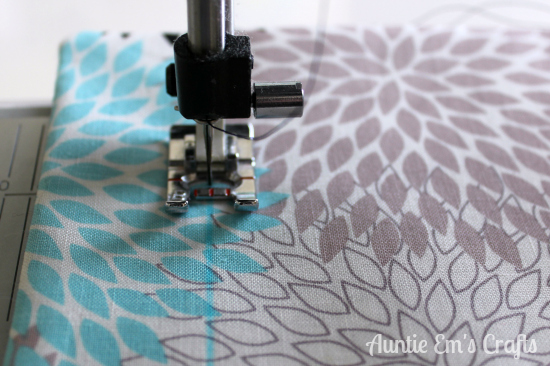
Sew on the lines, starting from the bottom of the apron and work your way to the top of the pocket. Fix the stitch or backstitch at the beginning and end. It’s important to start sewing from the bottom to prevent bunching on the pocket.
From the second 12×21″ piece of pocket fabric, cut it in half to 6×21″ to make the top of the apron.
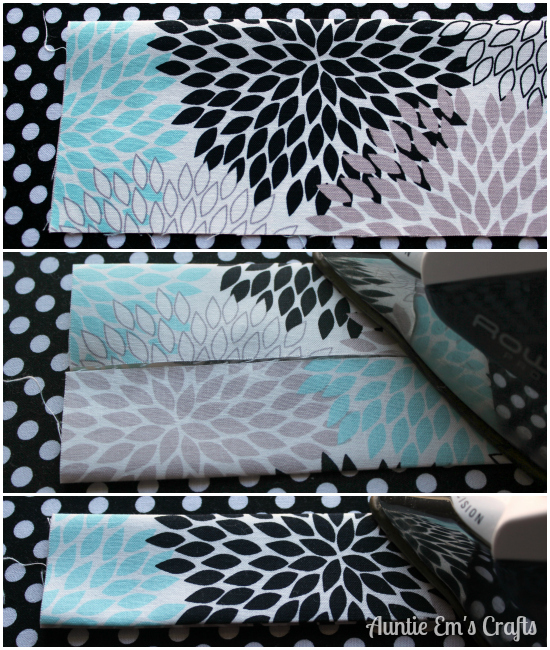
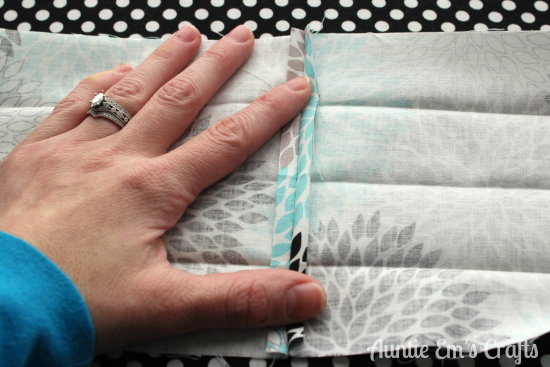
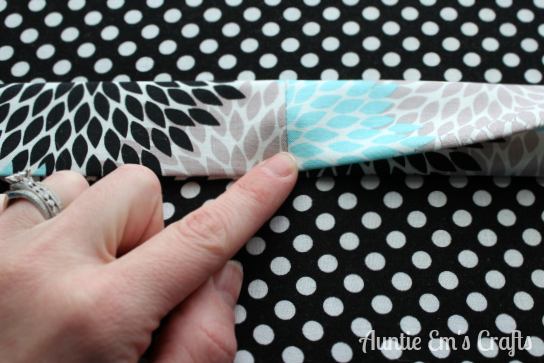
Iron that piece in half lengthwise. Open it up and bring the edges to the middle and iron, then fold it back down and iron it again. Confused? Hopefully this helps.
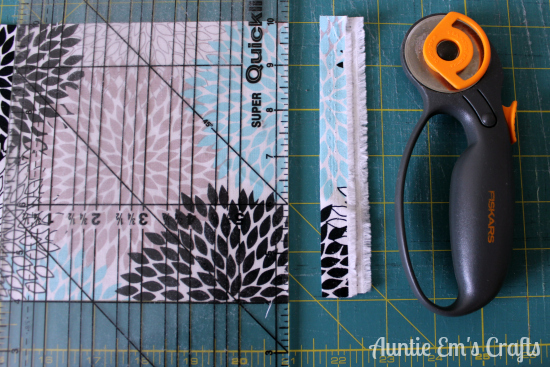
At this point there should be a 12×42″ piece of pocket fabric left. Cut the strip in half at 6″ with a 6×24″ ruler. Line the 6″ strips on your mat horizontally (one at a time) and trim them at the 21″ mark. This gives you two straps, 6×42″ each.
Iron both of the straps in the same manner as you did the top part of the apron (iron in half, open and iron towards center, then close).
Join one strap to the top of the apron piece. Open both pieces up and place right sides together. Sew them together using a 1/4″ seam.
After it is sewn, iron the seam open. Repeat the last few steps to sew the other strap to the top of the apron.
Once both straps were sewn to the top piece of the apron, fold it all back shut.
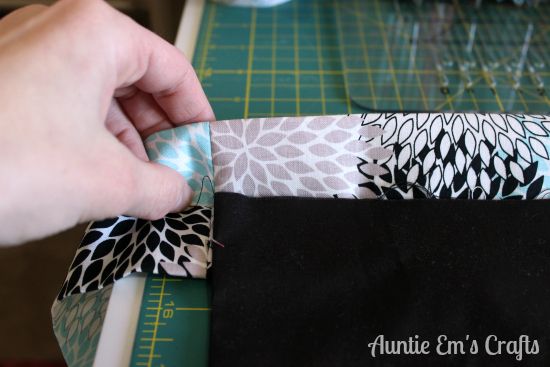
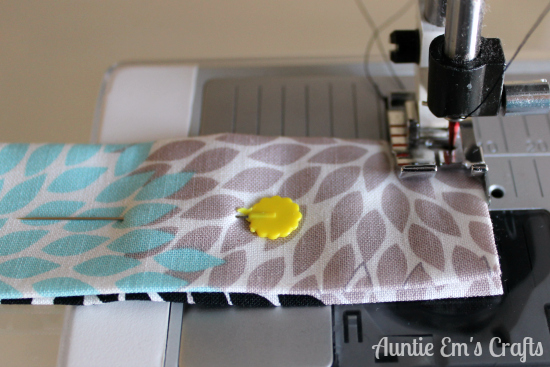
Line up the seams from the straps with the apron body. Once it is centered, place straight pins every few inches.
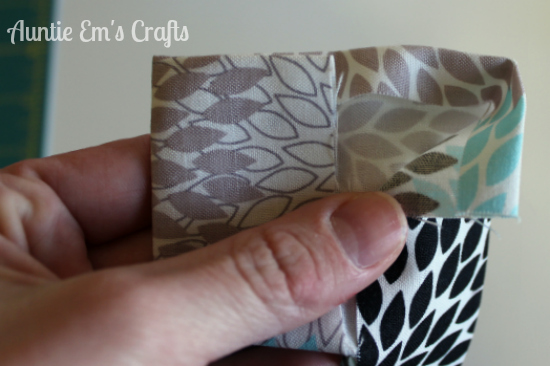
Before you sew the straps shut, fold under each end by about 1/4″.
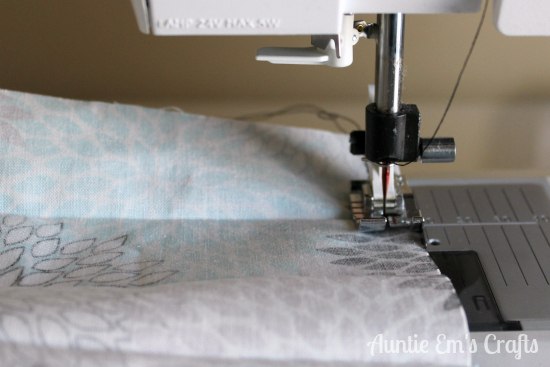
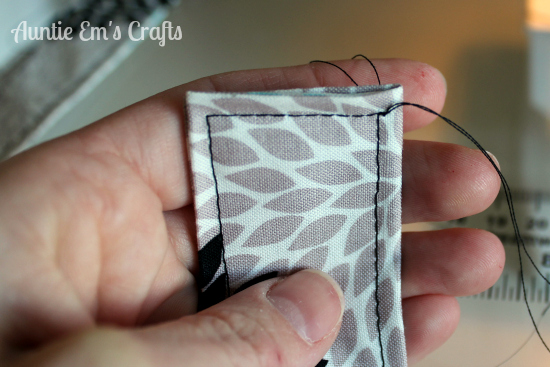
Begin sewing them shut at a corner by the folded side. Starting on a folded side or corner will help prevent any accidental bunching on the strap.
When you reach the beginning point, fix the stitch or backstitch. Tie a double knot on the front and back of the strap before clipping the threads.
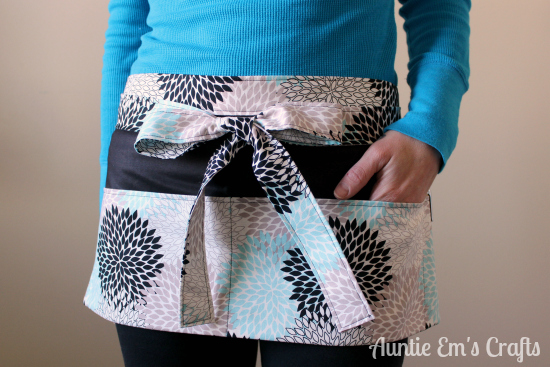
Here is Ana’s finished apron. I REALLY need to make myself one of these with a zipper for my craft shows… future tutorial, I’m sure. Be on the look out!
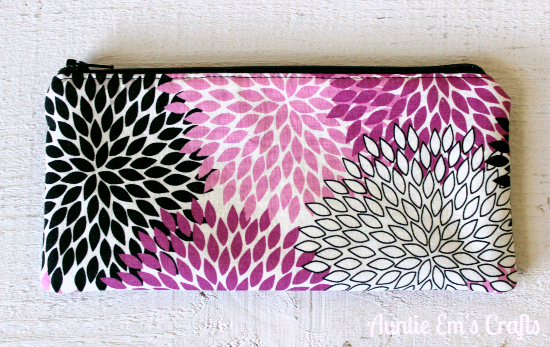
With the remaining 6×21″ scrap from the pocket fabric, you can make a matching zippered pouch to hold hygiene products. Unfortunately, I forgot to take a photo of the completed bag before mailing the gifts to Ana. 🙁 Doh! You can make your own with my tutorial at Simply Notable. I also have completed pouches available in my Etsy store. Ana’s finished bag looked similar to this one, but with the wristlet added.
Hello!
I’m so glad to have found your site. I bookmarked and look forward to exploring. This apron is so cute. I will add your site to my blog and feature this link of the apron in a post. Congratulations on the newest member of the family!
Im obliged for the post.Thanks Again. Great.
May I know how many meters exactly I need to have for this cute utility apron? Looking forward for the reply.Thanks
You can find a conversion chart here. https://www.google.com/webhp?sourceid=chrome-instant&ion=1&espv=2&ie=UTF-8#q=inch%20to%20meter
My niece asked me to make her a utility apron and I found your pattern from pinterest. I just love it. So easy to make and stylish. She asked for another set of pockets so I made two rows of pockets and divided each section into 3. One of the three pockets I divided for pencils. I just picked up a cute school fabric and some halloween fabric to make two more for her. Thank you so,so,so much for your free pattern.
Carol 🙂
I am having a terrible time once I get to attaching the top portion to the apron and then the straps….did I miss a step? I have the long straps connected (one really long strap now??)? Help!!
Tina, email me auntieemscrafts@gmail.com so I can help you through it.
Oh my goodness! Help! I am also to the top of the apron with my Top piece and 2 ties and have no idea what to do.
Thanks for the help!
Donna
I’ve just sent an email as I’m stuck in the same place. Thank you!
I am having the same issue as Tina. It would be great to put the step to sewing on the top to the apron in the comments section! Thanks for the pattern!!
Tina says
2016/09/21 at 7:03 pm
I am having a terrible time once I get to attaching the top portion to the apron and then the straps….did I miss a step? I have the long straps connected (one really long strap now??)? Help!!
Thank you for the great utility apron. I am new to sewing and it took me a while to figure out attaching the straps to the apron, and it all worked out.. Am already using it.
I’m having the same issue, Please help.
Loved this pattern… super cute and very easy to make! I, too, got a little confused over the straps, but I sort of “fudged” that part and it still worked out great! thank you for sharing!
I am at a standstill!!! I’ve got to the straps and I’m stumped! Help!
Stuck on the top apron/ strap part