A year and a half ago I made some Halloween tote bags for my son, nephews, and niece. I published the kid-sized tote tutorial on my family’s blog Simply Notable. Since then I have made many more totes for Easter, neighbor gifts, etc. I have found a better way to construct the bags, and an easy way for adding machine embroidery. Kids will love having their name on the bag and it only adds a few extra minutes to the project.
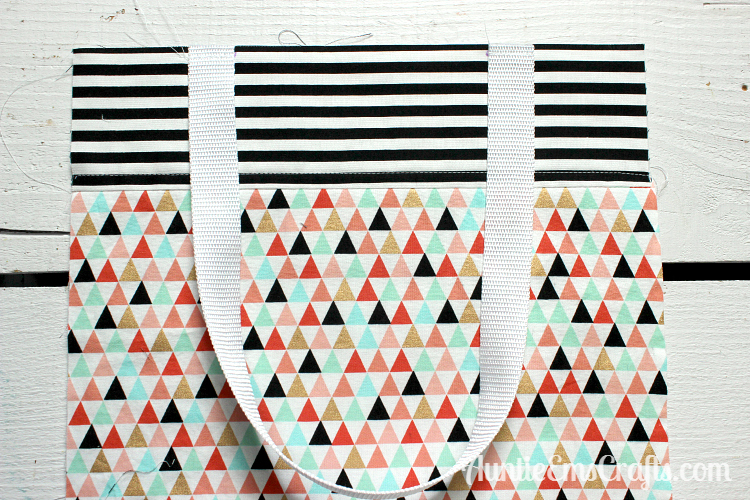
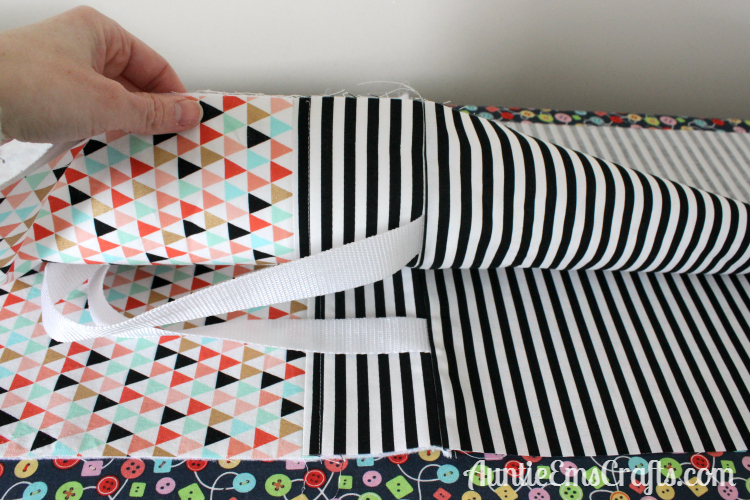
Get all pieces cut to size as you do in the other tutorial. Sew the band to the top of the main piece. Iron it to the fusible fleece interfacing, then sew the straps 3.5″ from the left and right edges. You can top-stitch the band at this step as well, but it is not necessary.
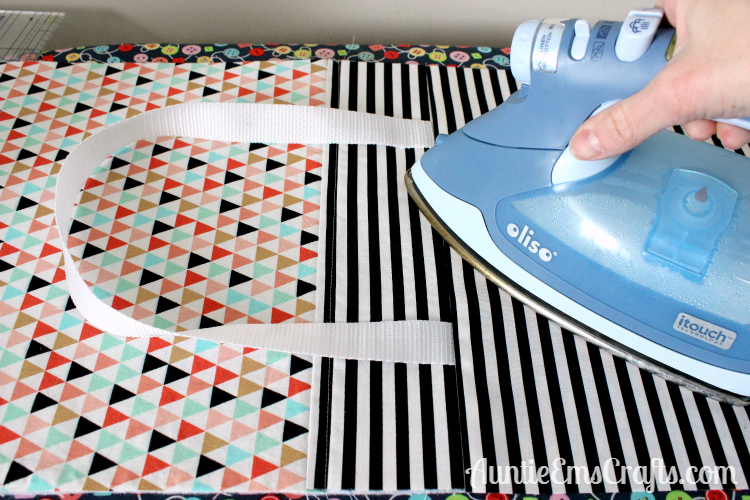
Sew the liner piece to the top of the front piece, right sides together. Iron the seam open on both pieces. Be careful not to touch the iron to the straps (the nylon will melt!).
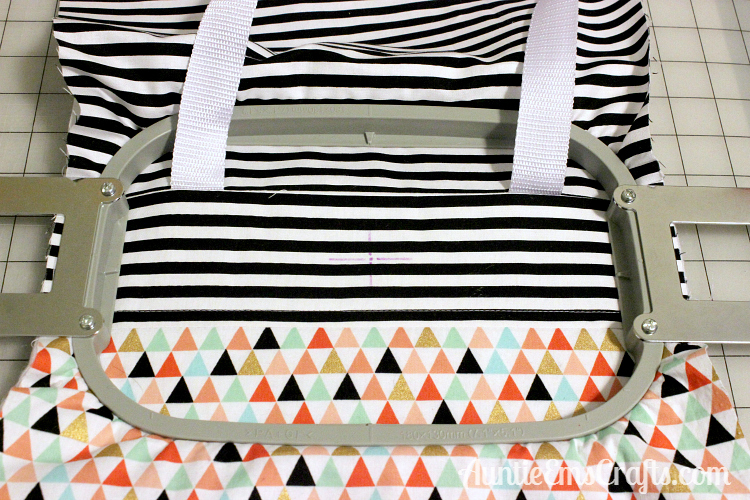
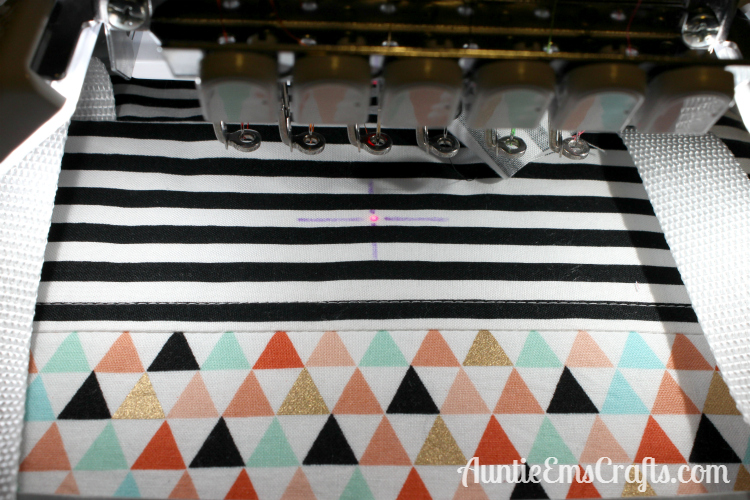
Hoop the project and proceed with the machine embroidery. For best results, use a cut away stabilizer. Find the center point by using a ruler from corner to opposite corner. Mark the center point with a water soluble marker. This is where you will center the embroidery design.
You probably will want the name to be no taller than 1.75″ and no wider than about 6″.
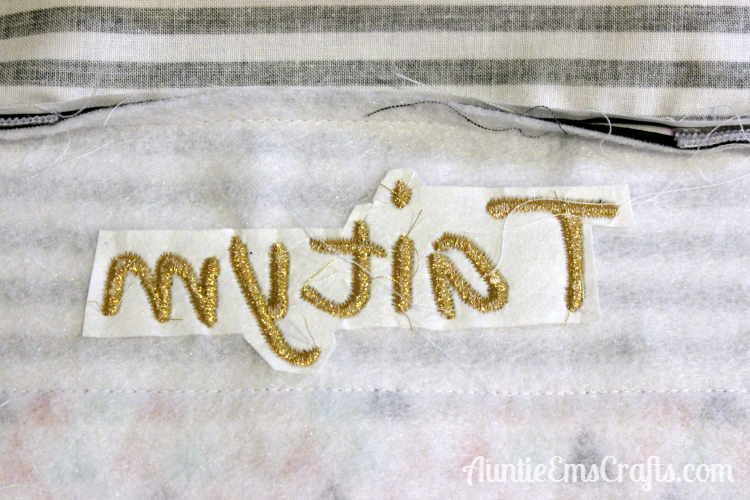
After the embroidery is finished, trim the stabilizer around the name.
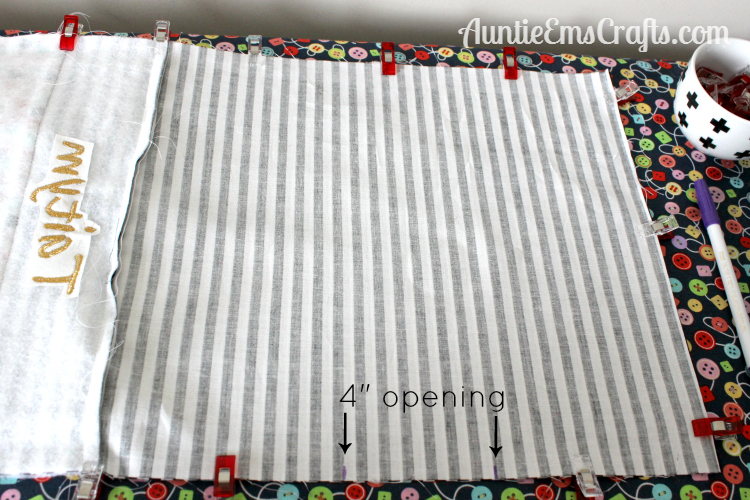
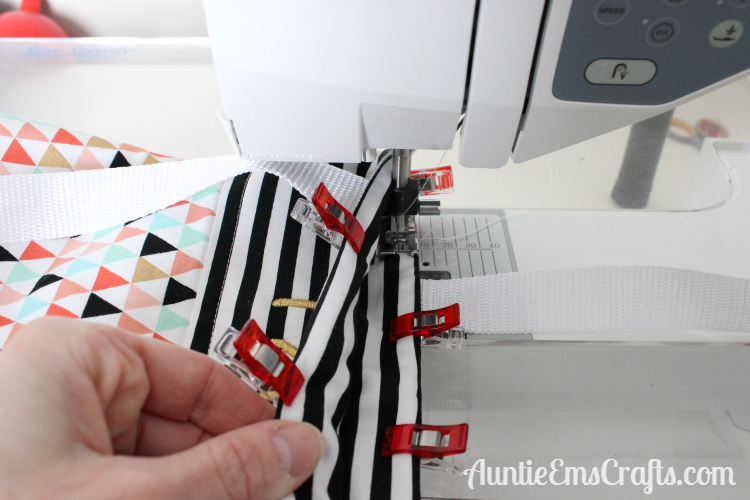
Sew the other liner to the other front piece. Place the two pieces right sides together and clip with Wonder Clips.
Sew all the way around, but leave a 4″ opening on the side of the liner piece. Fix the stitch or backstitch when you start and stop sewing.
If you want boxed corners, now is the time to add them. I like to do a 2.5″ finished bottom, so I cut out 1.25″ away from all four corners. There are more details/photos on that on the other tutorial.
Flip the bag right side out through the opening. Top stitch the bag with a 1/4″ seam allowance.
Sew the opening on the inside shut with a 1/8″ seam allowance.
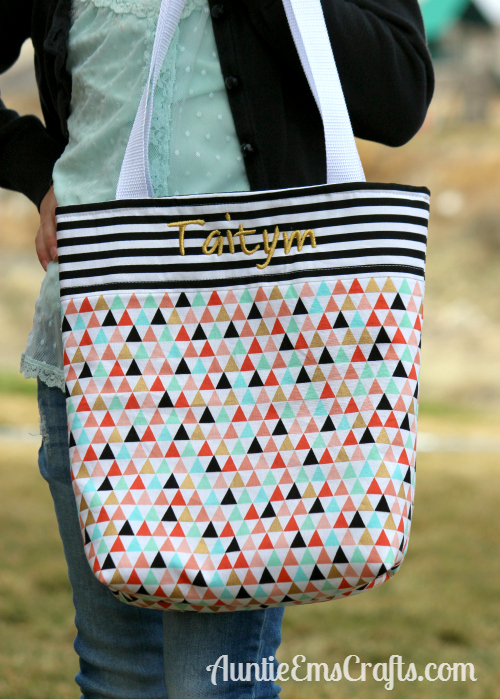
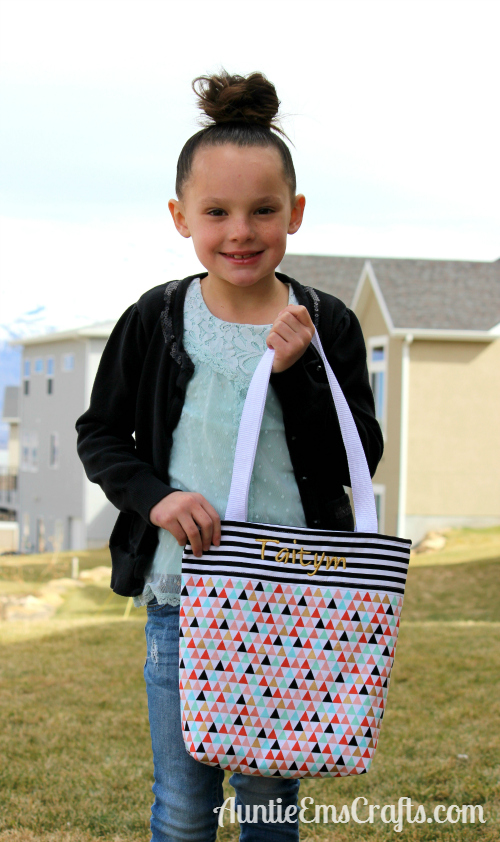
I made this particular bag for a neighbor who was my model for the bags in my other Etsy store (you can find this bag for sale there as well). These fabrics are so cute and trendy. The black and white is Dot & Dash from Riley Blake and the triangle fabric is from Hobby Lobby. I love these fabrics together because the bag can be used year-round, not just for Easter. Isn’t my model just adorable?
I love this way of sewing the bags together rather than from my original tutorial. It makes for a more professional finish and I don’t have to hand sew any openings shut. That’s a win-win in my book!
Note: This post contains affiliate links. If clicked, I may be compensated for any purchases you make. Thank you for supporting my blog.
Leave a Reply